Whether it’s a lack of app permissions or corrupted cache data, we’ll show you ways to fix the Telegram not sending messages issue on Android and iPhone.
1. The Contact May Have Blocked You
If the messages not sending issue is limited to one or two people, the other person may have blocked you. You’ll only see a tick on all your sent messages, and they won’t be delivered to the other person. You can ask the other person to check their privacy settings and unblock you to resolve the issue.
2. Allow Telegram to Use Mobile Data (iPhone)
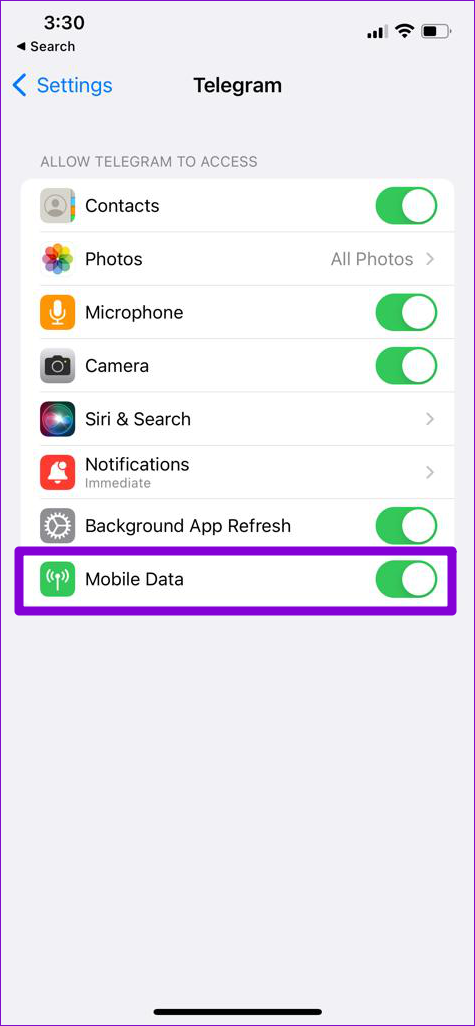
A lack of relevant app permissions can also prevent Telegram from sending messages. Specifically, if Telegram isn’t allowed to access mobile data on your iPhone, the app will fail to send or receive messages. Here’s how you can change that. Open the Settings app on your iPhone and scroll down to tap on Telegram. Ensure that the switch next to Mobile Data is turned on.
3. Disable Background Restrictions
Telegram is famous for its ability to send large files. However, the app may fail to deliver such large files if it doesn’t have the required permission to work in the background. Here’s how to fix it.
Android
Step 1: Long-press on the Telegram app icon and tap on the info icon from the menu that pops up.
Step 2: Select Mobile data & Wi-Fi and toggle on the switch next to Background data.
iPhone
Step 1: Open the Settings app, scroll down to Telegram and tap on it.
Step 2: Enable the toggle next to Background App Refresh.
Check to see if Telegram can send messages.
4. Turn Off Data Saver
Data saver on your phone can limit Telegram’s use of data efficiently. As a result, you may have trouble sending files or messages when the data saver is enabled. Here’s how to disable it.
Android
To turn off the data saver, open the Settings on Android. Then, navigate to Network and Internet. Ensure that the Data Saver mode.
iPhone
To disable Low Data Mode on Wi-Fi, launch the Settings app and select Wi-Fi. Tap the info icon next to your current Wi-Fi network and turn off Low Data Mode.
Likewise, go to Mobile Data in the Settings app if you’re using Telegram on mobile data. Tap on Mobile Data Options and disable Low Data Mode.
5. Turn Off Battery Saver
Your Android or iPhone tends to restrict some background activities when you enable battery saver mode. So, if Telegram is having trouble fetching notifications or sending messages, you should consider disabling the battery saver mode by following the steps below.
Android
To turn off the power saver on Android, open the Settings app on your phone and navigate to Battery. Next, turn off the Battery Saver mode.
iPhone
To turn off the battery saver on iPhone, open Battery settings on iPhone and turn off Low Power Mode.
6. Clear App Cache
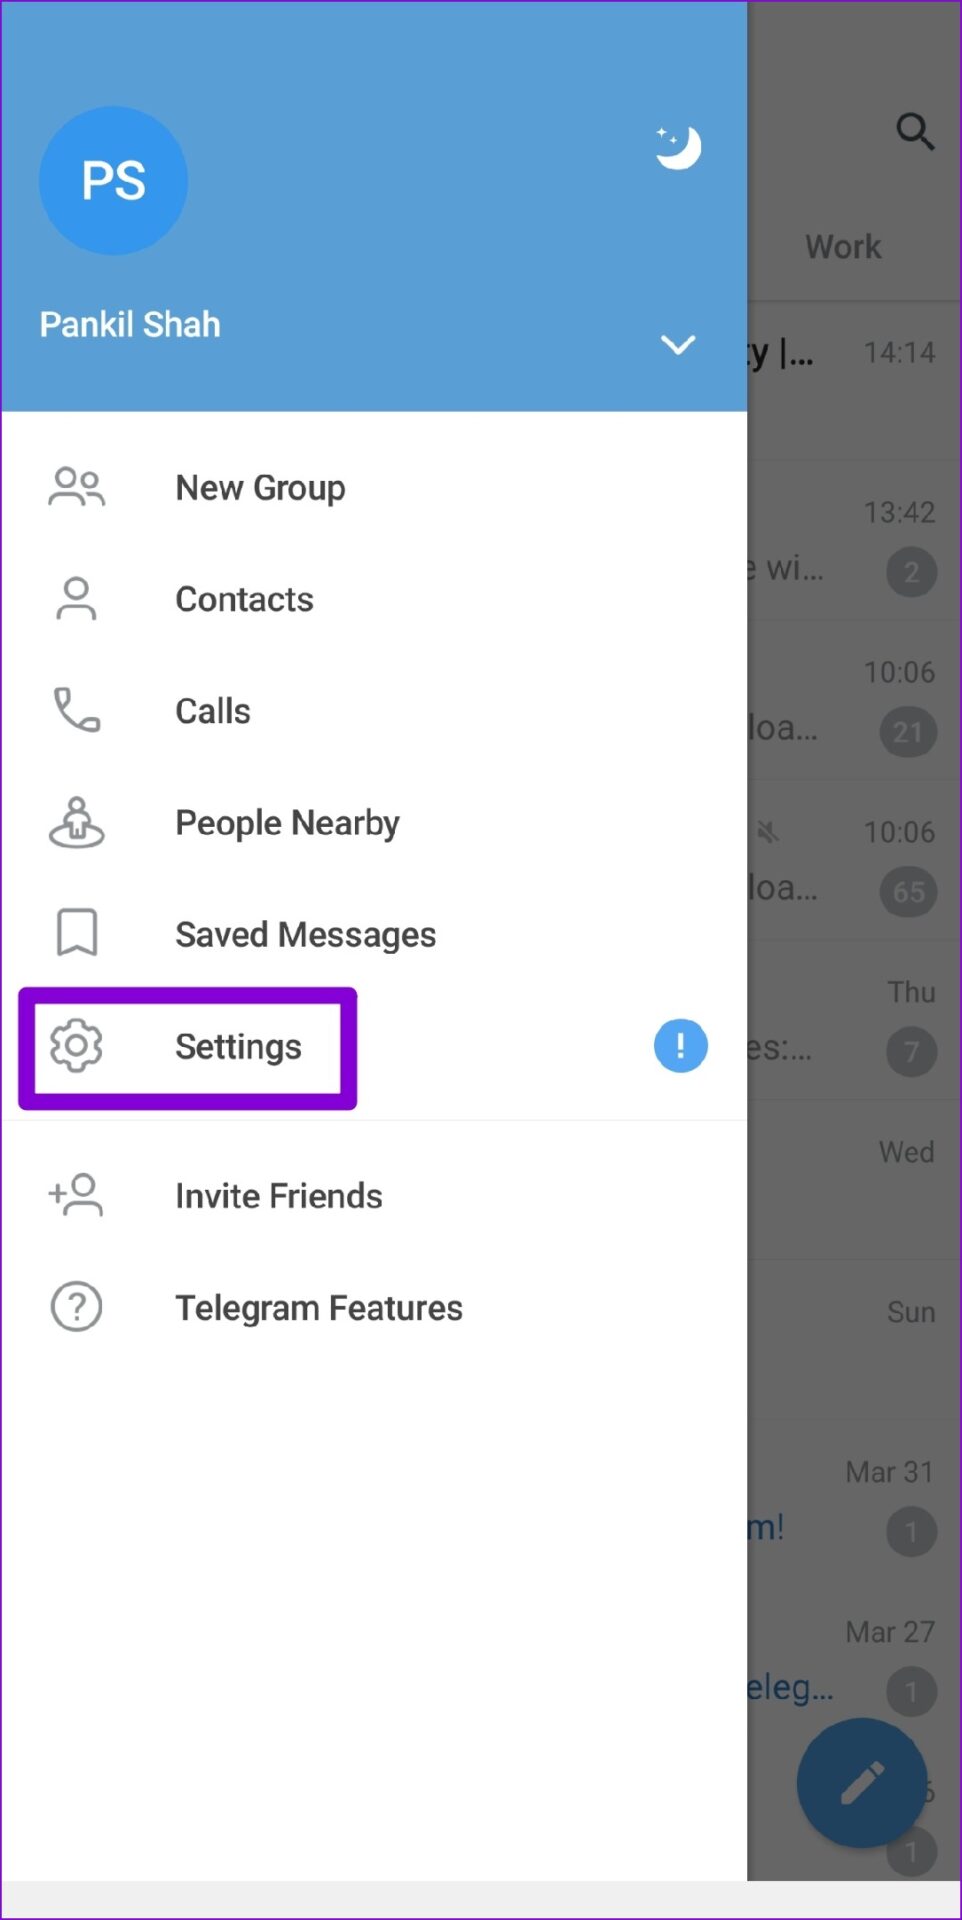
If Telegram is still failing to send messages, it could be due to corrupted cache data. In that case, clearing out that cache data should help set things straight. Thankfully, Telegram offers an option to clear cache data within the app. Here’s how you can access it on your Android or iPhone. Step 1: Open Telegram app on your phone. Tap on the three horizontal lines in the upper left corner to open Settings.
If you’re using Telegram on your iPhone, tap on the Settings tab in the bottom right corner.
Step 2: Go to Data and Storage and tap on the Storage Usage option.
Step 3: Under Device storage, tap on the Clear Telegram Cache button.
Once cleared, restart Telegram to see if you can send messages.
7. Update Telegram
At times, a buggy app build can also lead to such issues. If that seems to be the case, updating the app will help. Install any pending updates and see if you can send messages after that. Telegram for Android Telegram for iPhone
8. Check DownDetector
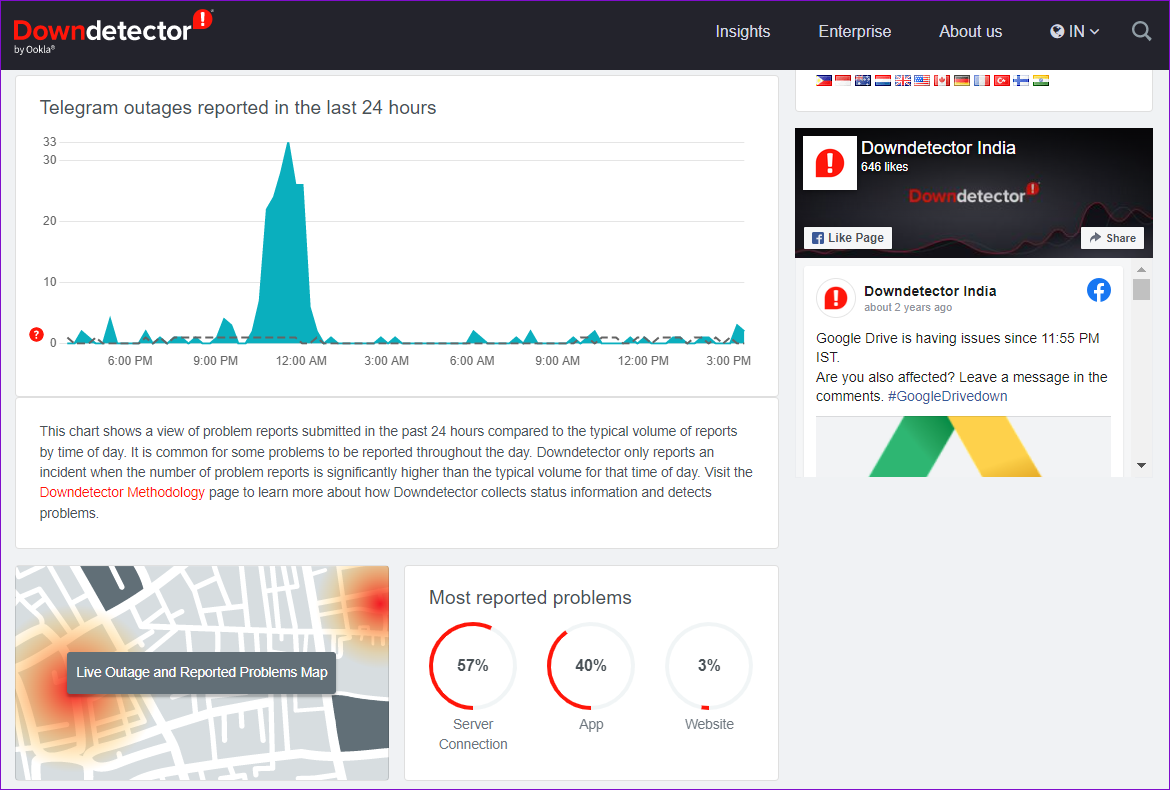
Although rare, services like Telegram, WhatsApp, and such can also face downtimes. So, if none of the above solutions work, you can visit a website like Downdetector to check if others are facing similar issues.
Sent and Delivered
Instant messaging apps like Telegram and WhatsApp have made our lives simpler. But sometimes, you’re bound to run into an issue or two while using them. Thankfully, it’s nothing you can’t fix yourself with the troubleshooting tips mentioned above.


