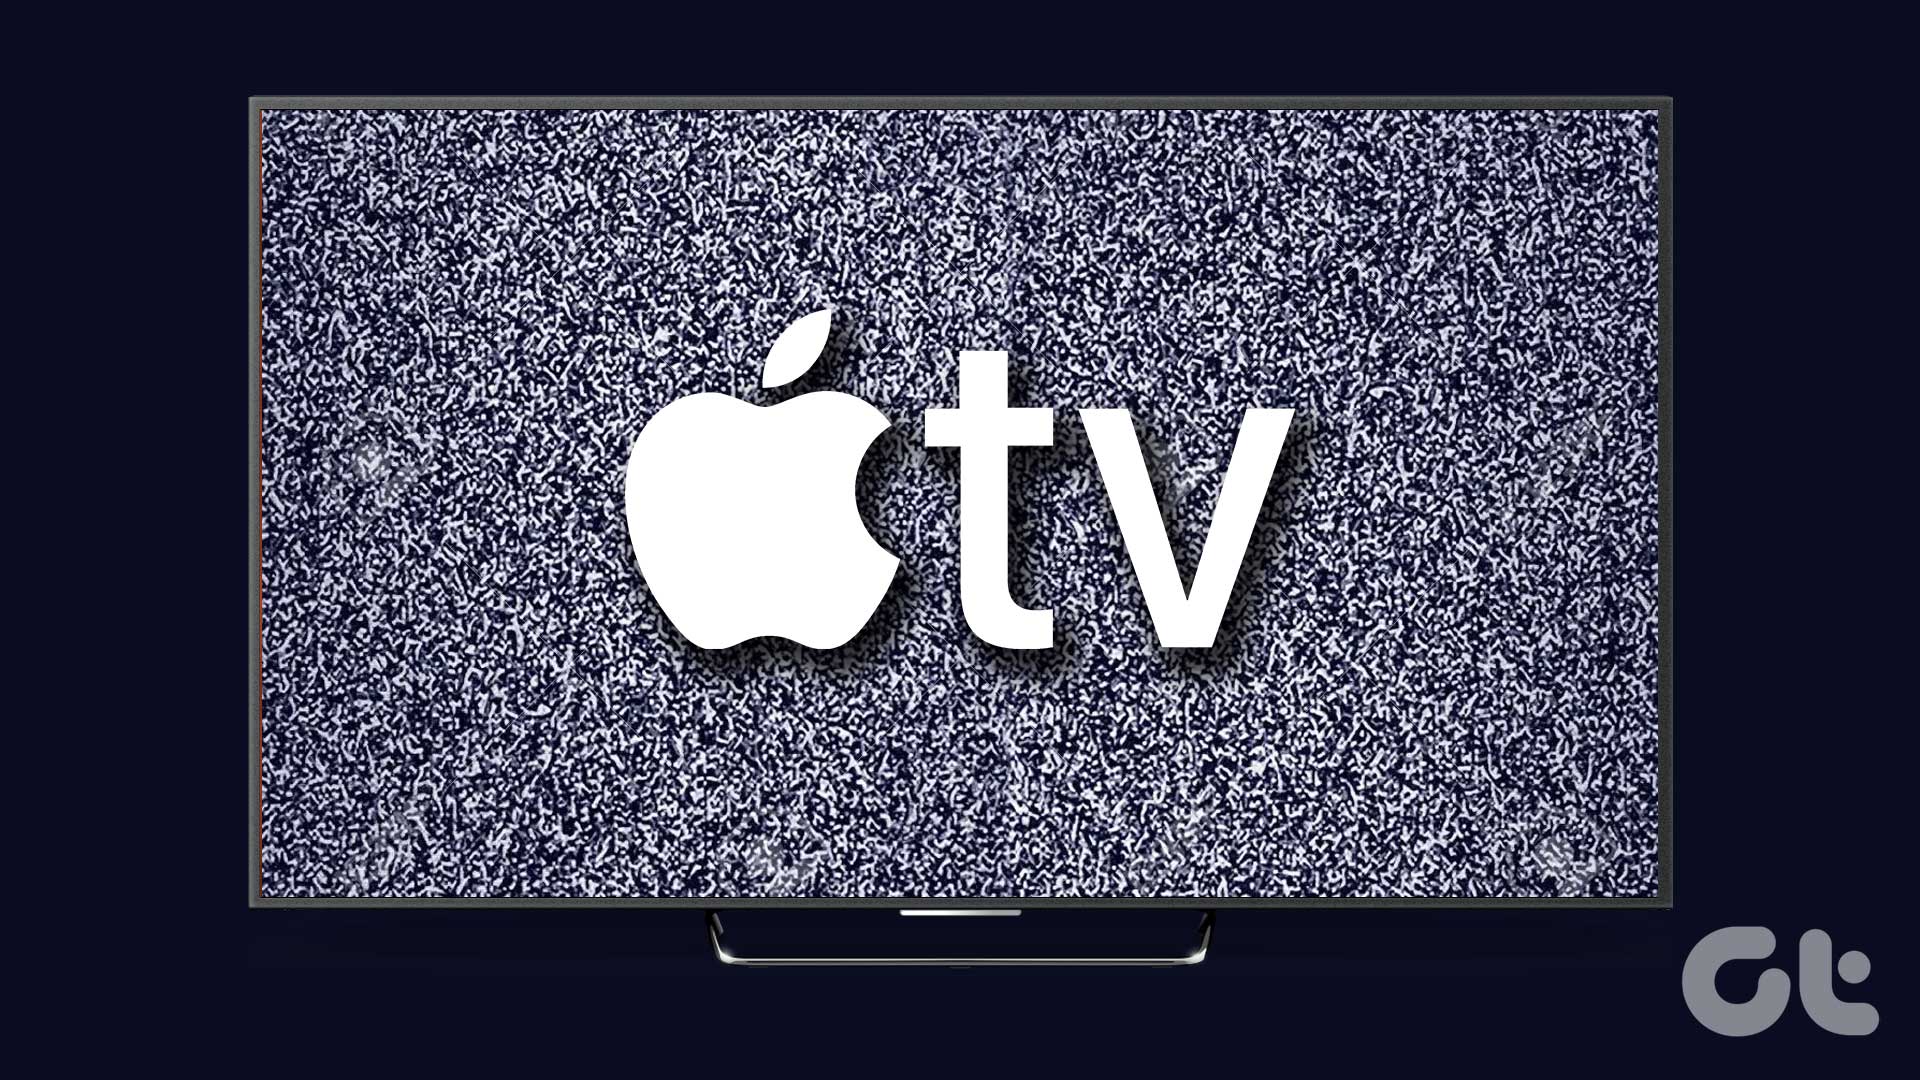
Your weekend plans to watch NFL together with friends or to stream the Disney show with kids may get ruined when Apple TV doesn’t show enable the home screen. You can try switching to mobile or laptop to start streaming, but it’s not an ideal experience compared to Apple TV. Instead, you can follow the solutions below to make Apple TV up and running in no time. Here’s what you need to do.
1. Wait for Some Time
If you’re using an outdated or uncertified HDMI cable, then your Apple TV make take a long time to recognize it. For instance, it’s best to use certified HDMI 2.1 cables with the Apple TV 4K (2021 and 2022 models) to connect it with your TV. At times, the television takes it sweet time to recognize the connection type before displaying anything.
2. Check HDMI Output
If you are using the incorrect HDMI output on your TV, you won’t be able to access Apple TV. You’ll need use your TV’s remote and switch to a correct HDMI source output from your TV’s settings. At the same time, press the power button on the Apple TV to ensure it’s turned on. If you still see no signal, move to other tricks in the list.
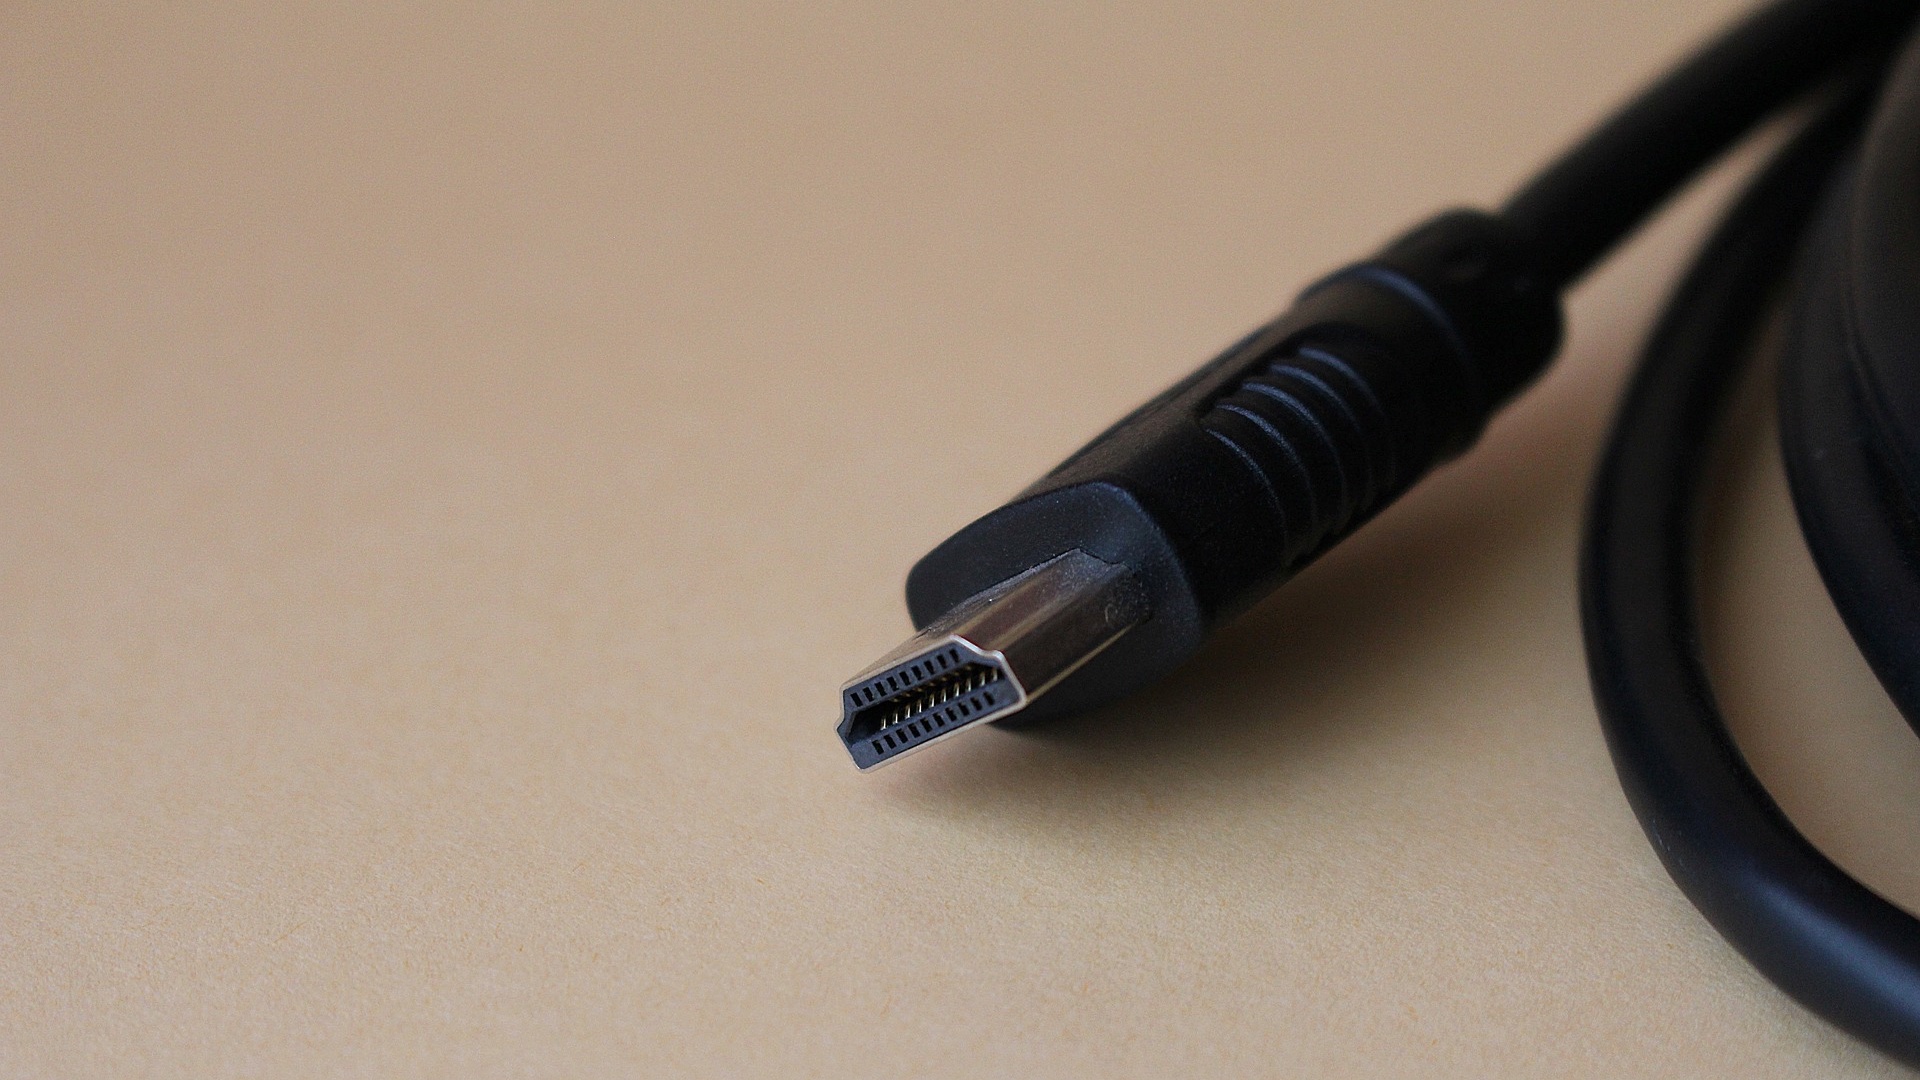
3. Check HDMI Cable
If you are using HDMI 2.1, use a certified Ultra High-Speed HDMI cable. For HDMI 2.0, use a Premium High-Speed cable. You can plug both ends of the HDMI cable and firmly plug them back in. Of course, this also means that your television also needs offer HDMI 2.1 supporting ports. If the issue persists, try using another HDMI cable that came with the television. Also, closely inspect the HDMI cable. If there is major wear and tear on either of the ends, you’ll need to get a new HDMI cable.
4. Power Reset Apple TV
5. Plug HDMI Cable Into Another Port
Most modern TVs and monitors come with several HDMI ports to utilize. You can connect your PlayStation, home theatre system, and a streaming device like Apple TV to complete an ideal entertainment setup at home. When one of the HDMI ports starts acting up, Apple TV may get stuck with no signal error. Remove the HDMI cable for Apple TV from the TV’s port and connect it to another port.
6. Check Power Plug and Supplied Cable
Also, check the supplied power cable for the Apple TV and ensure it’s plugged in firmly. If there is any damage on either side of the cable, you’ll need to get a replacement cable. Alternatively, try plugging the Apple TV’s power cable directly into a wall socket instead of using a spikeguard.
7. Contact Apple Support
When none of the tricks work, it’s time to contact Apple. You’ll need to book an appointment at the nearest Apple Center and let the certified professionals troubleshoot it.
8. Don’t Use Any Receiver
If you are using an external HDMI switch or receiver, remove the Apple TV’s HDMI cable and connect it directly to your TV. Sometimes if the HDMI switch or receiver won’t work.
Bonus Tip: Check HDMI Connection From tvOS Settings
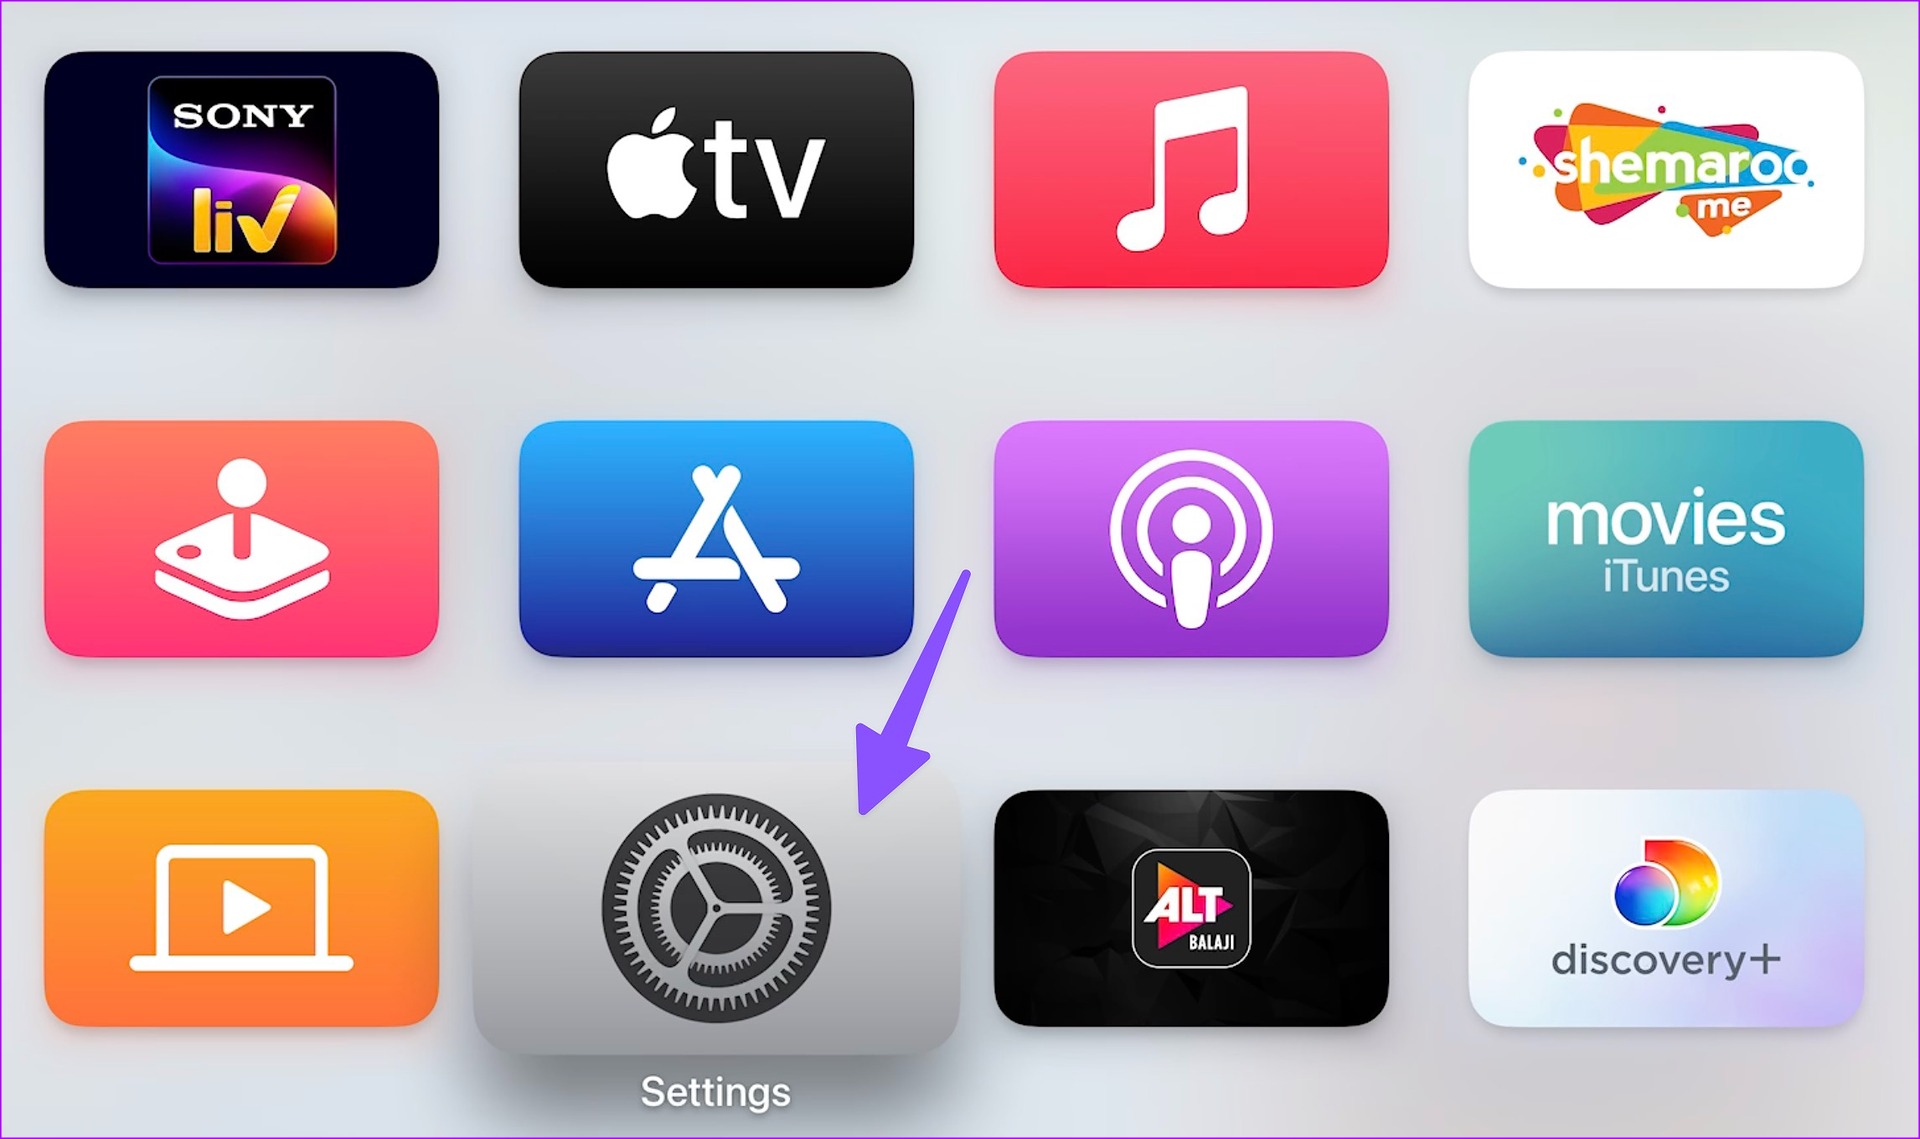
After you manage to get the Apple TV interface active, it’s a good idea to check the HDMI connection from tvOS Settings. The system comes with an option to confirm proper HDMI connection. Follow the steps below. Step 1: Open tvOS Settings from your Apple TV home screen.
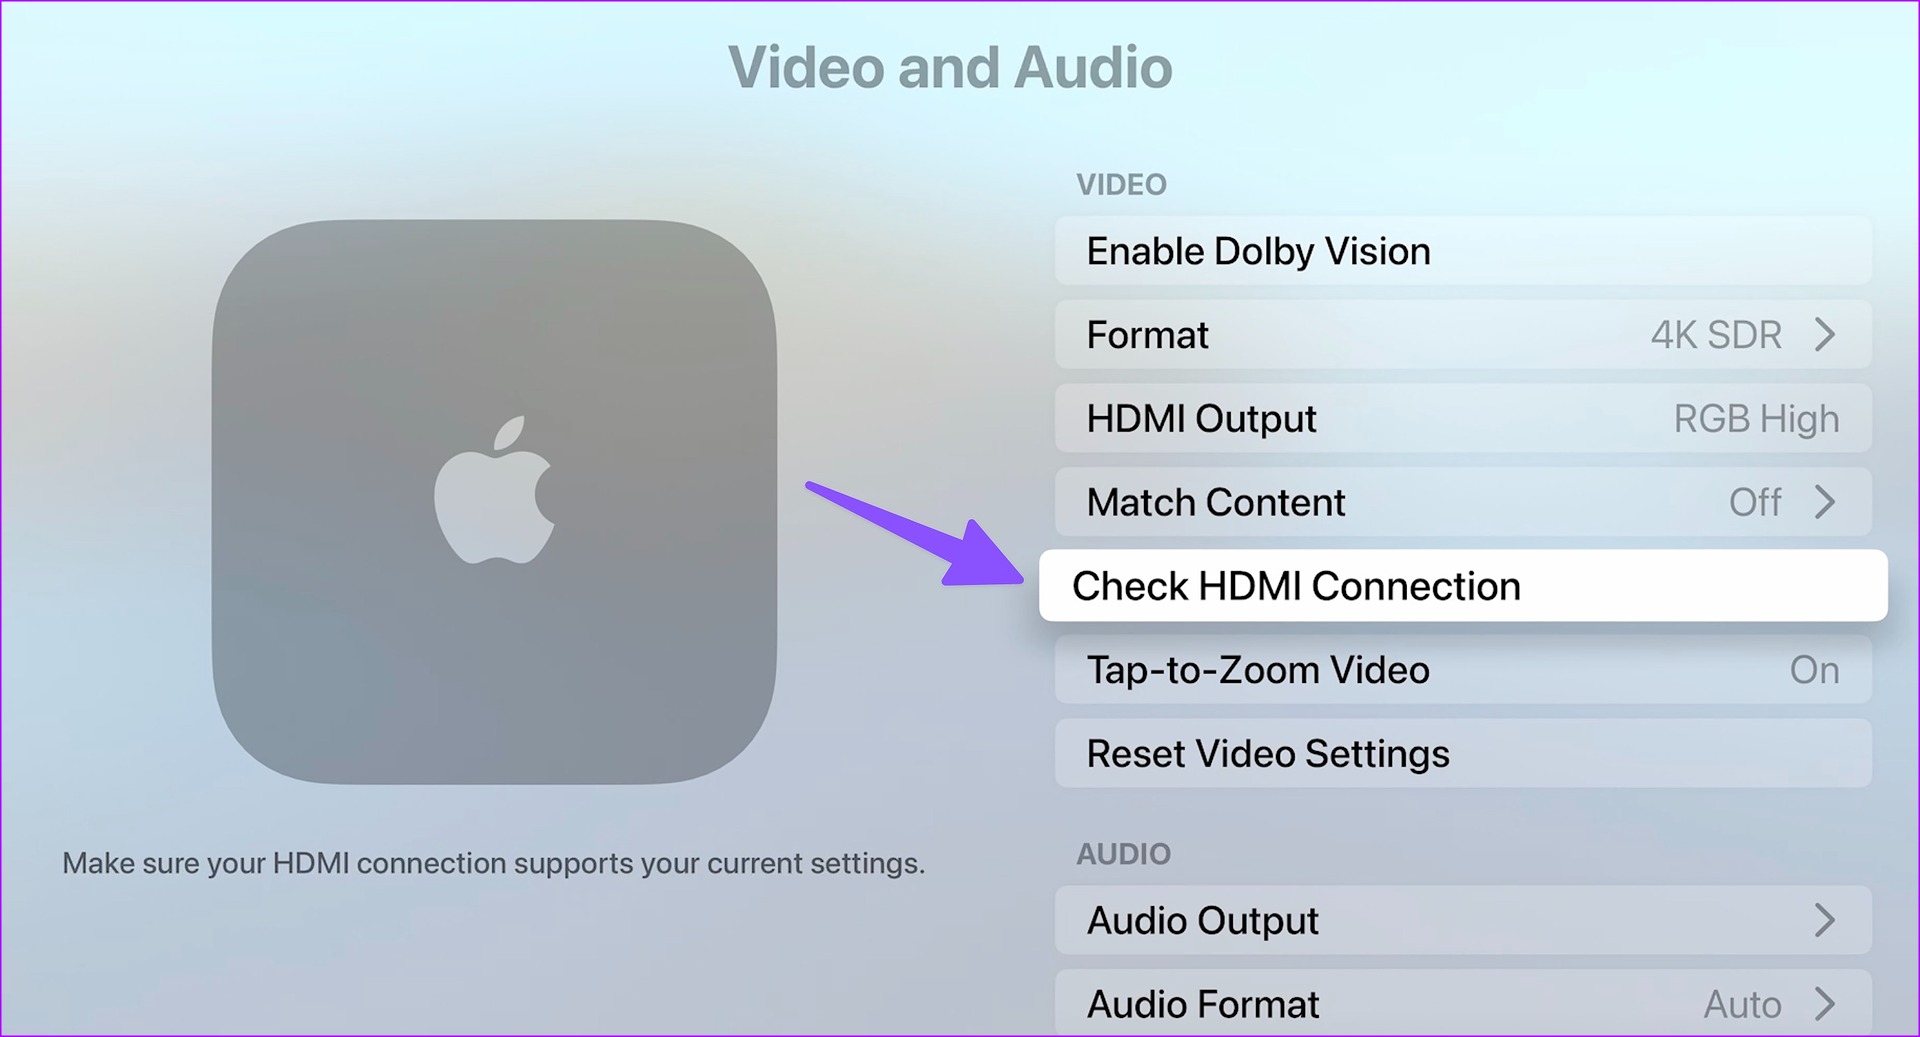
Step 2: Select Video and Audio.
Step 3: Select ‘Check HDMI Connection.’
This will take up to 2 minutes, and you may see a black screen for several seconds. Apple TV will switch you back when the test is complete. If tvOS detects any issue with the HDMI cable, you’ll need to replace it with a new one.
Enjoy Your Favorite TV Shows and Movies
Apple has nailed the tvOS experience on Apple TV. However, issues like no signal can leave you with a sour taste. Which trick worked for you? Share your findings in the comments below.