But now, Netflix has developed a new Profile Transfer feature that lets you enjoy your personalized content differently. This post will discuss this feature and show you how to transfer your Netflix Profile to a new account.
What Is the Benefit of This Feature
Many users share a Netflix account to watch content by creating different user profiles. This new feature will let people create separate membership profile to move out from the Netflix Family and transfer profile data to a new account or profile. As per Netflix, this feature will allow users who have moved out of a relationship or moved away from family members to create their paid account without leaving their watch history and content preferences. This feature sounds great if you are uncomfortable using or sharing a single Netflix account password with others. So you can finally move out of that group or equation. Netflix lets you transfer all your watch history, lists, and recommendations to a new account where you can start paying on your own and keep your Netflix account password private. One of the benefits of this is that you don’t have to rely on obscure methods to pay your share in a “shared Netflix family account” setup. Also, it helps you eliminate the limit of devices that can actively stream Netflix at a time.
How to Enable Profile Transfer on Netflix
Netflix is rolling out the Profile Transfer feature starting October 17, 2022. Netflix will notify the users to the registered email address about the availability of this feature. But here’s how you can activate this feature for your Netflix account right away. You will need your computer to follow these steps. Step 1: Open the web browser on your computer and sign in to your Netflix account. Visit Netflix Step 2: Select your Netflix profile. Step 3: Click your profile icon in the top-right corner.
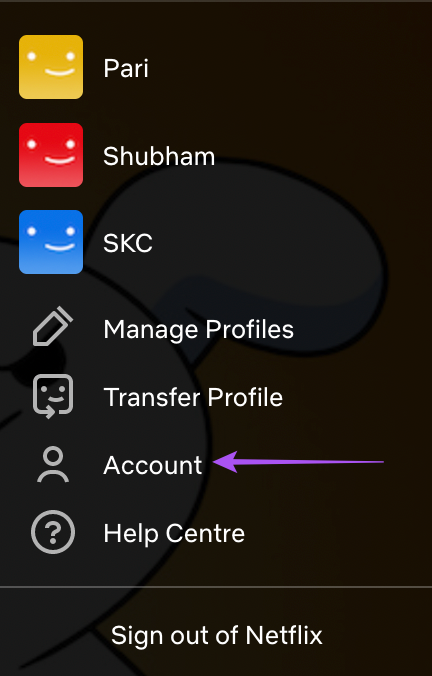
Step 4: Select Account from the list of options.
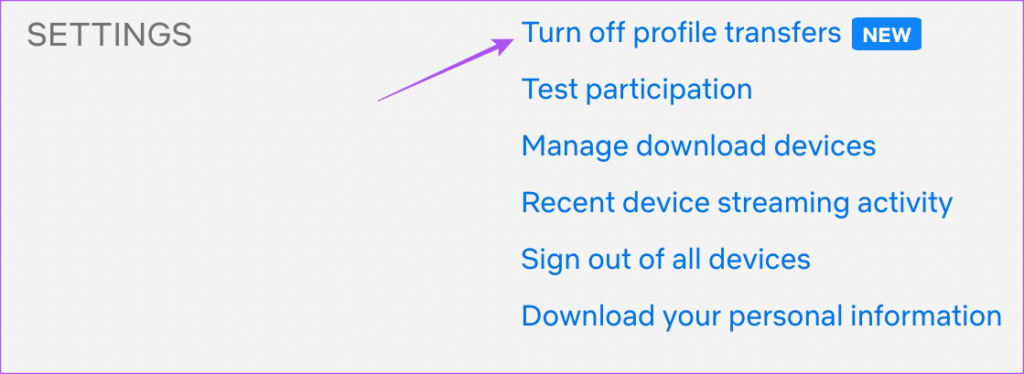
Step 5: On the Account page, scroll down and look for Settings. Step 6: Click on the ‘Turn On Profile Transfers’ option.
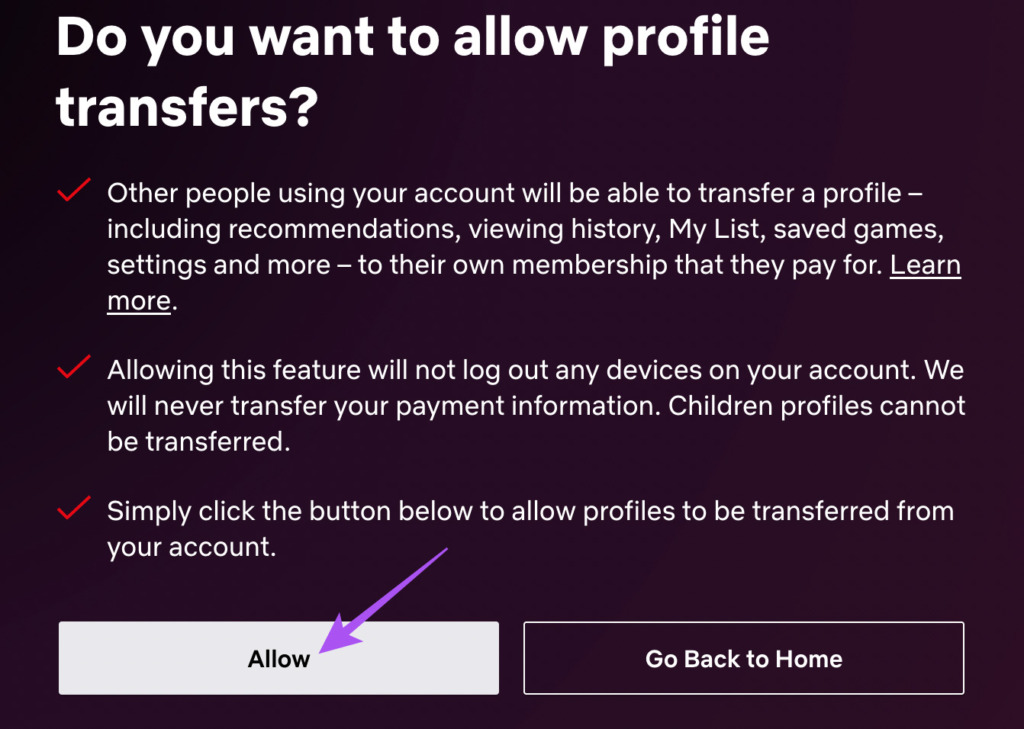
Step 7: Click on Allow.
You will see a confirmation message on your screen.
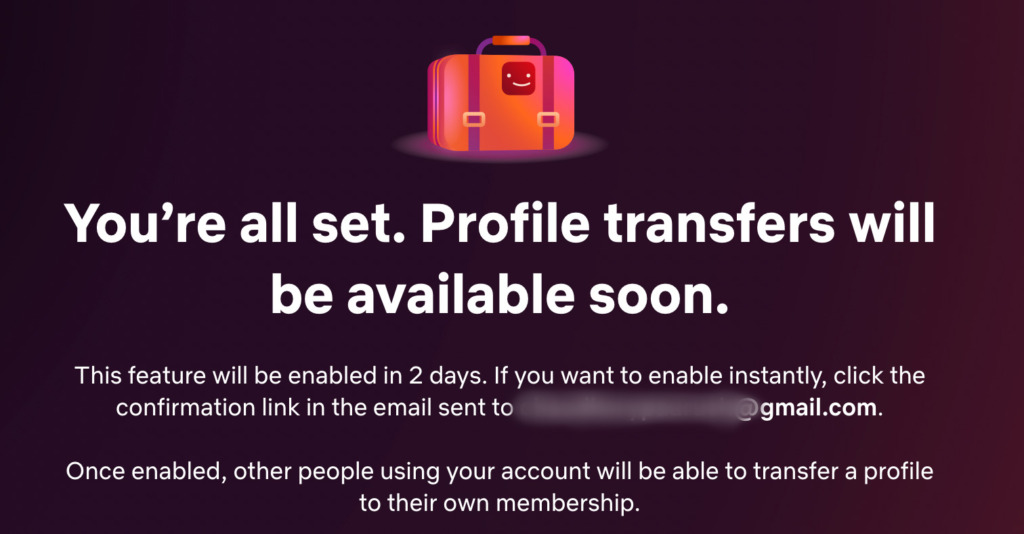
Step 8: Open a new browser tab and log in your email account that’s registered with Netflix. Step 9: Open Netflix’s official email titled ‘Account Update: Profile Transfers will be Available Soon.’ Step 10: Click on Enable Instantly button in the email.
That’ll open your Netflix Account page which will highlight the confirmation. Note: You might have to log in to Netflix again if you had logged out earlier or opened the link in a different browser.
You will also receive an official email from Netflix on your registered email address.
How to Transfer Netflix Profile
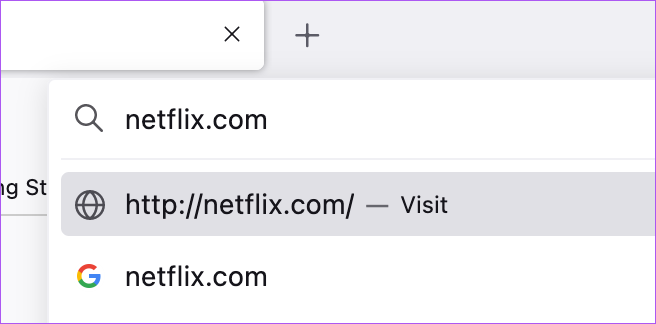
Now that you have enabled the feature, you can transfer your Netflix profile. Do note that this feature is currently not available for mobile users. You will once again need your computer to follow these steps. Step 1: Open the Netflix site in a web browser and sign in to your Netflix account. Visit Netflix
Step 2: Open your profile which you want to transfer to a separate account. Step 3: Click on your profile icon at the top-right corner.
Step 4: Select Transfer Profile from the list of options.
Step 5: To follow the process, click on Next.
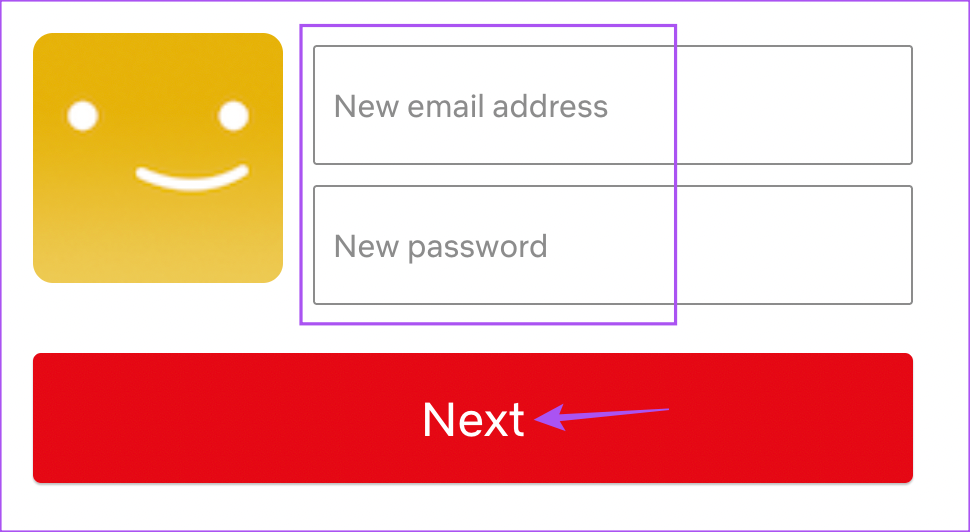
Step 6: Enter your new email address and password for your profile. Then click on Next.
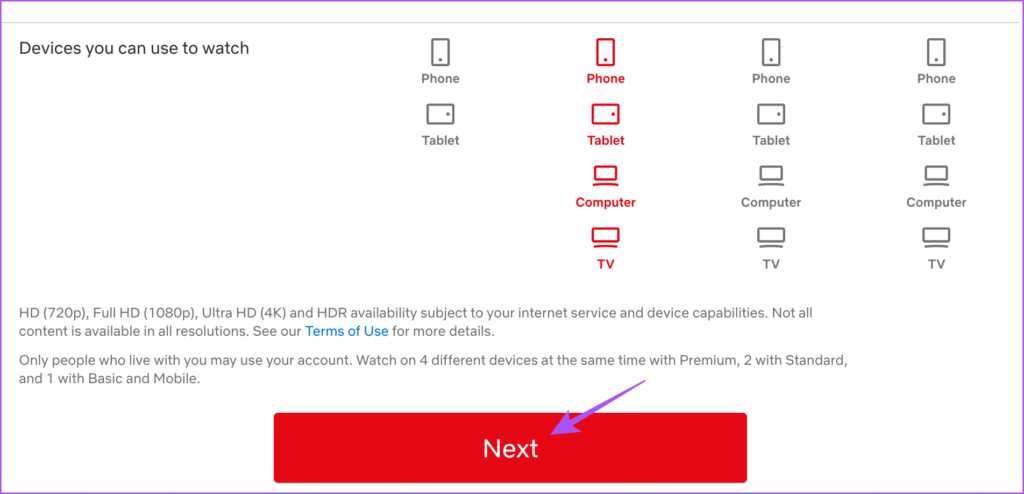
Step 7: Click on Next to choose your plan.
Step 8: Select your plan and click on Next at the bottom.
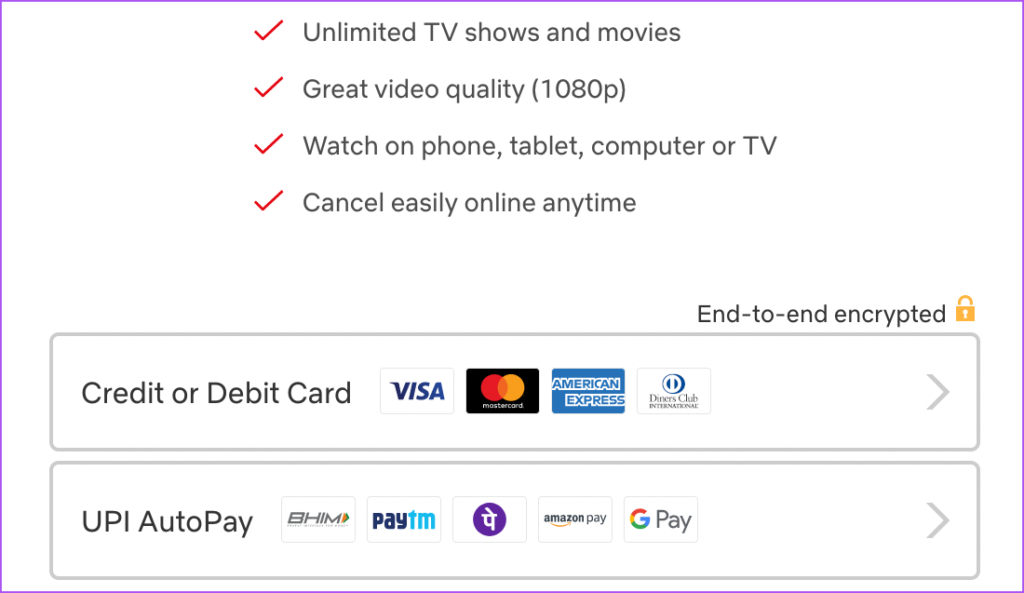
Step 9: Choose the payment method for your membership.
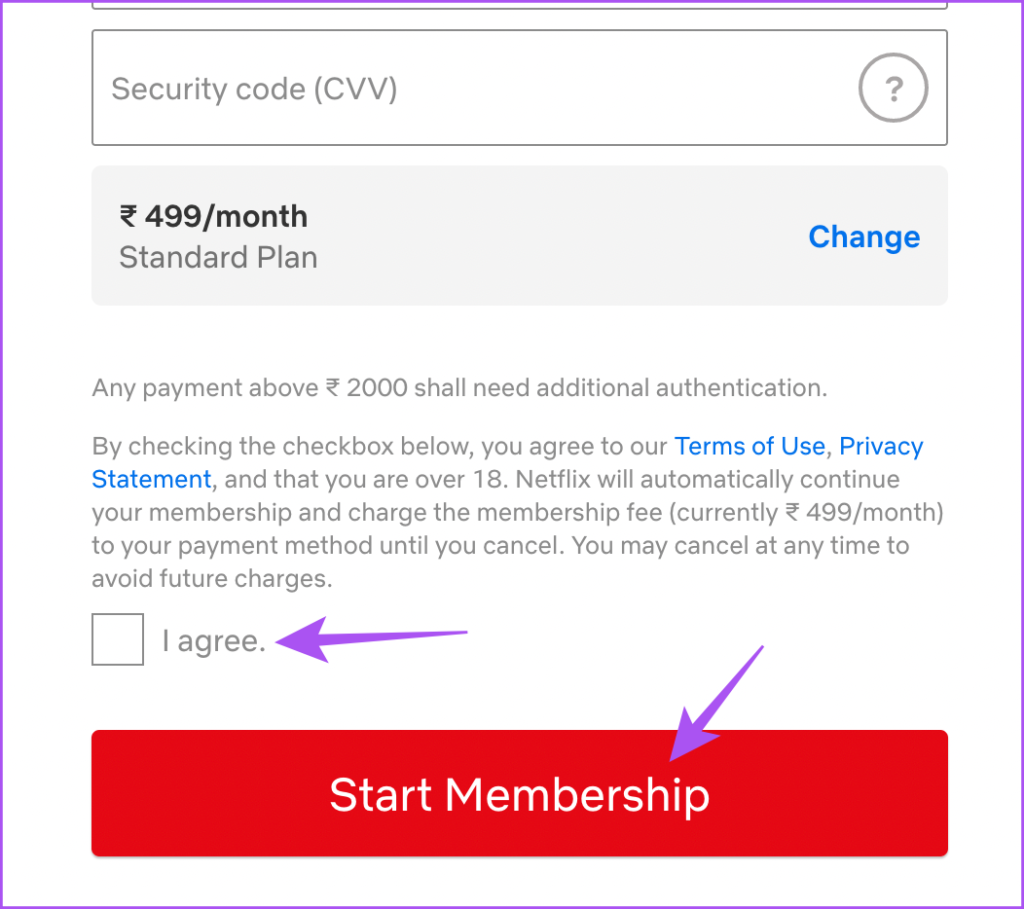
Step 10: Enter your payment method details, select ‘I Agree’, and click on Start Membership.
The Netflix membership for your new profile has been activated. You can now select your Streaming Device and add more Profiles. Your profile transfer process is complete.
You will see a popup message at the top of your profile page.
How to Disable Netflix Profile Transfer
If you wish to disable the Profile Transfer feature for your Netflix account, here are the steps: Step 1: Sign in to your Netflix account on your web browser.
Step 2: Click on your profile icon in the top-right corner.
Step 3: Select Account from the list of options.
Step 4: On the Account page, scroll down and look for Settings. Step 5: Click on Turn Off Profile Transfers.
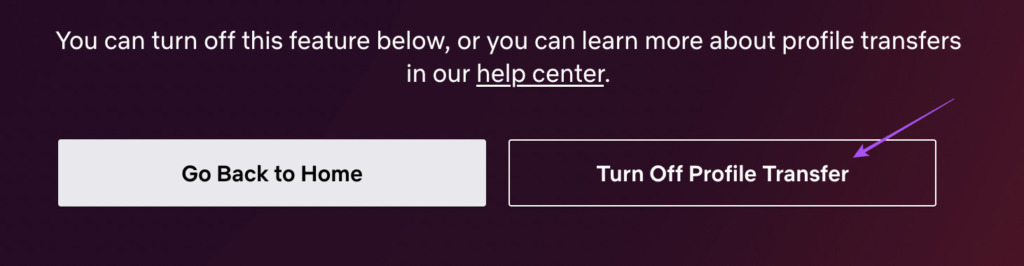
Step 6: Click on Turn Off Profile Transfer at the bottom-right side.
You will see a confirmation for the same on your Account page.
Transfer Netflix Profile With Ease
The Profile Transfer feature will hopefully bring some relief for both users and the company. But apart from this feature, you can read our post highlighting some great hidden features of Netflix to improve your viewing experience.

![]()


![]()


![]()