You can take a screenshot in a below-mentioned way on your regular Kindle, Kindle Oasis, and Kindle Paperwhite. The procedure to do so is quite easy. However, you need your computer to view and access the screenshots. We’ll show you everything you need to know, so let’s begin.
Why Take a Screenshot on Your Kindle Reader
For one, the bookmarking or highlighting options to save a few lines of text in your book are quite cumbersome. We feel taking screenshots of a few pages for future reference is far easier. Another reason is that you can share what you read with your friends quickly, instead of taking a picture of your Kindle. Now, let’s understand how to do it.
How to Screenshot on Kindle
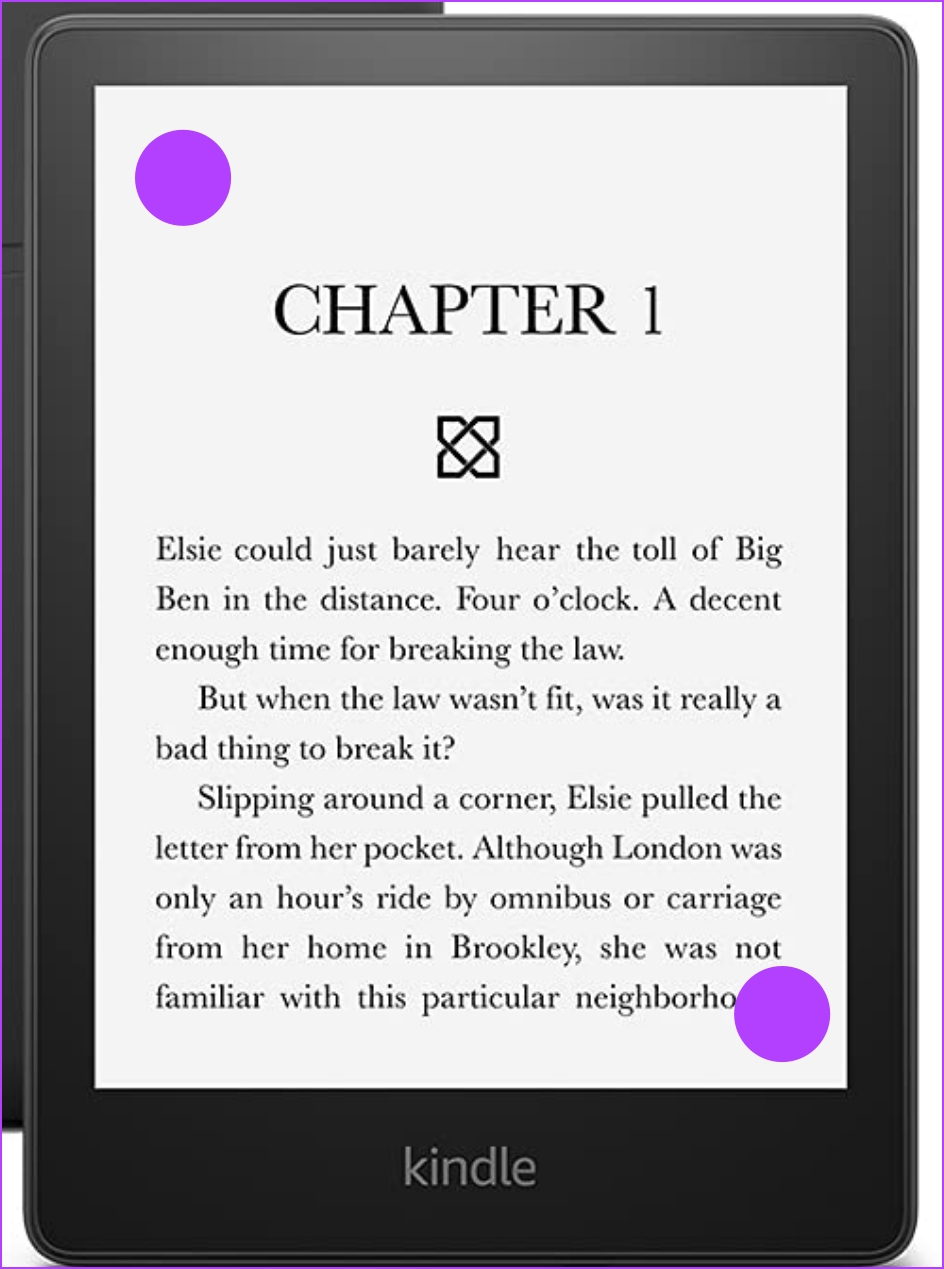
Note: This method works for all Kindle, Kindle Paperwhite, and Kindle Oasis editions with a touchscreen. Step 1: Open the page on Kindle that you want to take a screenshot of. Step 2: Now, long-tap on the top left and the bottom right corner of the screen, as shown in the screenshot below. That’s it. Now that you have captured your Screenshot on Kindle, you need to connect it to your PC to view it. Unfortunately, there is no way to view or edit it on your Kindle itself.
Access Your Kindle Screenshots Using File Explorer
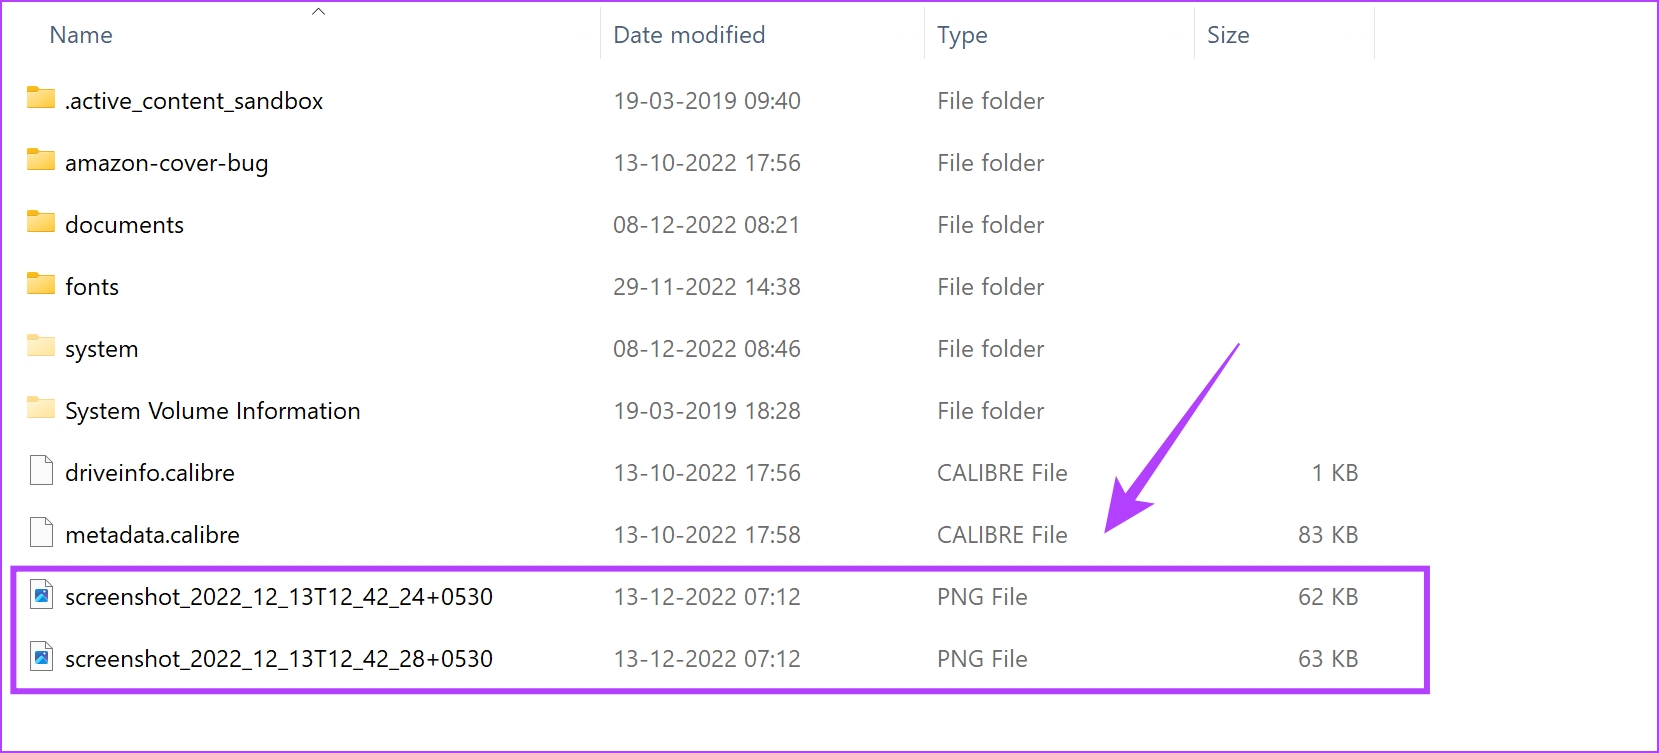
Here’s how you can access the captured screenshots on your computer. The procedure is more or less similar for both Windows and Mac, but wherever there is a change, we have mentioned it in the step. Once you access the screenshots, you can edit, copy, and share them. Step 1: Connect your Kindle to your PC. Step 2: Open the Kindle drive in the ‘Your PC’ section. Step 3: As soon as you open the drive, you can access the screenshots. If you are using Mac, you just need to expand the Kindle folder to find the screenshots. This is what your screenshot will look like. Say goodbye to the blurry pictures of text on your Kindle.
No More Blurry Images on Kindle


