A great way to organize your thoughts and ideas is by creating bullet points. This post will show you how to create and customize bullet points in Google Docs.
Create Bullet Points in Google Docs on Desktop
Using Google Docs in a web browser on a desktop is the most convenient way to work on a document. For example, content writers can easily write and share their drafts via Google Docs. Business professionals get access to ready-t0-use templates in Google Docs. When it comes to presenting your content in an organized manner, bullet points can showcase the highlights and important aspects without the need of making the document a verbose one. Follow these steps to add them to Google Docs. Step 1: Launch a web brower on your computer and open the Google Docs site. Visit Google Docs
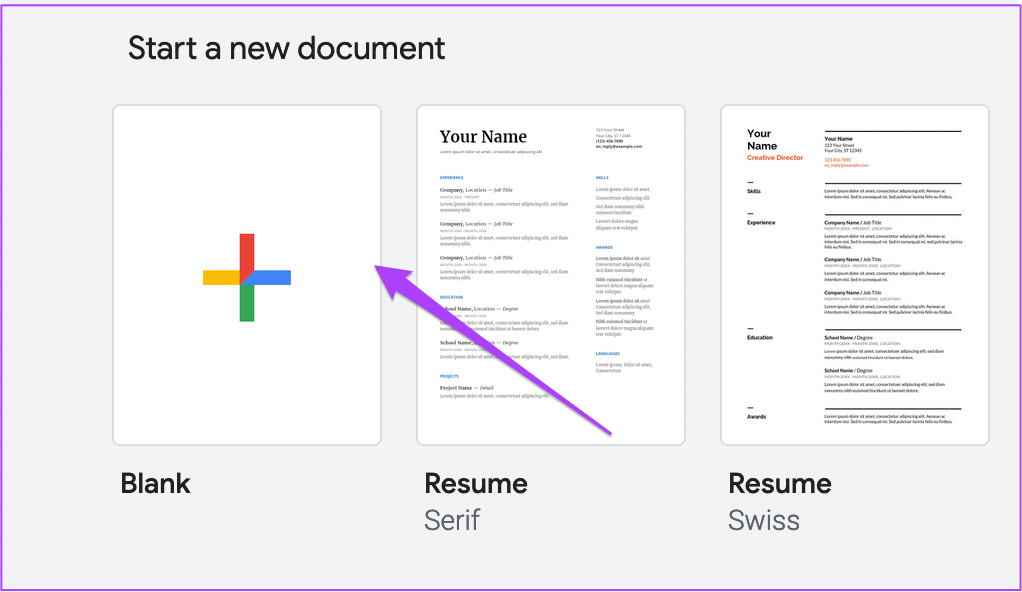
Step 2: Sign in with your Google account. Step 3: Once the page loads, click on New Document.
You can also choose to edit from Recent Documents.
Step 4: Place the cursor in the document where you want to add bullet points. Step 5: Look for the following three icons in the top-right menu bar above your page. The first option lets you add a Checklist.
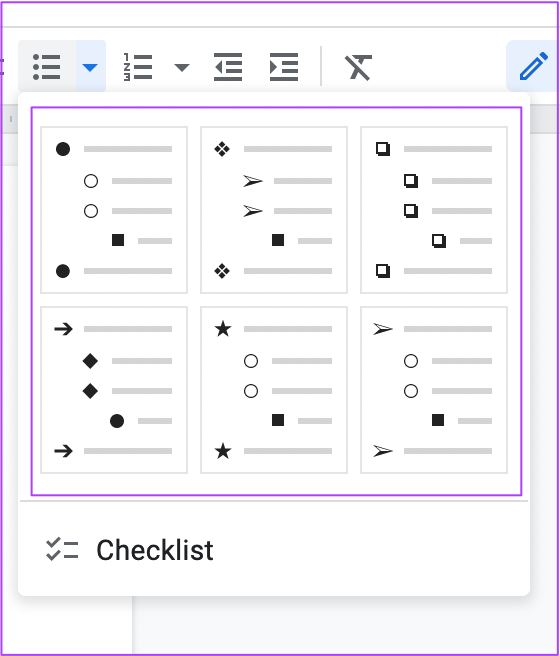
The second option lets you add a Bulleted List. Click the icon and choose from the default bullet designs.
The third option lets you add a Numbered List. Click the icon to choose from the default bullet designs.
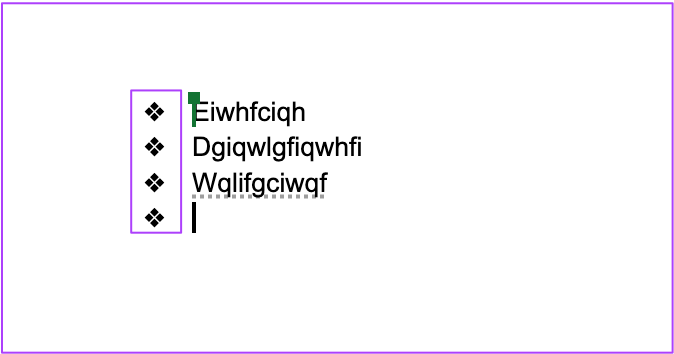
Step 6: After selecting your design, start adding your bullet points to the page.
Step 7: Once you have added them, press Command/Control + S to save changes.
Customize Bullet Points in Google Docs on Desktop
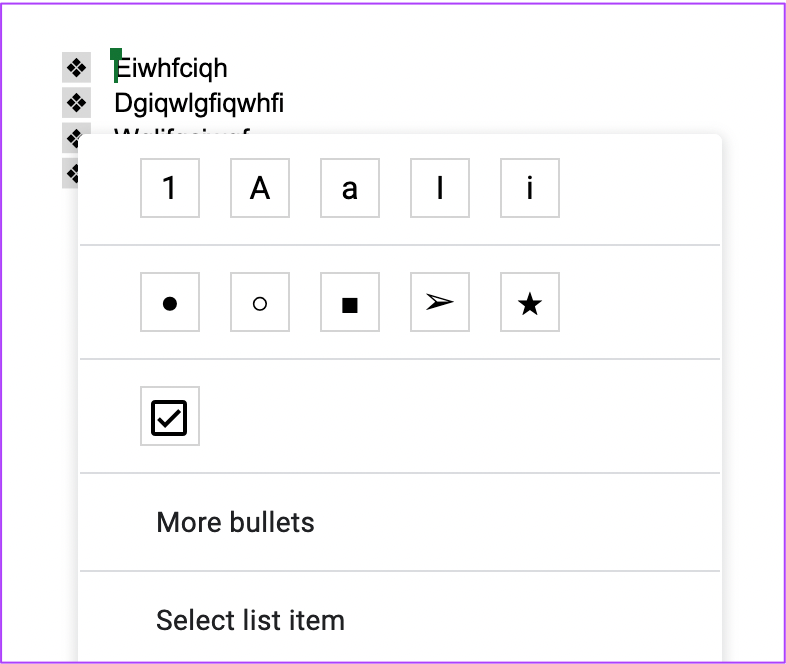
If you want to customize the bullet points further, you can do that in Google Docs. Follow these steps. Step 1: Bring your mouse pointer to the top of the previously created bullet points. Step 2: Click to select them and right-click to reveal additional options.
Step 3: Click on More Bullets.
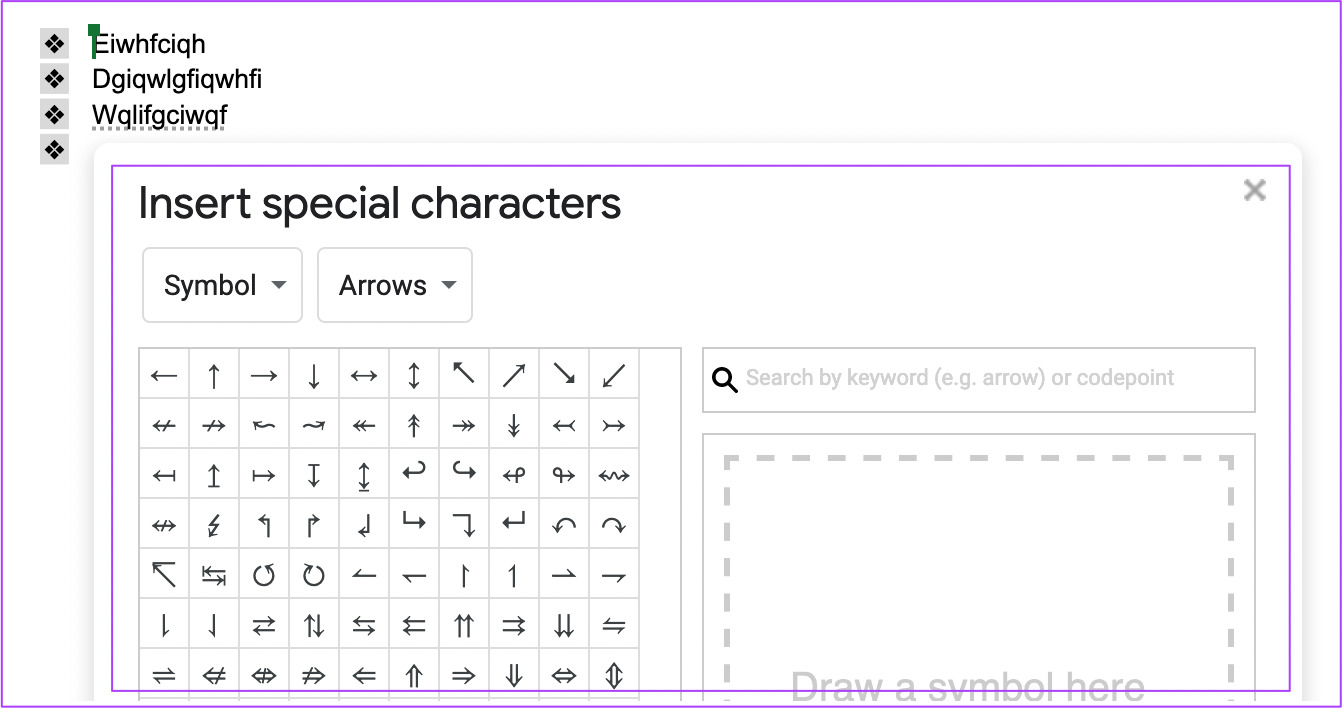
You will now see a dialog box with a lot more options for bullet point design. You can even draw a bullet point design using a stylus.
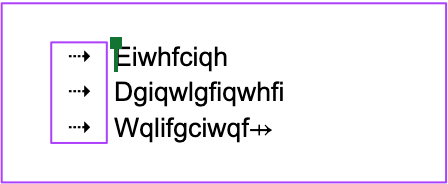
Step 4: Select a bullet point design of your choice. You will see the newly selected bullet point design appearing on your page.
Step 5: Press Command/Control + S to save changes.
Create and Customize Bullet Points in Google Docs on Mobile
The Google Docs app and other Google Productivity Suite apps are available to download for Android and iPhone. When you have to edit your documents on the go, the Google Docs app works perfectly. Just make sure that you have a strong internet connection to access all your synced documents. Make sure that you are using the latest version of Google Docs on your device. Download Google Docs for Android Download Google Docs for iPhone Follow these steps to add bullet points. The steps remain the same for Android and iPhone users. Step 1: Open the Google Docs app on your Android or iPhone.
Step 2: Open a New Document or access a previous one that you want to edit. Step 3: Tap the Pencil icon at the bottom right to edit your document.
Step 4: Place the cursor in the document where you want to add bullet points. Step 5: Tap the Font icon at the top right.
Step 6: Select the Paragraph tab from the popup menu.
Step 7: Tap to add either Bulleted List or Numbered List in your document.
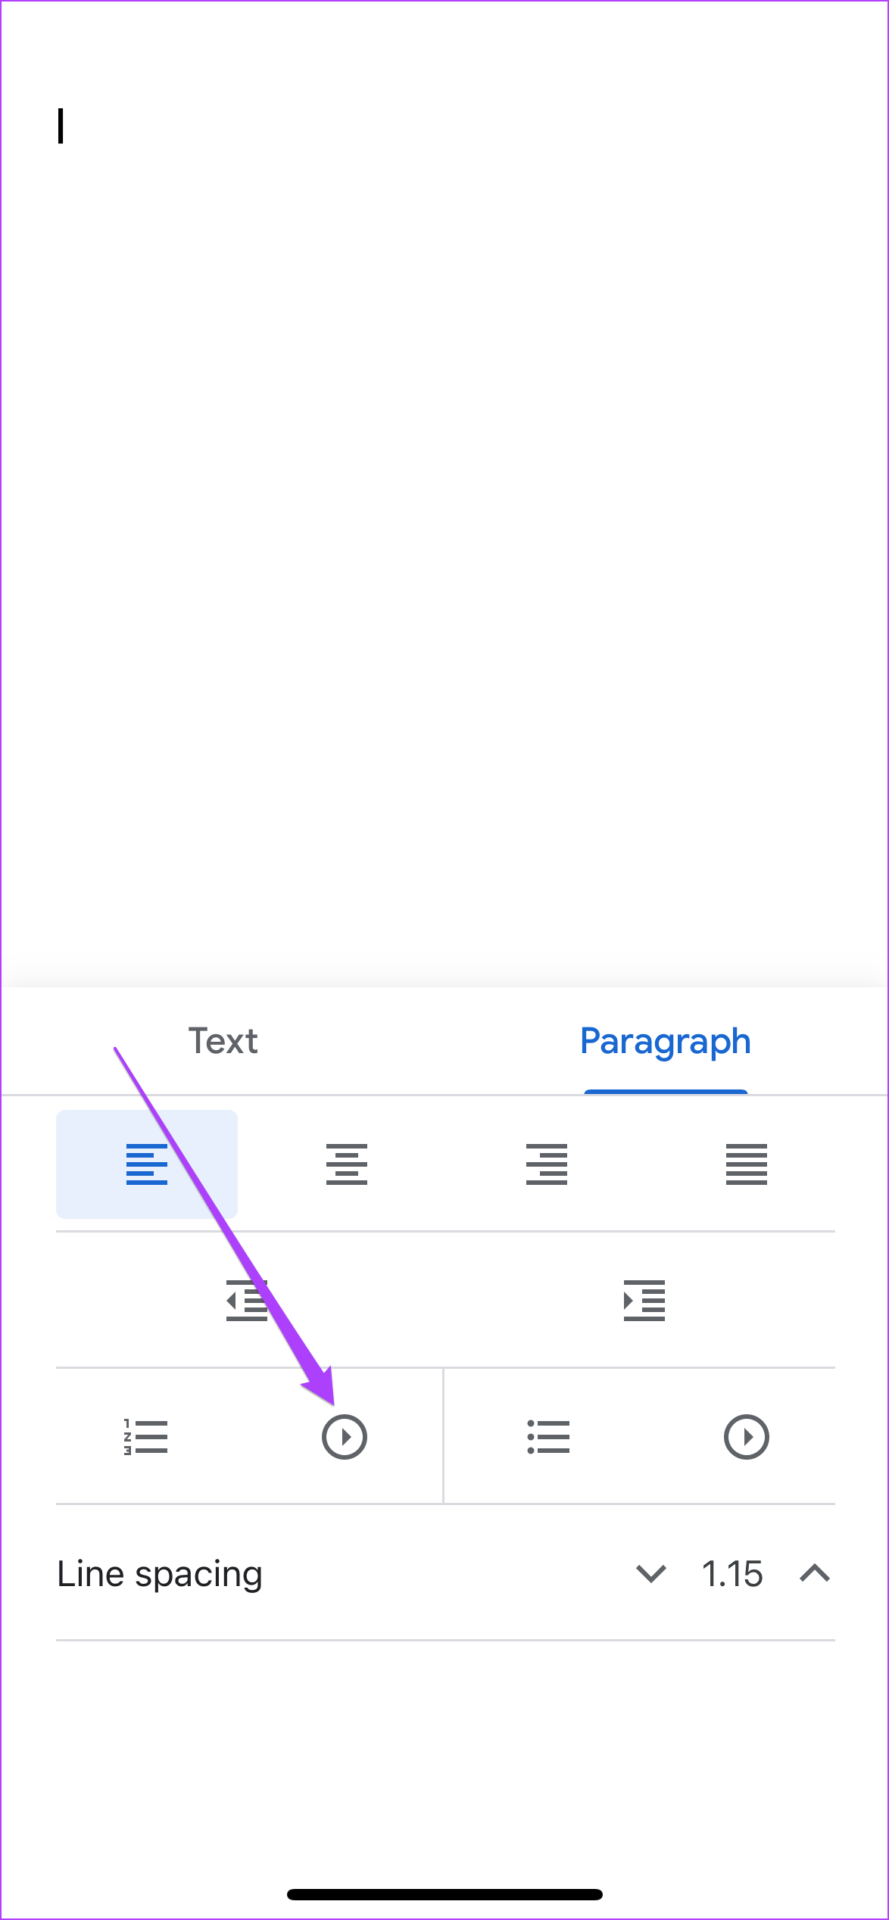
If you select Bulleted List, tap the encircled arrow icon to reveal more bullet point design options.
If you select Numbered List, tap the encircled arrow icon to reveal more bullet point design options.
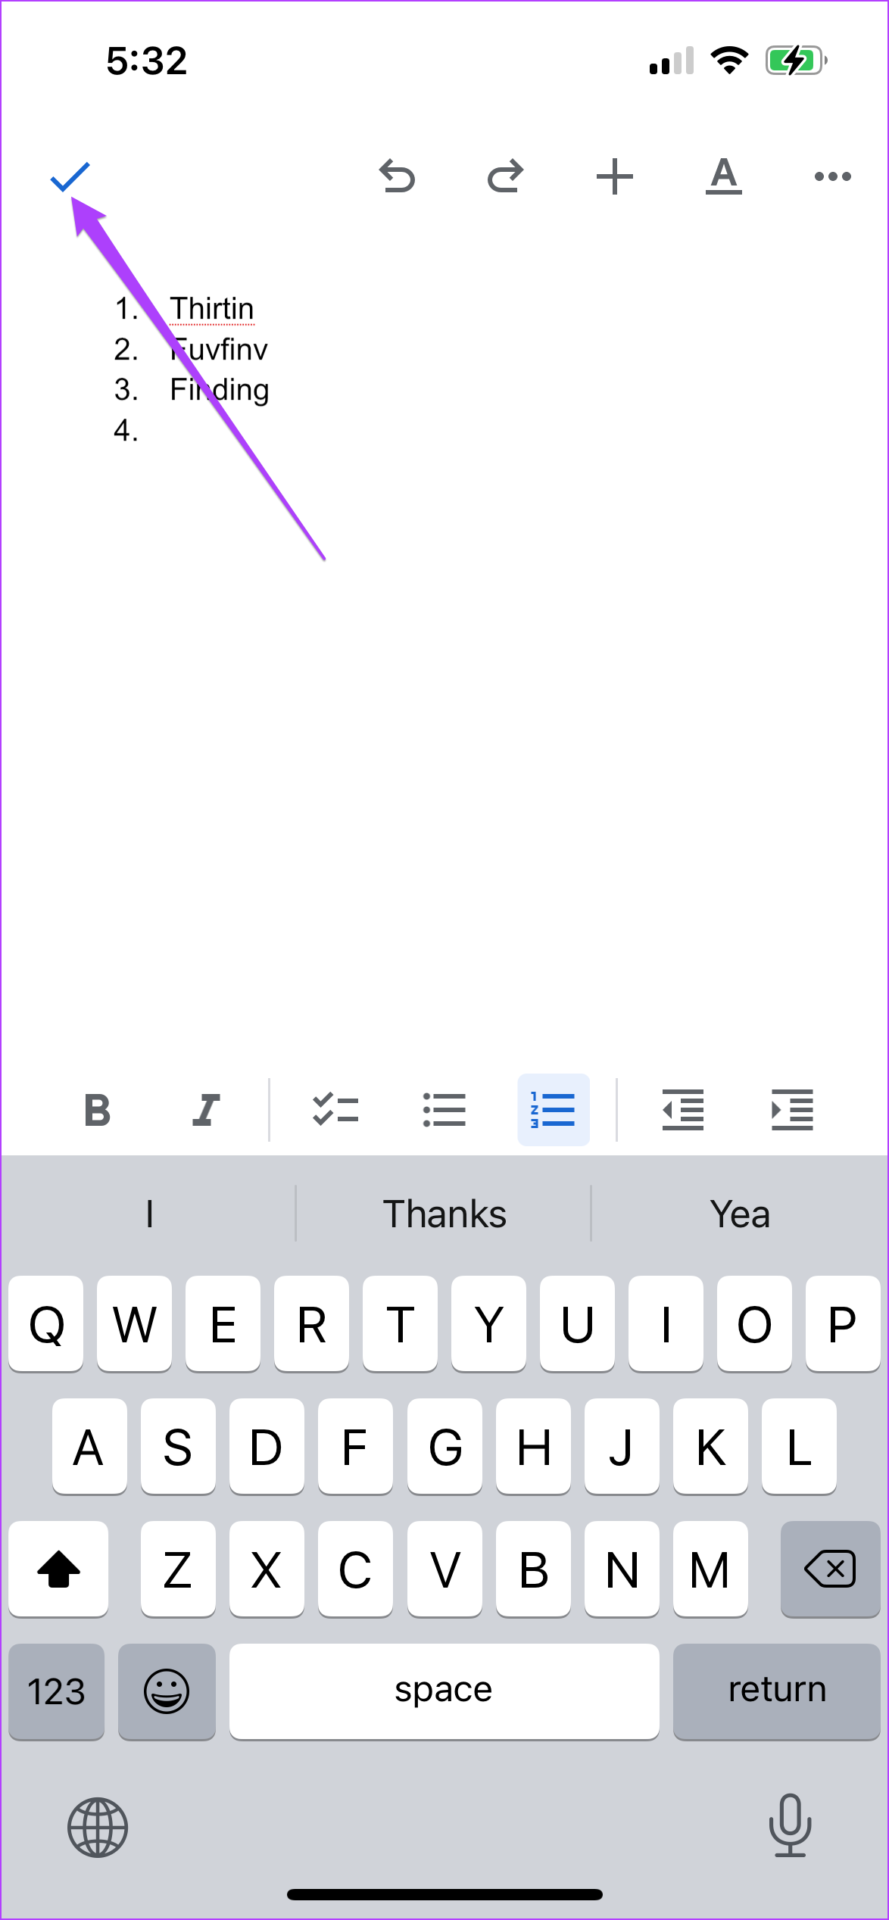
Step 8: Select the design and add your bullet points to the document. Step 9: Tap the blue arrow icon at the top-left corner to save changes.
Highlight Your Points Using Bullet Points
Bullet Points in Google Docs is an effective way to highlight or summerize your thoughts. You can use different bullet point designs to make the text more attractive in your document.


