This tool runs a number of tests to examine if there is a problem with the memory, and you don’t have to inspect the RAM modules physically. We have summarized the best methods to easily access the Windows Memory Diagnostic Tool on your Windows 11 PC.
1. Access Windows Memory Diagnostic Tool Using the Run Utility
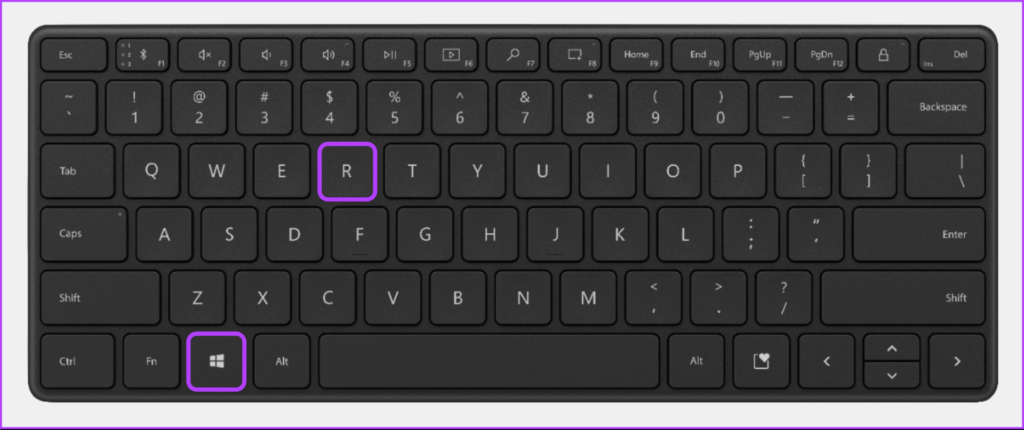
The Run tool on Windows comes in handy whenever you want to quickly access the Registry Editor, the Group Policy Editor, Command Prompt, or any other useful utilities. Here’s how you can easily access the Windows Memory Diagnostic Tool using the Run utility: Step 1: Press the Windows + R keys together to access the Run utility. Step 2: When a Run dialog appears on your screen, type mdsched.exe, and click on OK. That’ll open the Memory Diagnostic Tool window.
2. Access Windows Memory Diagnostic Tool Using Windows Tools
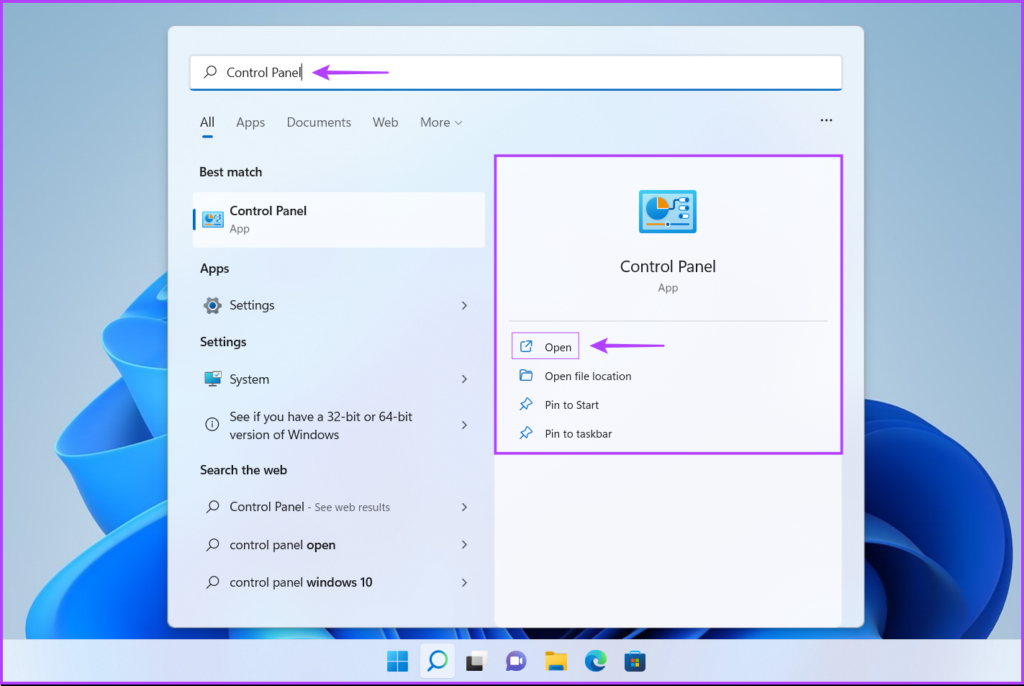
Windows (Administrative) tools give you access to administrators to free up disk space, organize and optimize storage, schedule tasks, view event longs, and other features usually limited to system administrators only. You can use it to access the Windows Memory Diagnostic tool on your computer. Let’s see how: Step 1: Press the Windows + S keys to open Windows Search and type Control Panel. Then, from the results for the Control Panel, click on Open. Step 2: On the Control Panel window that opens, click on the Category drop-down and select Large icons. Step 3: Scroll down and click on the Windows Tools option. Step 4: When a Windows Tools window appears, scroll down and click on the options that says Windows Memory Diagnostic.
3. Access Windows Memory Diagnostic Tool Using Task Manager
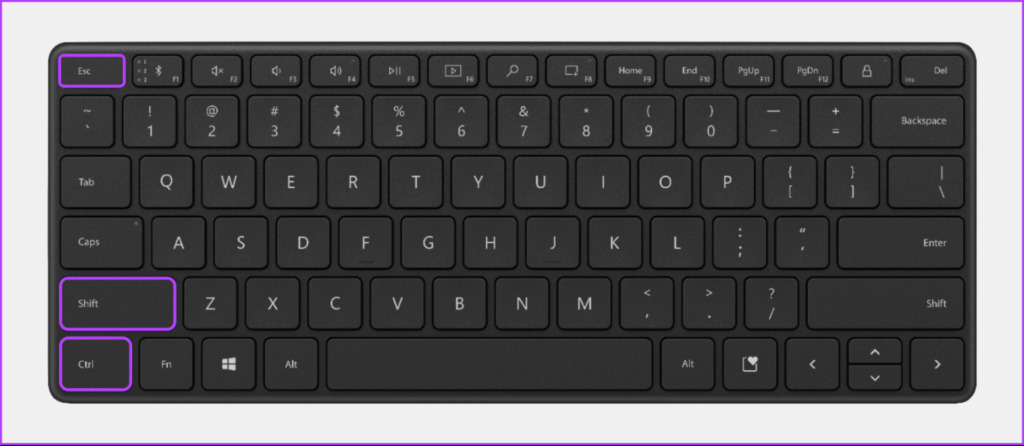
Task Manager is quite helpful in killing any program or service that’s stuck. You can also use it to open and run other programs and services on your computer. While there are a few ways to open the Task Manager on your PC, follow the steps below: Step 1: Press the Ctrl + Shift + Esc keys to open the Task Manager. Step 2: Click the ‘Run new task’ button in the Task Manager window. Step 3: When a Create new task dialog appears, type mdsched.exe in the text field and press Enter on the keyboard.
4. Access Windows Memory Diagnostic Tool Using Command Prompt or PowerShell
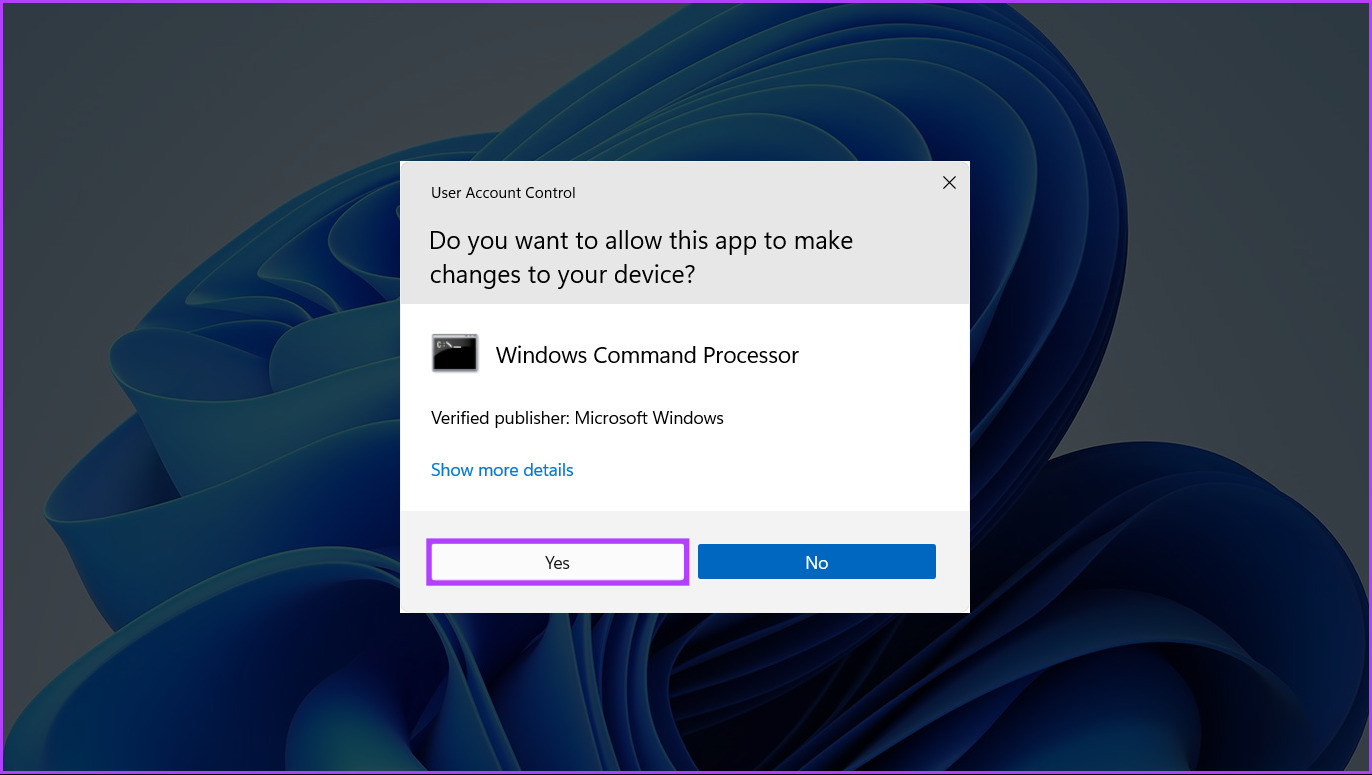
Command Prompt and PowerShell are useful and minimalist looking command-line interfaces to start activities or manage your computer with a few commands. To open the Memory Diagnostic Tool using command prompt, or PowerShell, here’s what you need to do. Step 1: Press the Windows + S keys to access search and type Command Prompt or PowerShell. When either of them shows up, click on Run as Administrator to open them with administrative privileges. Step 2: When a User Account Control (UAC) prompt appears, click on Yes. Step 3: In the PowerShell or Command Prompt window that appears, type the following command and press Enter. That’ll open the Windows Memory Diagnostic tool on your computer.
5. Access Windows Memory Diagnostic Tool From Advance Startup Options
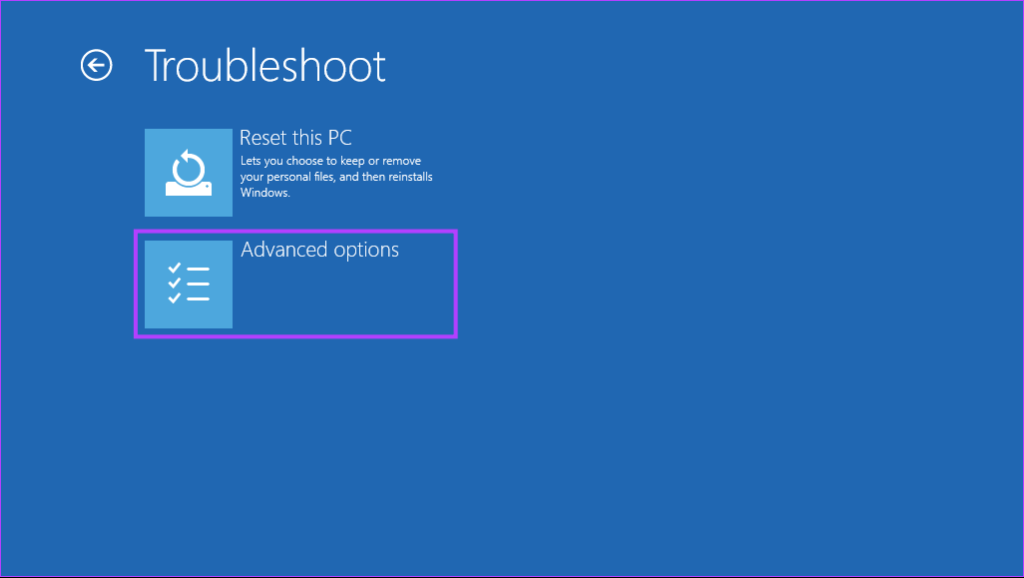
If your computer throws a memory-related error and keeps restarting, the above solutions may not work for you. In that case, you can open the Windows Memory Diagnostic Tool by accessing the Advance Startup Options built into Windows. Here are the steps for the same: Step 1: Press the power button to turn on your PC. When the Windows logo appears, press and hold the power button to force shut down your PC. Step 2: Reboot your PC 3 more times until you see the Automatic Repair screen. Then, click on Advanced options to access the Advanced Startup Options menu. Step 3: When your PC restarts, and you reach the ‘Choose an option’ screen, click on Troubleshoot. Step 4: Click on Advanced options. Step 5: Click on Command Prompt. Step 6: In the Command Prompt window that opens, type mdsched.exe and press Enter. You will see a Windows Memory Diagnostic dialog appear on your screen.
6. Access Windows Memory Diagnostic Tool From Windows Boot Manager
Apart from the methods discussed above, you can also use the Windows Boot Manager to access the Windows Memory Diagnostic Tool. Here’s how: Step 1: Press the Windows + S keys and type Command Prompt. Then, from the results for the Command Prompt, click on ‘Run as administrator.’ Step 2: When a User Account Control (UAC) prompt appears, click on Yes. Step 3: Copy and paste the command mentioned below into the Command Prompt window, then press Enter. Step 4: Copy and paste the following command, and press Enter to restart your PC. Step 5: When you see the Windows Boot Manager screen, press the Tab key followed by Enter on the keyboard to open Windows Memory Diagnostic. Do note that once your PC boots up, you will have to run the following command to stop the Windows Boot Manager from appearing every time you start your PC:
Troubleshoot Memory-Related Issues on Windows 11
You can apply the above methods to access the Windows Memory Diagnostic Tool on Windows 11. That’ll help you quickly troubleshoot memory leaks or other memory-related issues on your Windows PC without needing to inspect the RAM modules physically.


![]()