With that said, how do you know if your graphics card has enough video memory (VRAM) to handle whichever graphic-intensive task you throw at it? Here are the best ways to check the VRAM capacity available on a Windows 11 PC.
1. Check VRAM Capacity Using Task Manager
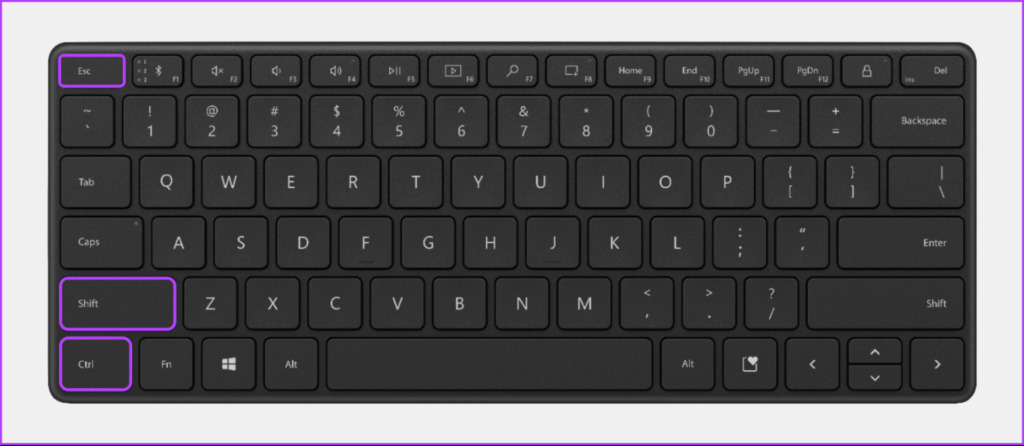
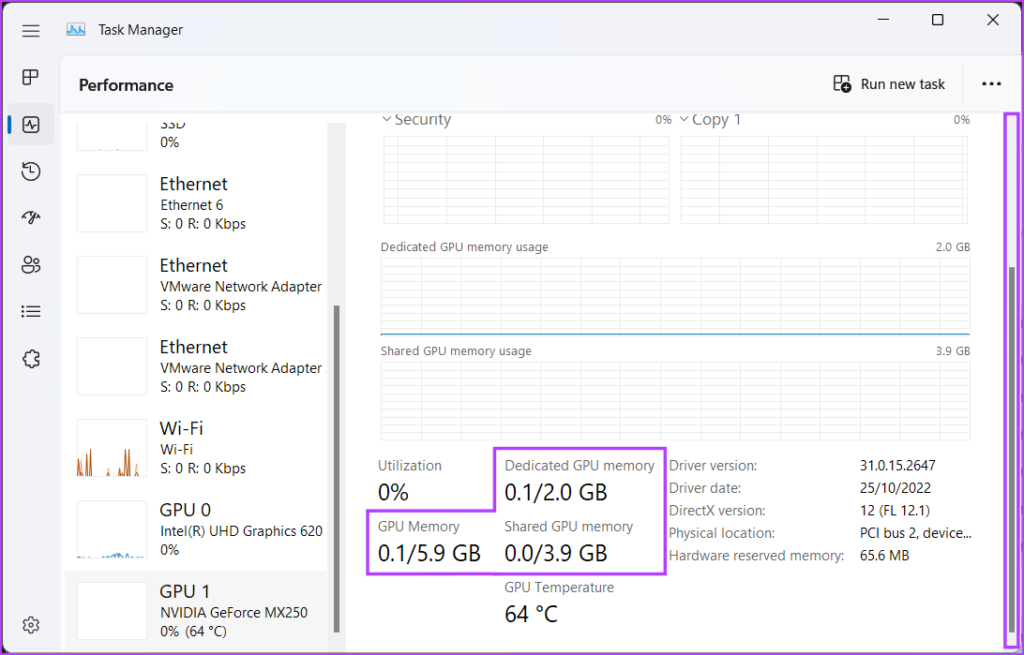
Task Manager is quite useful to help you determine the VRAM capacity of the graphics card on your Windows 11 PC. Open the Task Manager using its default Ctrl+Alt+Delete shortcut and navigate to the GPU section of the Performance tab. Follow these the steps below to reach there: Step 1: Press the Ctrl + Shift + Esc keys to open the Task Manager. Step 2: In the Task Manager window, navigate to the Performance tab by clicking on the second icon located on the left toolbar. Step 3: Scroll down using the scroll bar on your left and select the GPU of your choice. Step 4: Scroll down using the scroll bar on your right and you will see three different VRAM values listed in GBs. Here’s what each of the three values mean:
GPU Memory: Total VRAM capacity.Dedicated GPU memory: The VRAM capacity of the dedicated GPU.Shared GPU memory: The VRAM capacity of the integrated GPU that is utilized when the dedicated GPU is low on VRAM.
You can use the GPU section of the Performance tab to check your GPU’s real-time utilization, its temperature, the DirectX version of your PC, and the location of the PCIe slot used to connect the GPU to your PC’s motherboard.
2. Check VRAM Capacity Using the Settings App
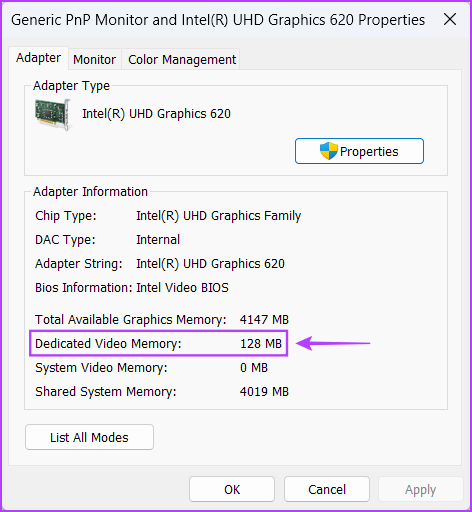
Windows 11 brings an improved and detailed Settings app to let you control, tweak, and optimize your PC without diving deep into menus. That’s how you can use it to check your PC’s VRAM capacity: Step 1: Press the Windows + I keys to open the Settings app. Step 2: When the Settings app opens, stay on the System tab and click on Display. Step 3: On the Display page of the Settings app, scroll down and click on the Advanced display option. Step 4: On the Advanced display page, click on the ‘Display adapter properties for Display 1’ option. Step 5: Look for the value beside Dedicated Video Memory in the window that appears. This value corresponds to the VRAM capacity of the GPU. Note: If you have more than one graphics cards installed on your PC, this method will only show the information about the graphics card (GPU) that’s currently in use.
3. Check VRAM Capacity Using DirectX Diagnostic Tool
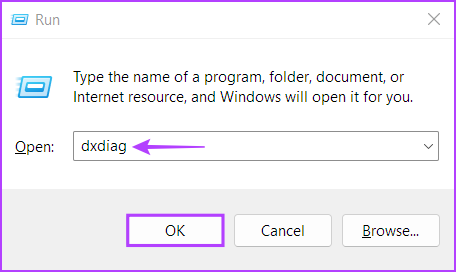
Windows 11 includes the DirectX Diagnostic Tool (DxDiag) to help you troubleshoot display and sound issues on your computer. You can use this tool to check your Windows 11 PC’s hardware specifications including the VRAM capacity of your graphics card. Here’s how to use it: Step 1: Press the Windows + R keys shortcut to open a Run dialog, type dxdiag in the text field, and click OK. Step 2: In the DirectX Diagnostic Tool window, click on the Display tab. Step 3: Under the Display tab, look for the value beside Display Memory. This value corresponds to the VRAM capacity of the integrated built into the CPU. Step 4: Navigate to the Render (Display 2 on some PCs) tab by clicking on it, and look for the value beside Display Memory. This value corresponds to the VRAM capacity of the dedicated GPU.
4. Check VRAM Capacity Using Third-Party Tools
Even though there are plenty of native ways you can check the VRAM capacity on Windows 11, nothing beats the convenience of using third-party tools that gather and display all the information about your PC in an organized manner. With that said, here’s how you can use a free utility called CPU-Z to check the VRAM capacity of the GPU (Graphics Processing Unit) installed on your PC: Step 1: Download CPU-Z by clicking the download button located below: Download CPU-Z for Windows Step 2: When the download completes, click on the CPU-Z installer, and select Yes. Then follow the on-screen instructions to install CPU-Z on your PC. Step 3: After that, press the Windows + S keys to open Windows Search and type CPU-Z. Then, from the results for CPU-Z, click on Open. Step 4: In the CPU-Z window that appears, click on the Graphics tab. Step 5: You should see the VRAM capacity (denoted by Size) listed under the Memory section of the Graphics tab. Alternatively, you can also click on the Display Device Selection drop-down, as pointed out in the screenshot below, to select the integrated GPU and check its VRAM capacity.
Check Whether Your GPU Has Enough Memory to Run the Latest Games
That’s about it. You can employ any of the above-listed methods to check the VRAM capacity of the graphics card installed on your PC. That’ll help you ensure that your graphics card has enough VRAM to run all the latest games you might want to play on your PC or to perform other graphic-intensive tasks.