The built-in Mail app uses flags and VIP senders, Gmail relies on labels, while Outlook has a Focused inbox and other neat add-ons to organize emails on the go. Let’s check them in action.
1. Organize Emails on Mail for iPhone
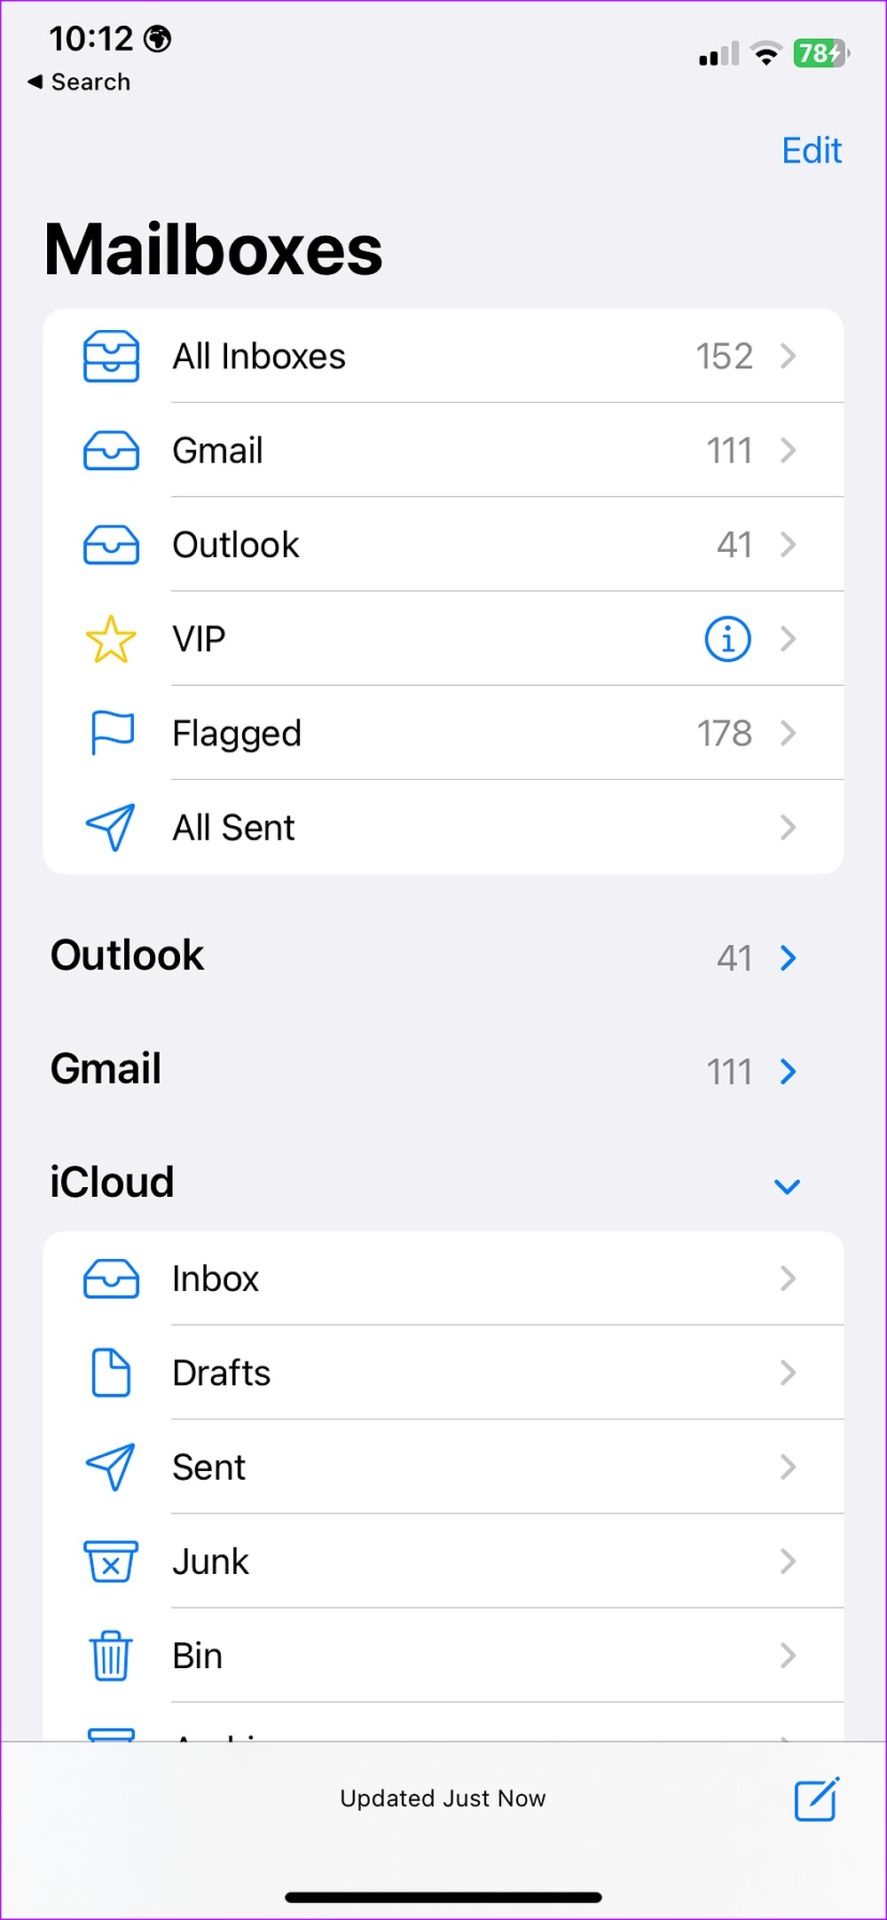
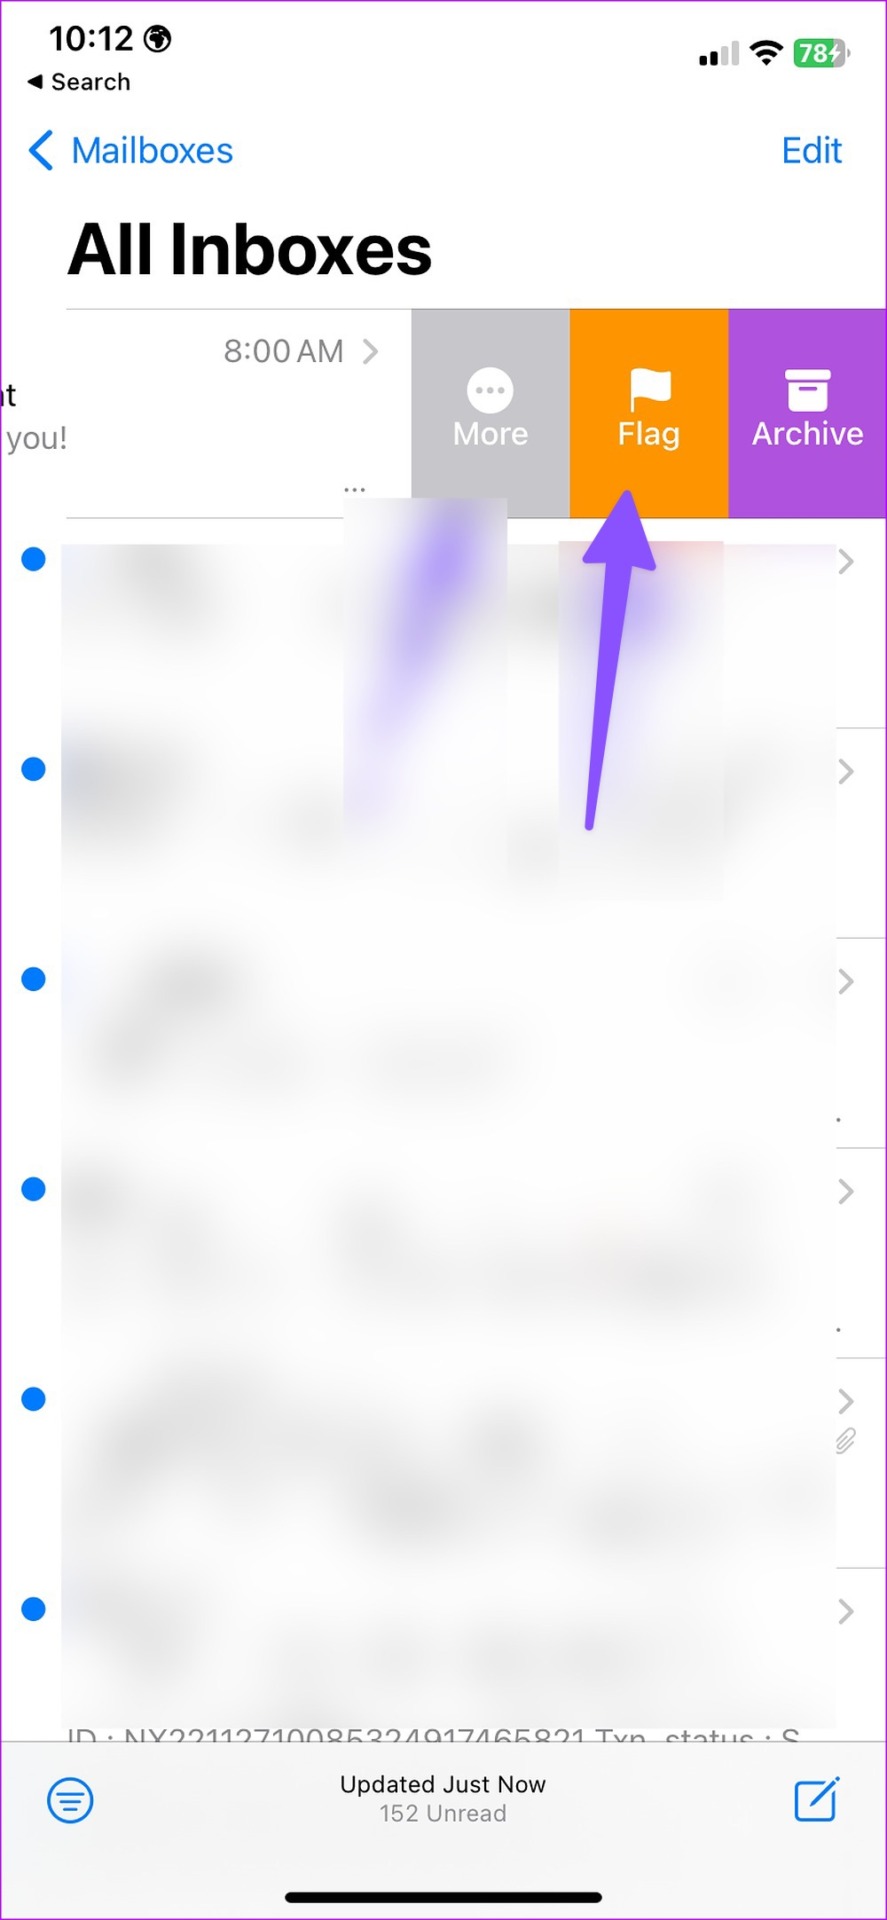
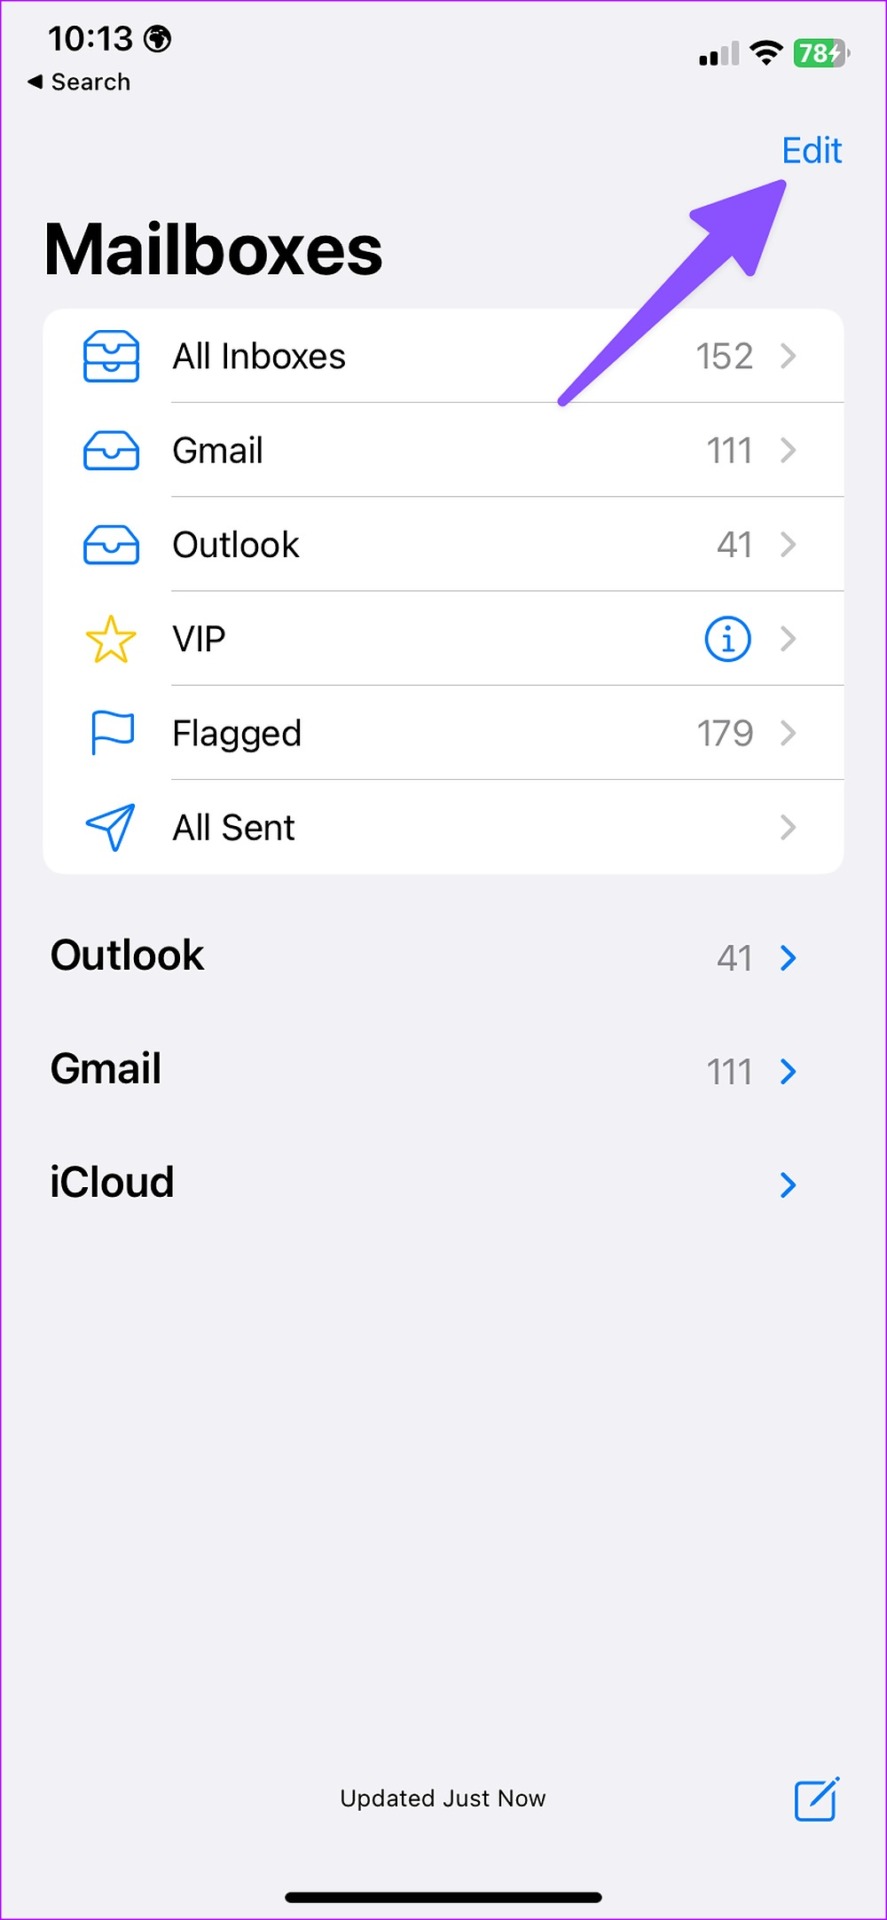
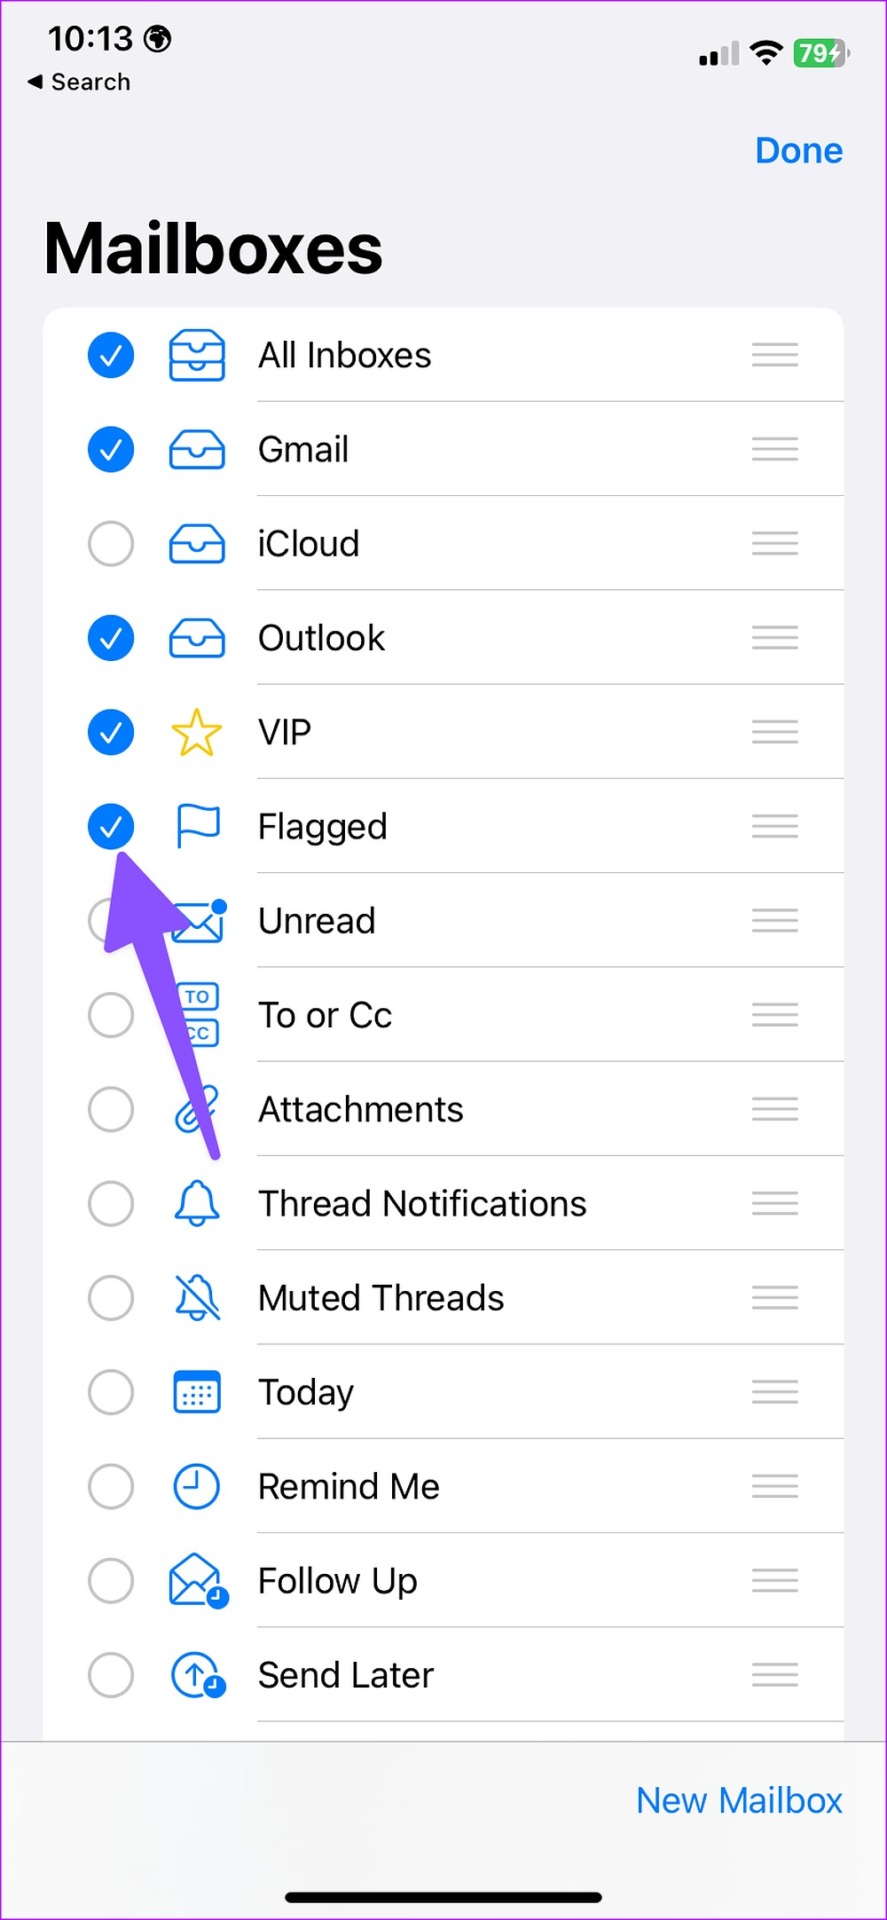
You can flag important emails and create new custom folders to move relevant emails to a single place. Step 1: Launch the Mail app on your iPhone. Step 2: Open ‘All Inboxes’ to check emails from all added email accounts. Step 3: Swipe left on an email and select Flag. You will see a small flag icon beside an email. You should repeat the same for all important emails. You can now check all such emails from the Flagged inbox. Follow the steps below to enable Flagged inbox on Mail home. Step 1: Open the Mail app and select Edit in the top-right corner. Step 2: Select the radio button beside Flagged, and it shall appear at the top.
Create Email Folders
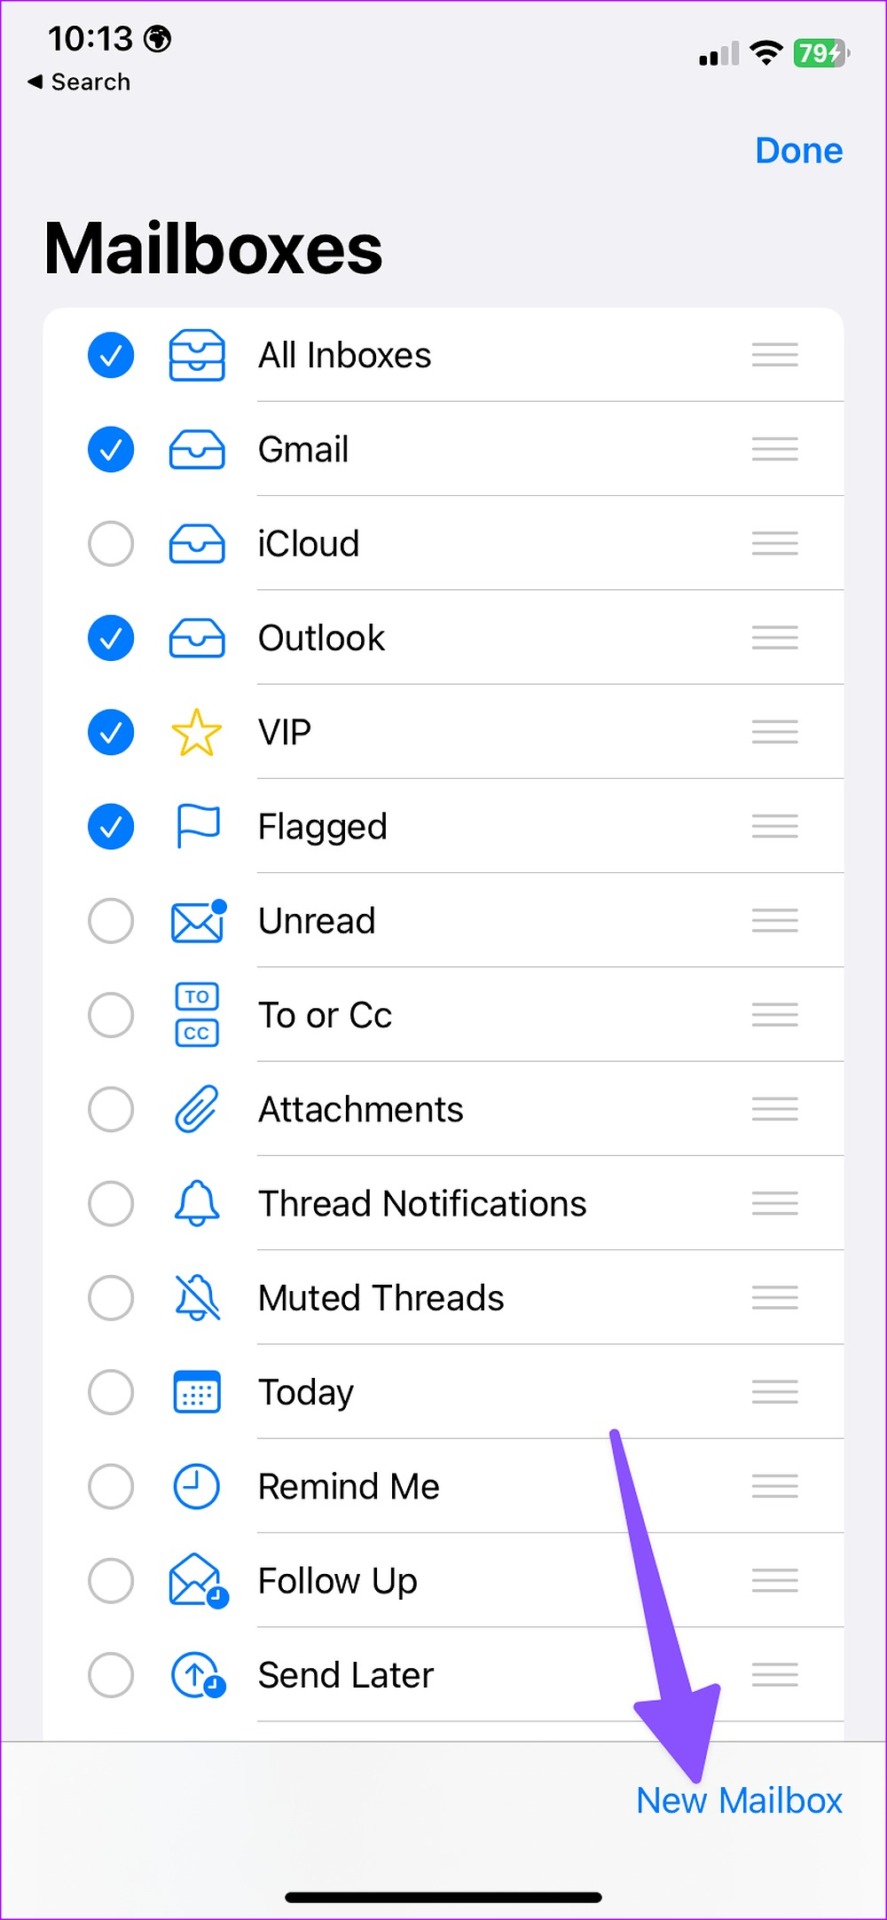
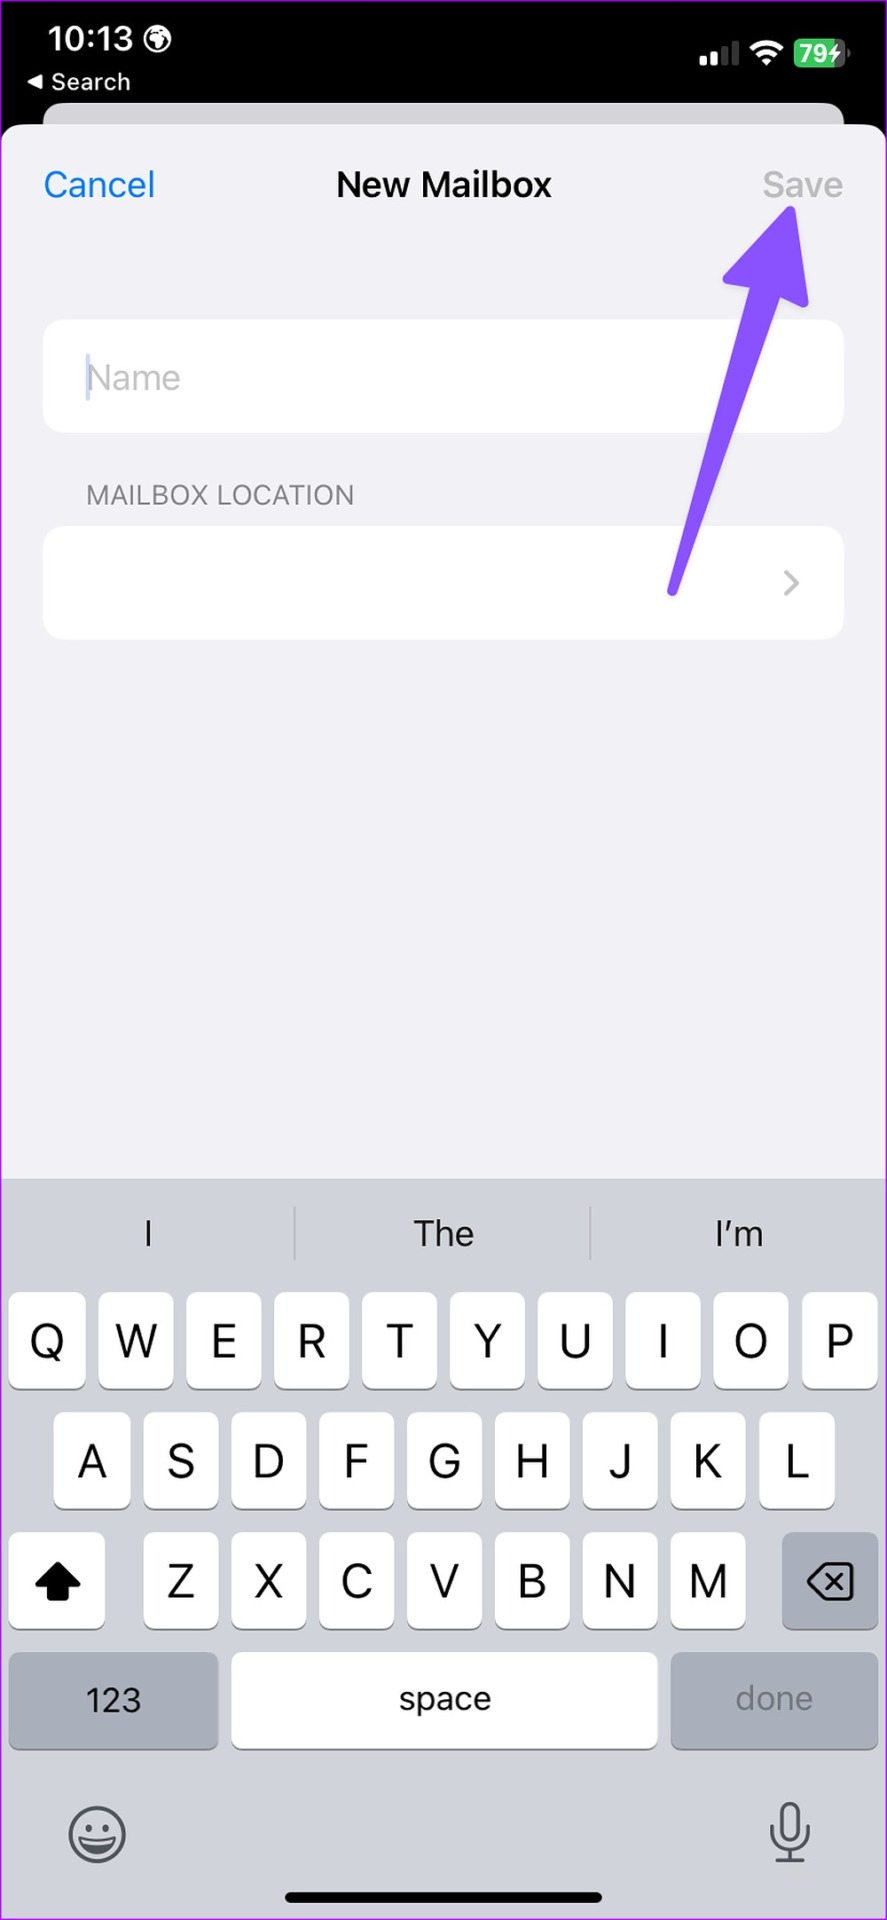
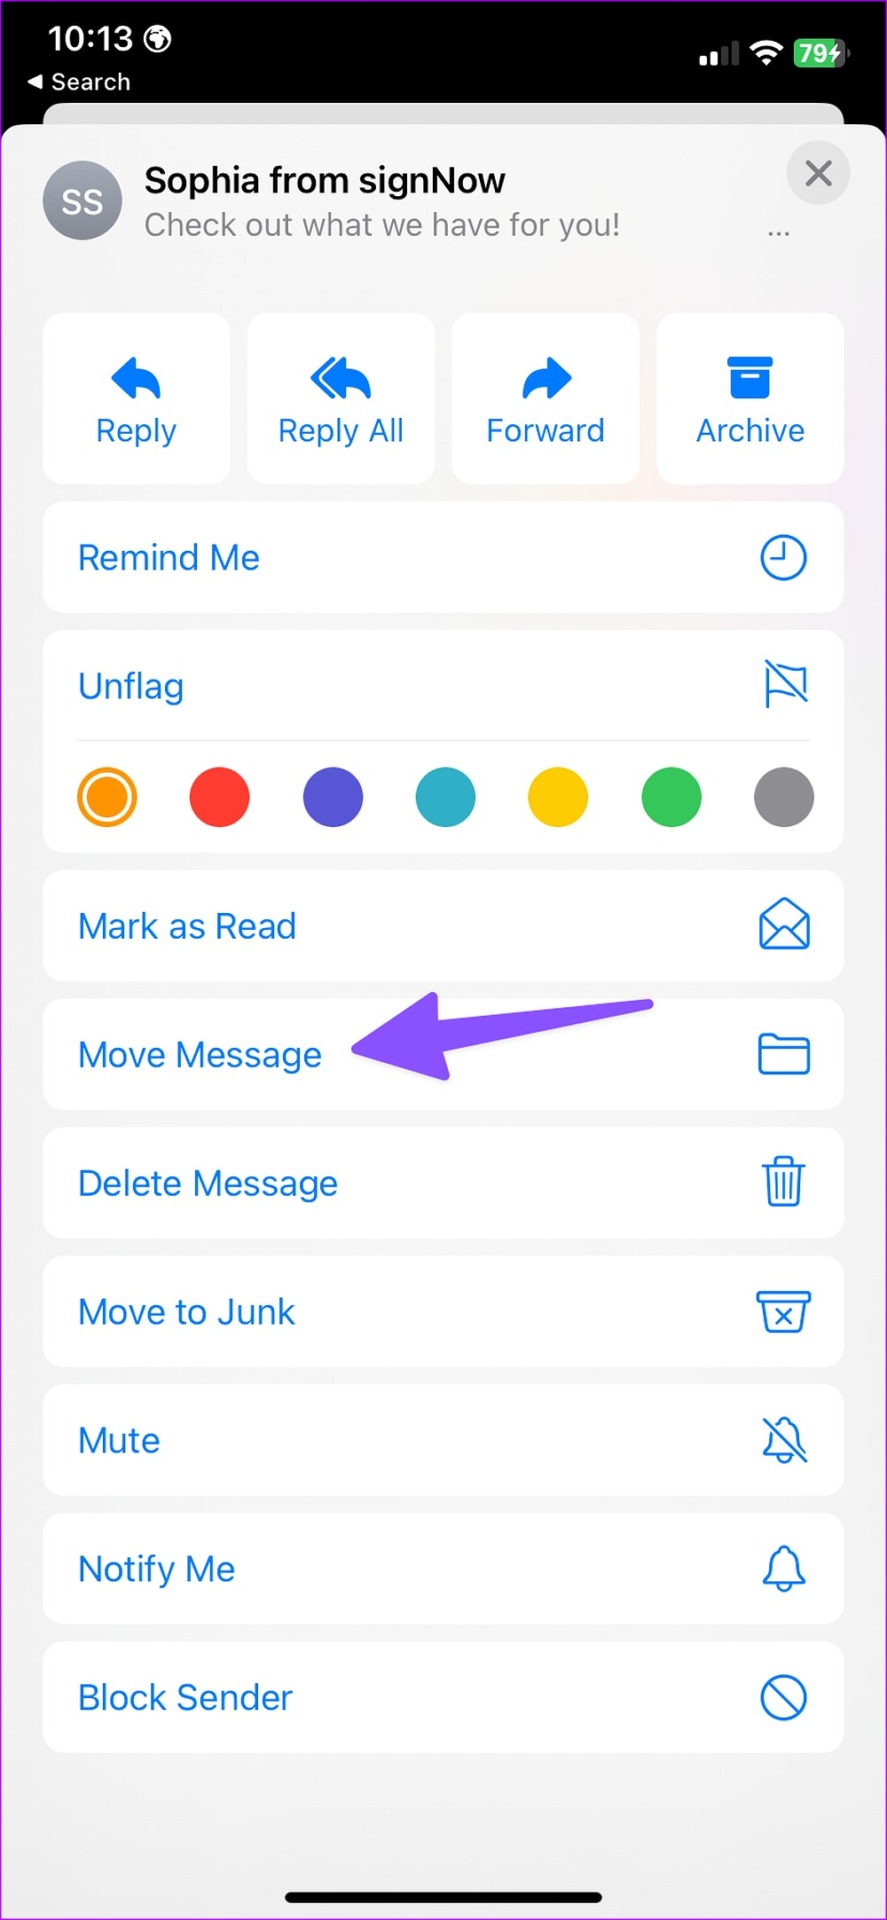
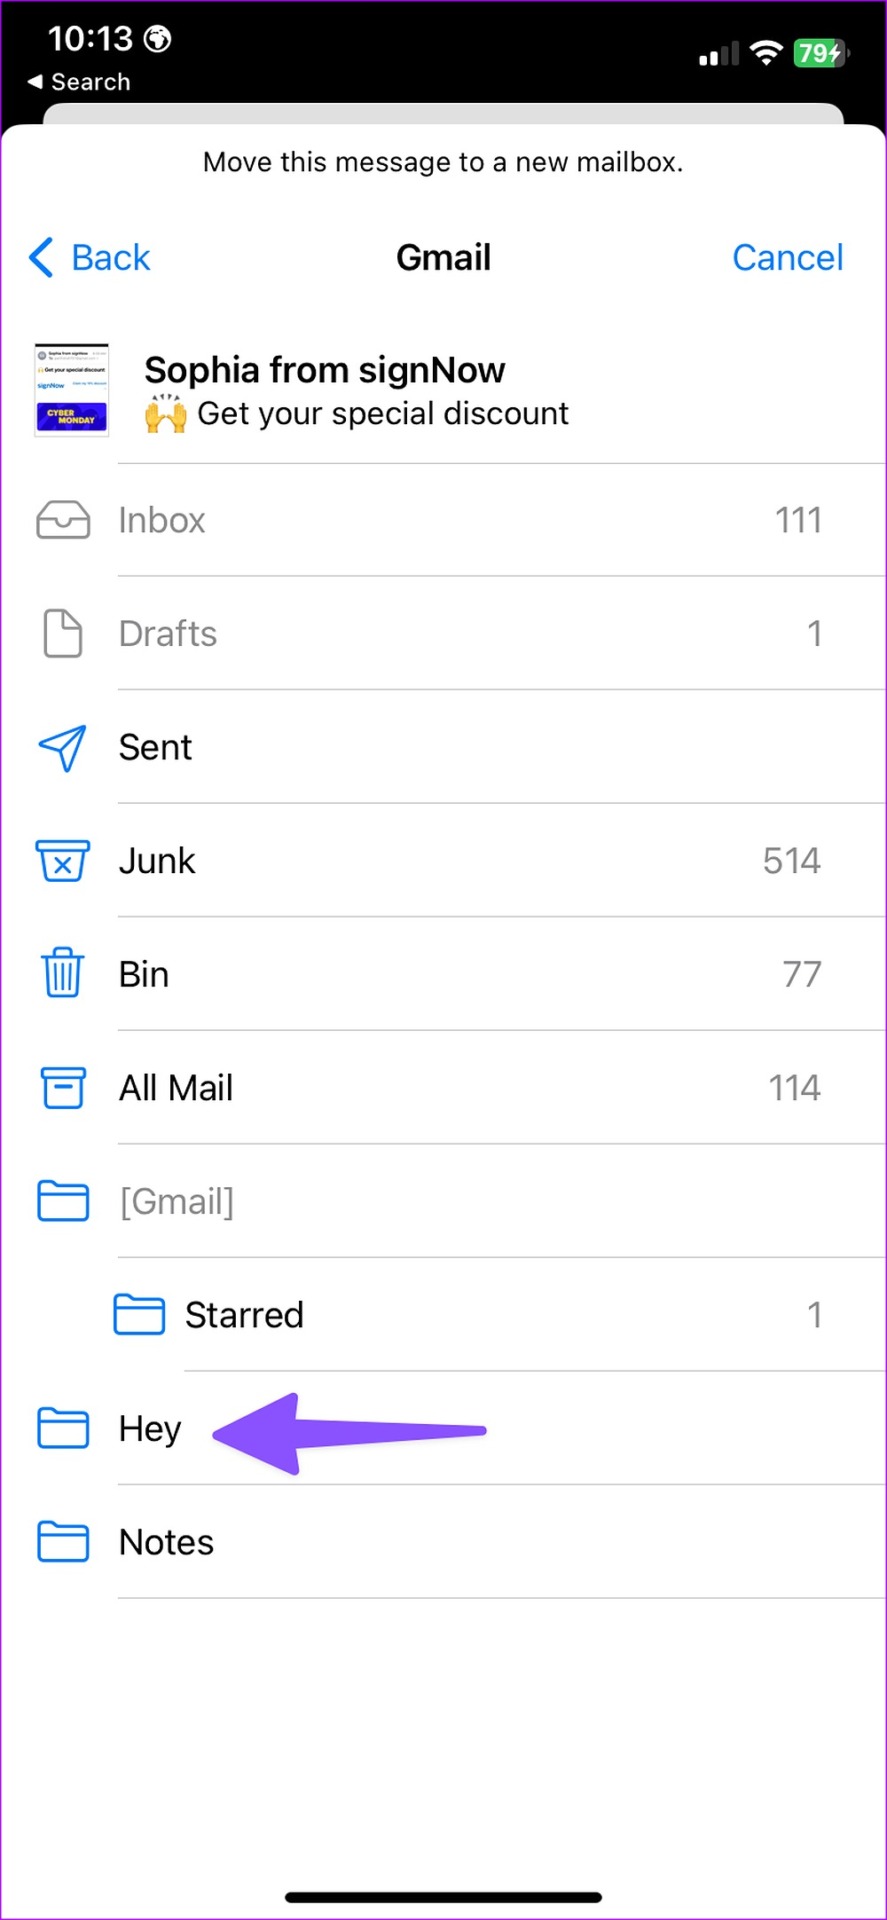
The Mail app offers another neat way to move related folders to a single place. You can create folders like Newsletter, Invoice, and Shopping and move relevant emails to them. Step 1: Open Mail on your iPhone and select ‘Edit’ at the top. Step 2: Select ‘New Mailbox.’ Step 3: Enter the folder name and select the mailbox location. You can add a folder to your Outlook, Gmail, or iCloud email providers. Step 4: Hit Save in the top-right corner. Step 5: Open an email inbox and swipe left on an email. Select ‘More.’ Step 6: Tap ‘Move Messages’ and select your newly created folder. You can repeat the same for all related emails and move them under a single umbrella.
2. Organize Emails in Gmail on iPhone
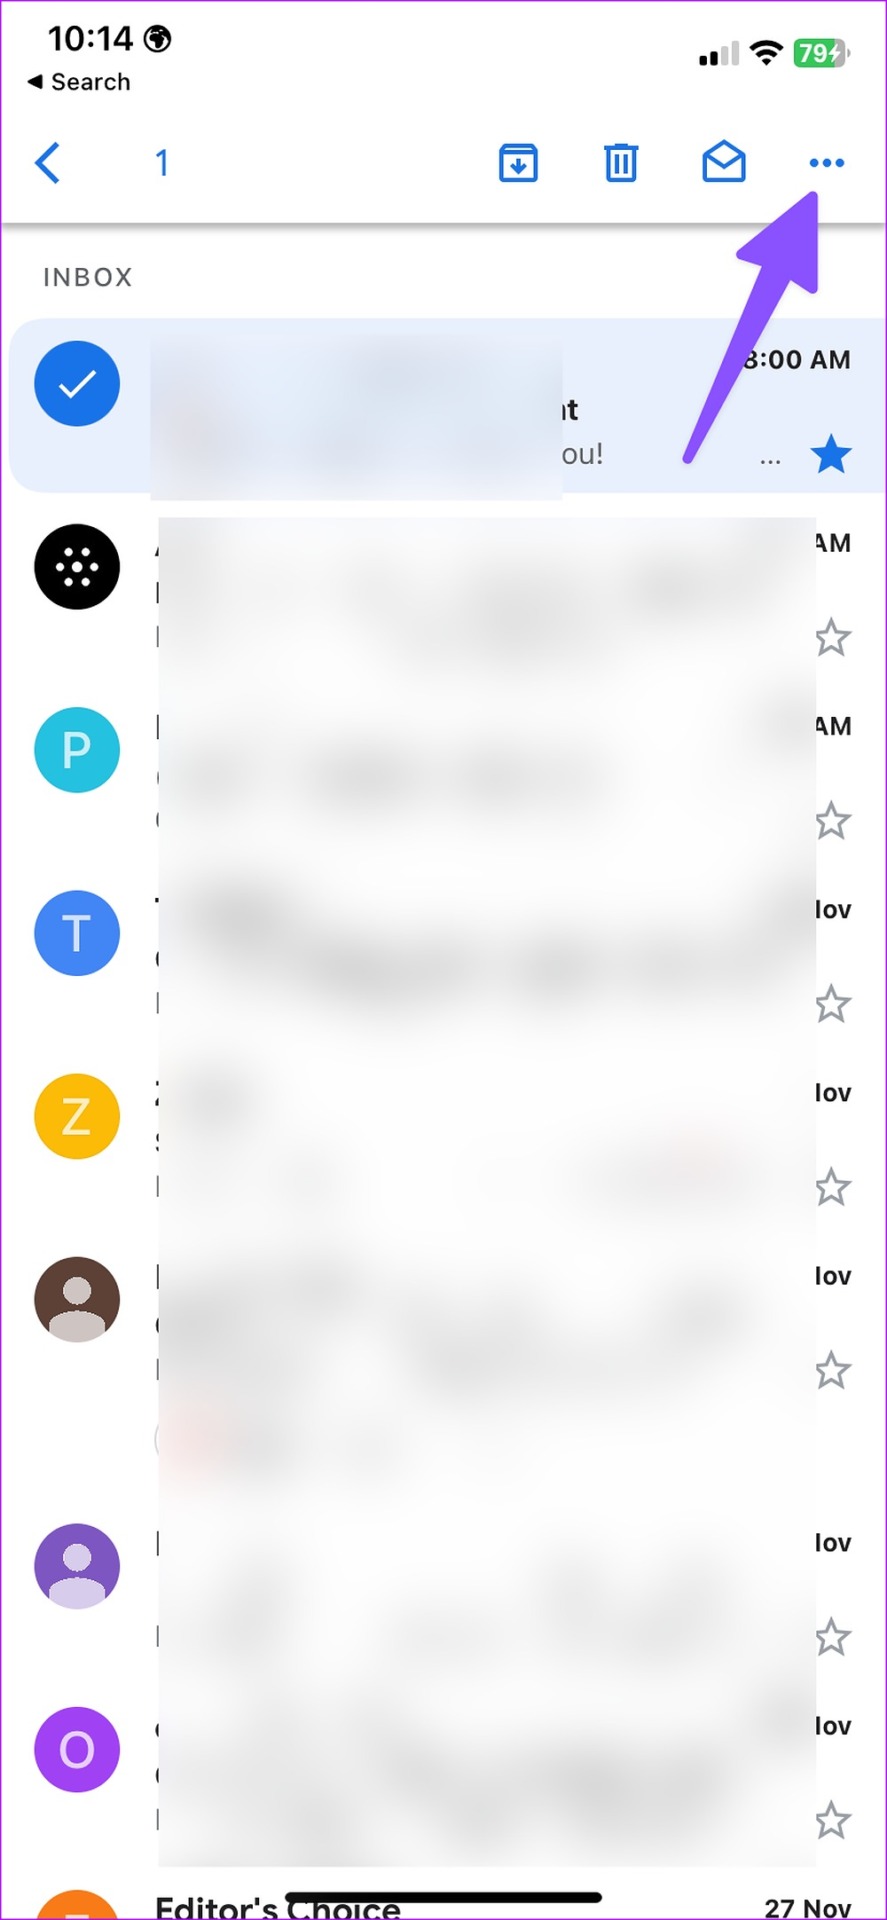
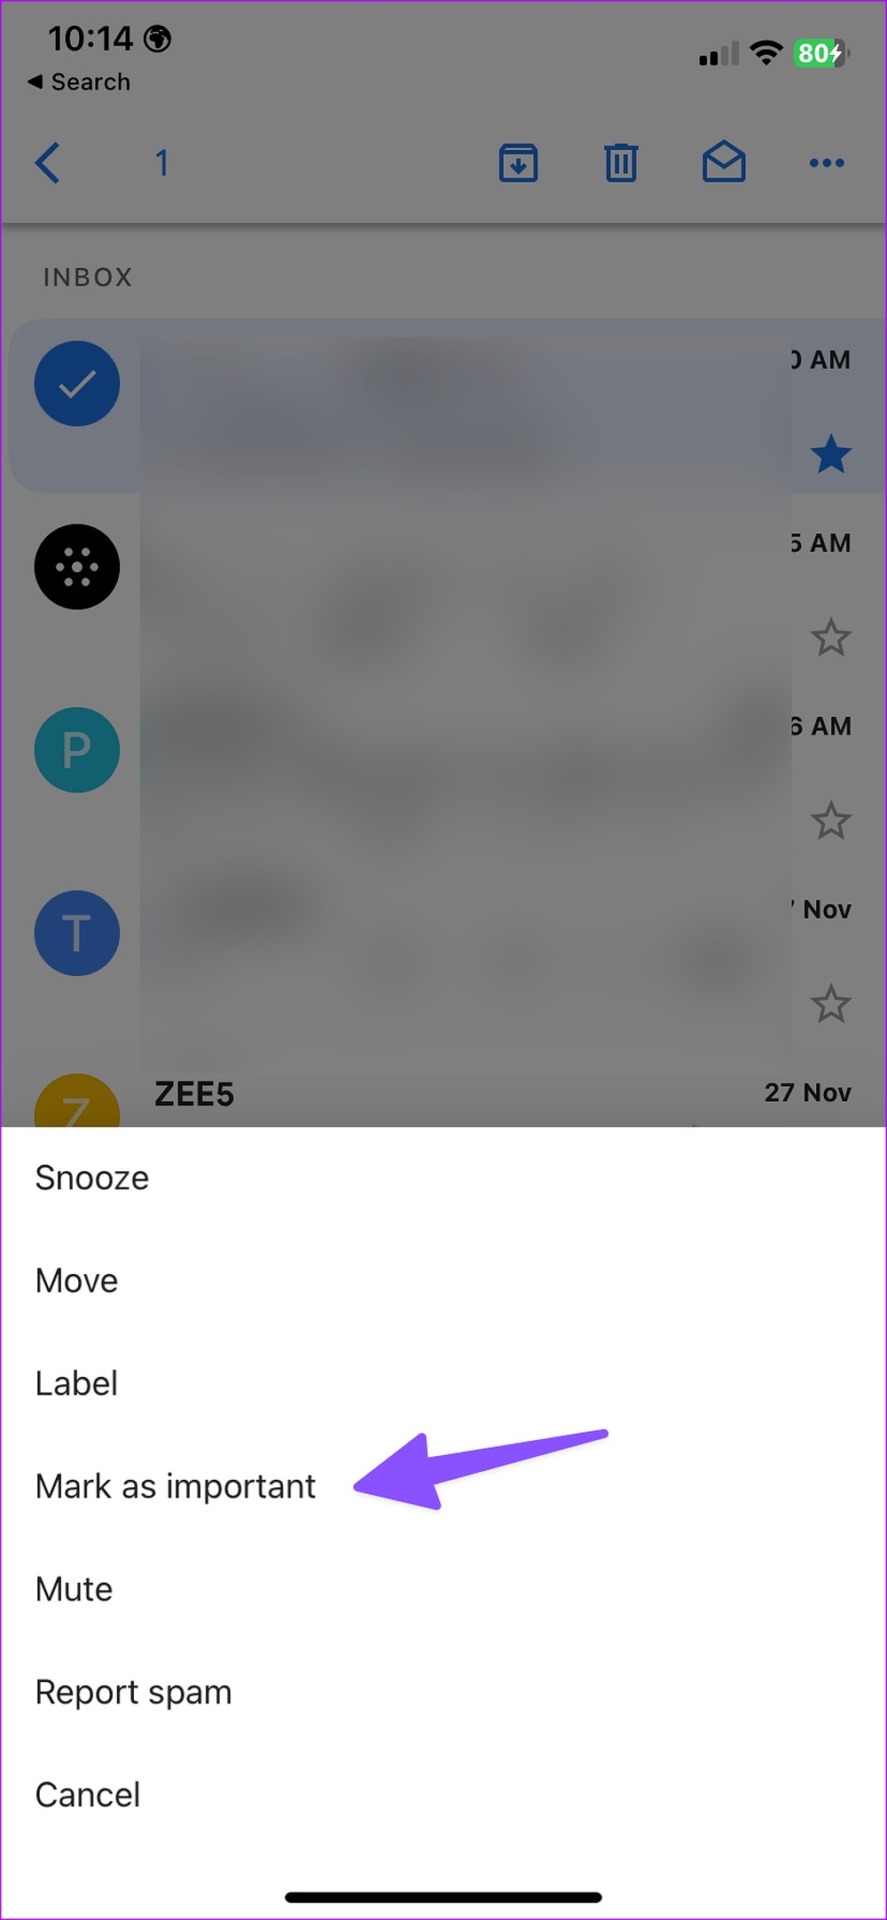
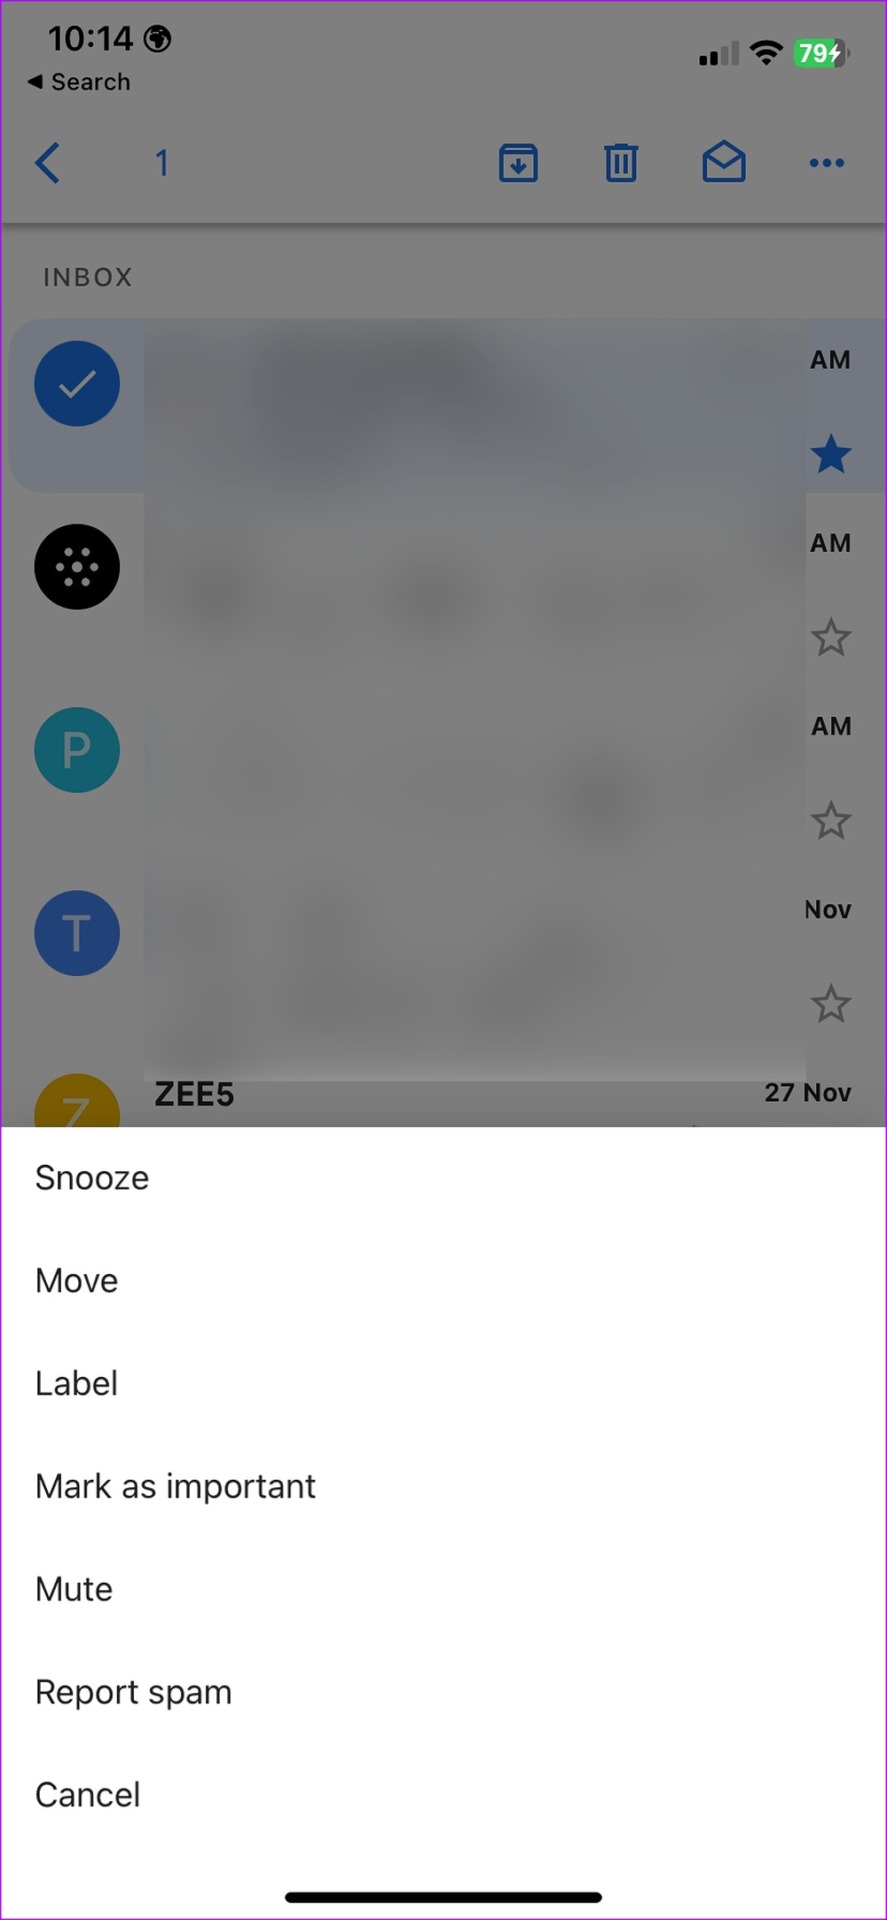
Gmail is one of the best Mail alternatives on iPhone. It offers labels to organize emails on the go. You can mark specific emails as ‘Important’ too. Step 1: Download and install Gmail from the App Store. Gmail for iPhone Step 2: Log in to Gmail, Outlook, and iCloud email accounts. Step 3: Long-press on an email and tap the kebab menu (three-dot) in the top-right corner. Step 4: Select ‘Mark as important.’ You can mark relevant emails as ‘Important’ and glance over them from the hamburger menu.
Create Email Labels
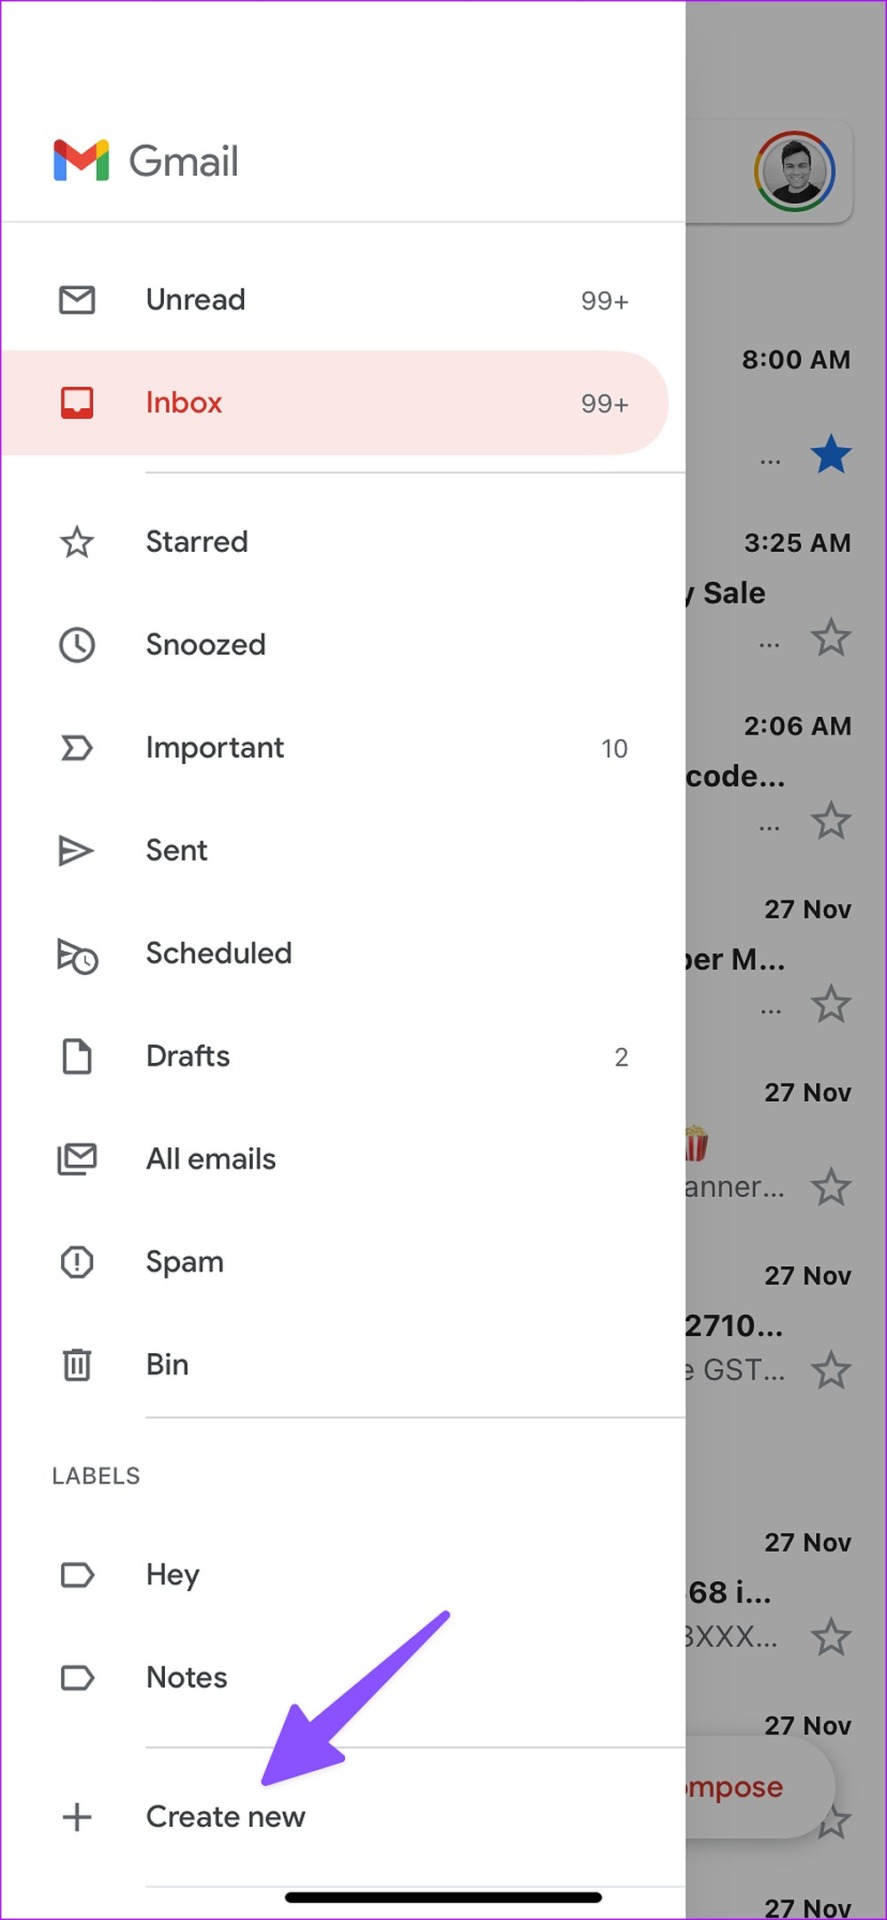
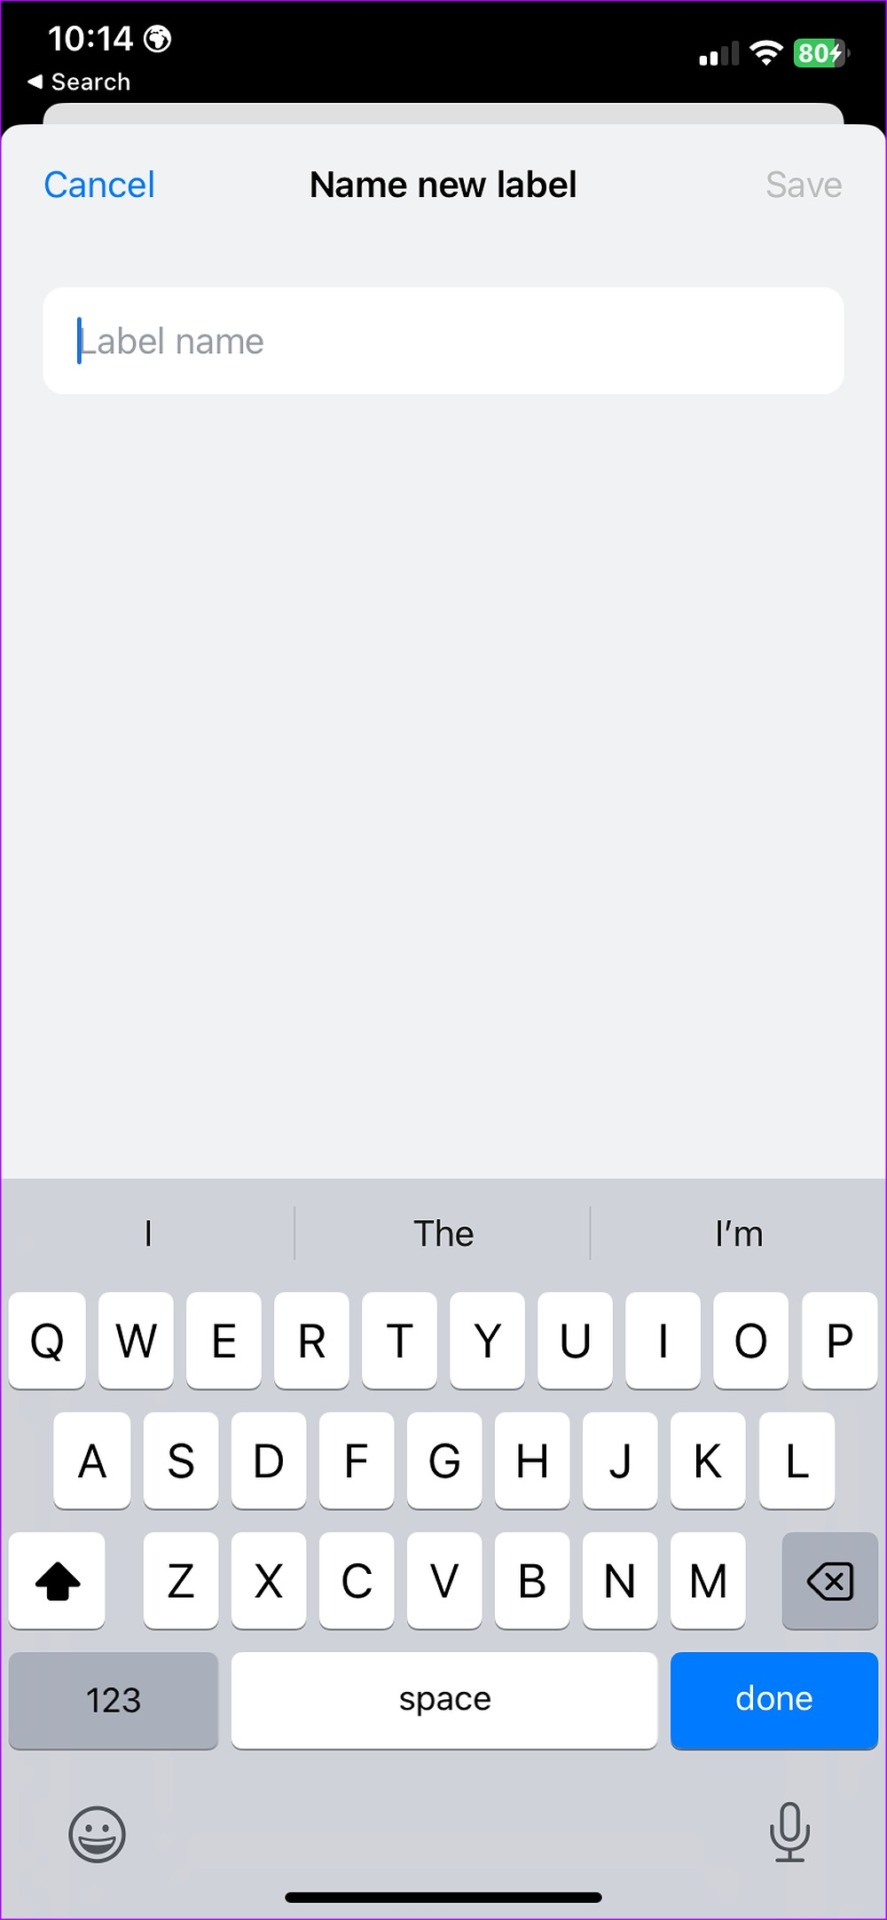
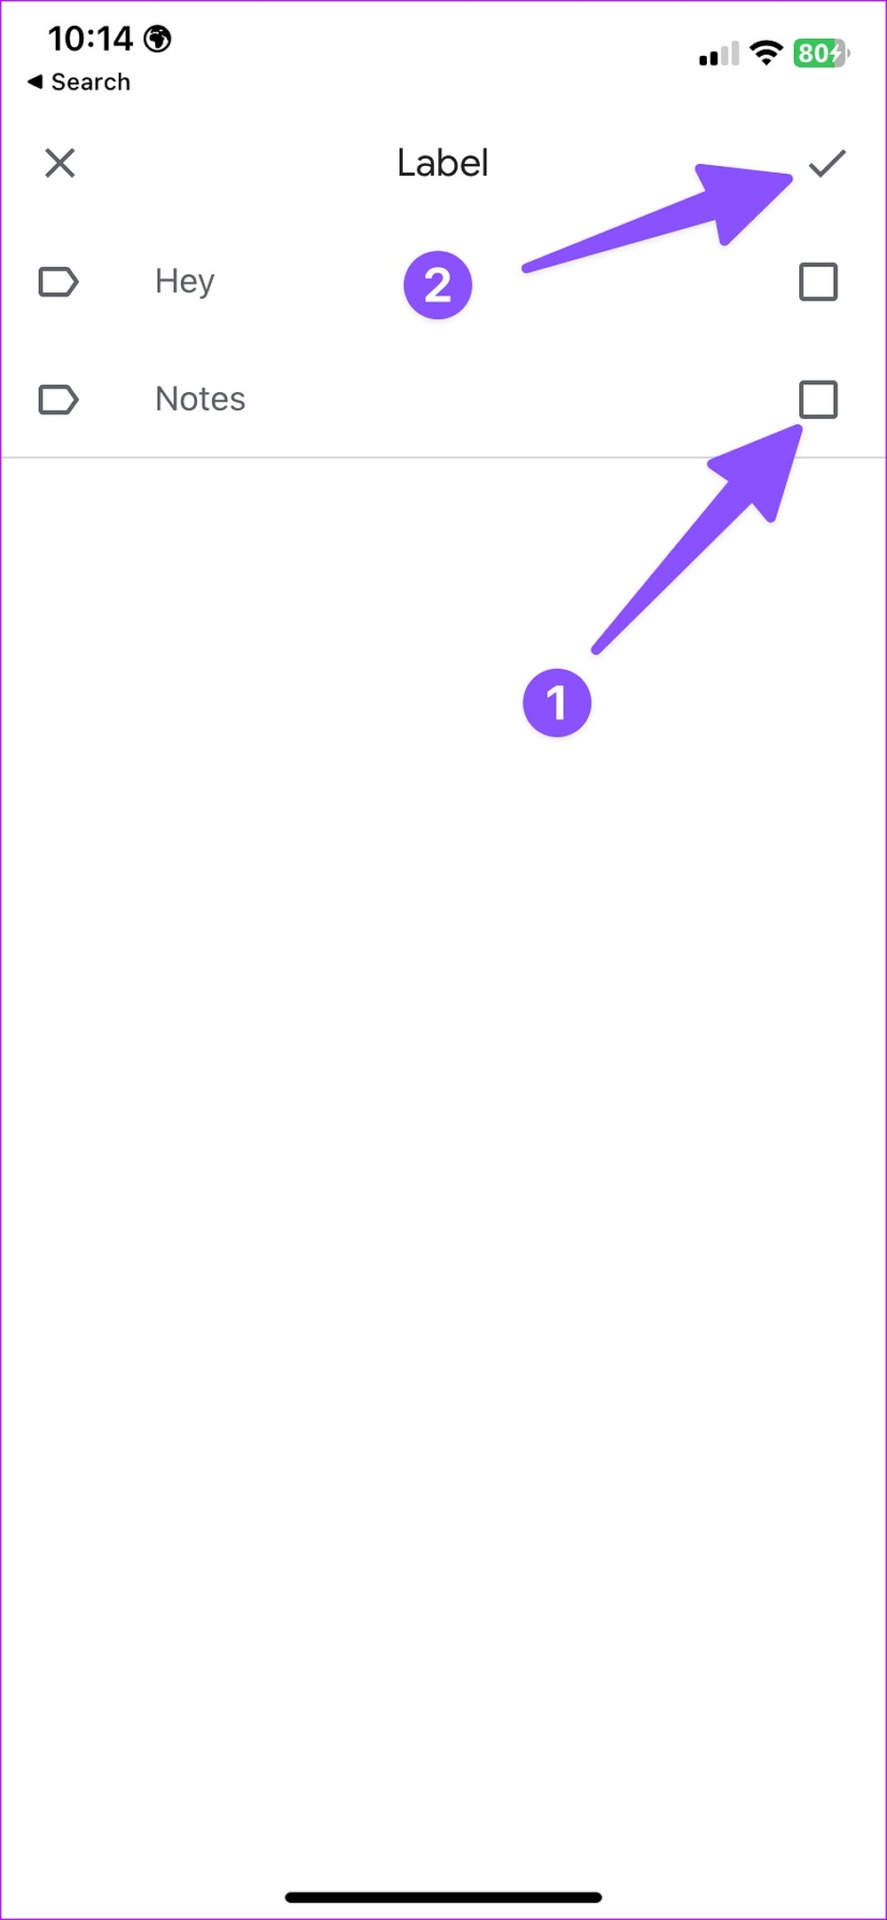
You can also create new labels to manage emails on iPhone or iPad. Here’s what you need to do. Step 1: Open Gmail on your iPhone. Step 2: Tap the hamburger menu in the top-left corner. Step 3: Select ‘Create new.’ Step 4: Enter the label name and hit Save. Step 5: Move to the Gmail inbox and long-press on an email. Step 6: Select the three-dot menu and tap Label. Step 7: Enable the checkmark beside a label and hit done.
3. Organize Emails in Outlook on iPhone
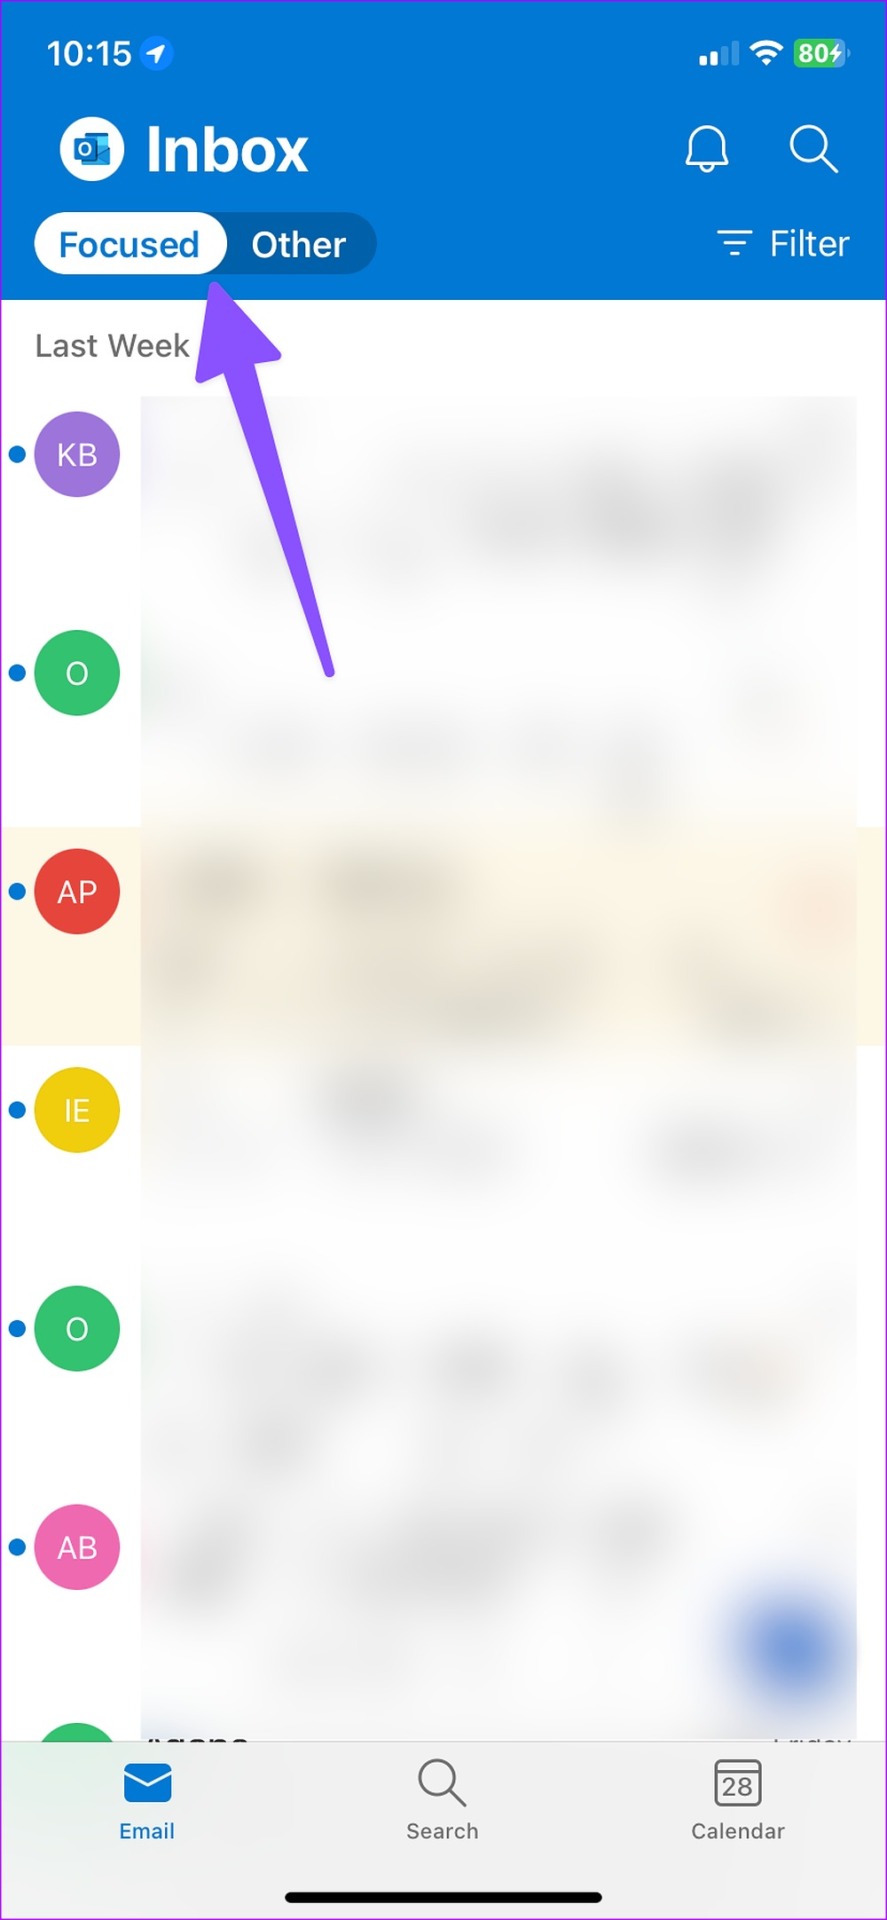
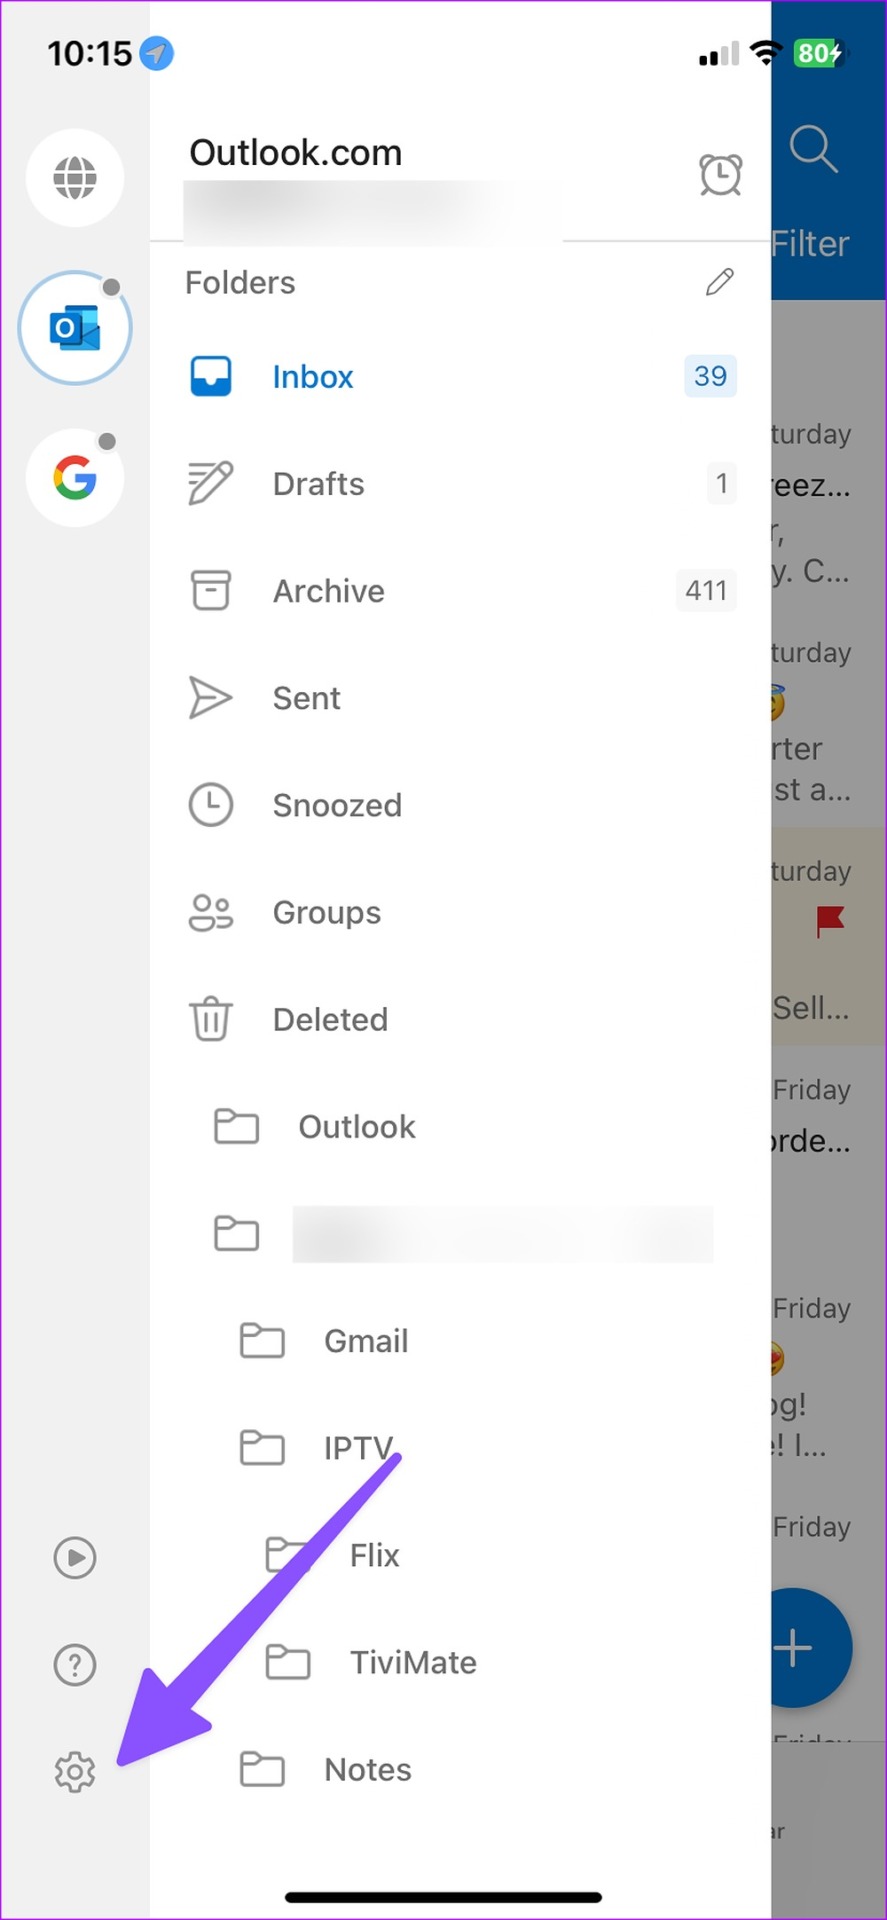
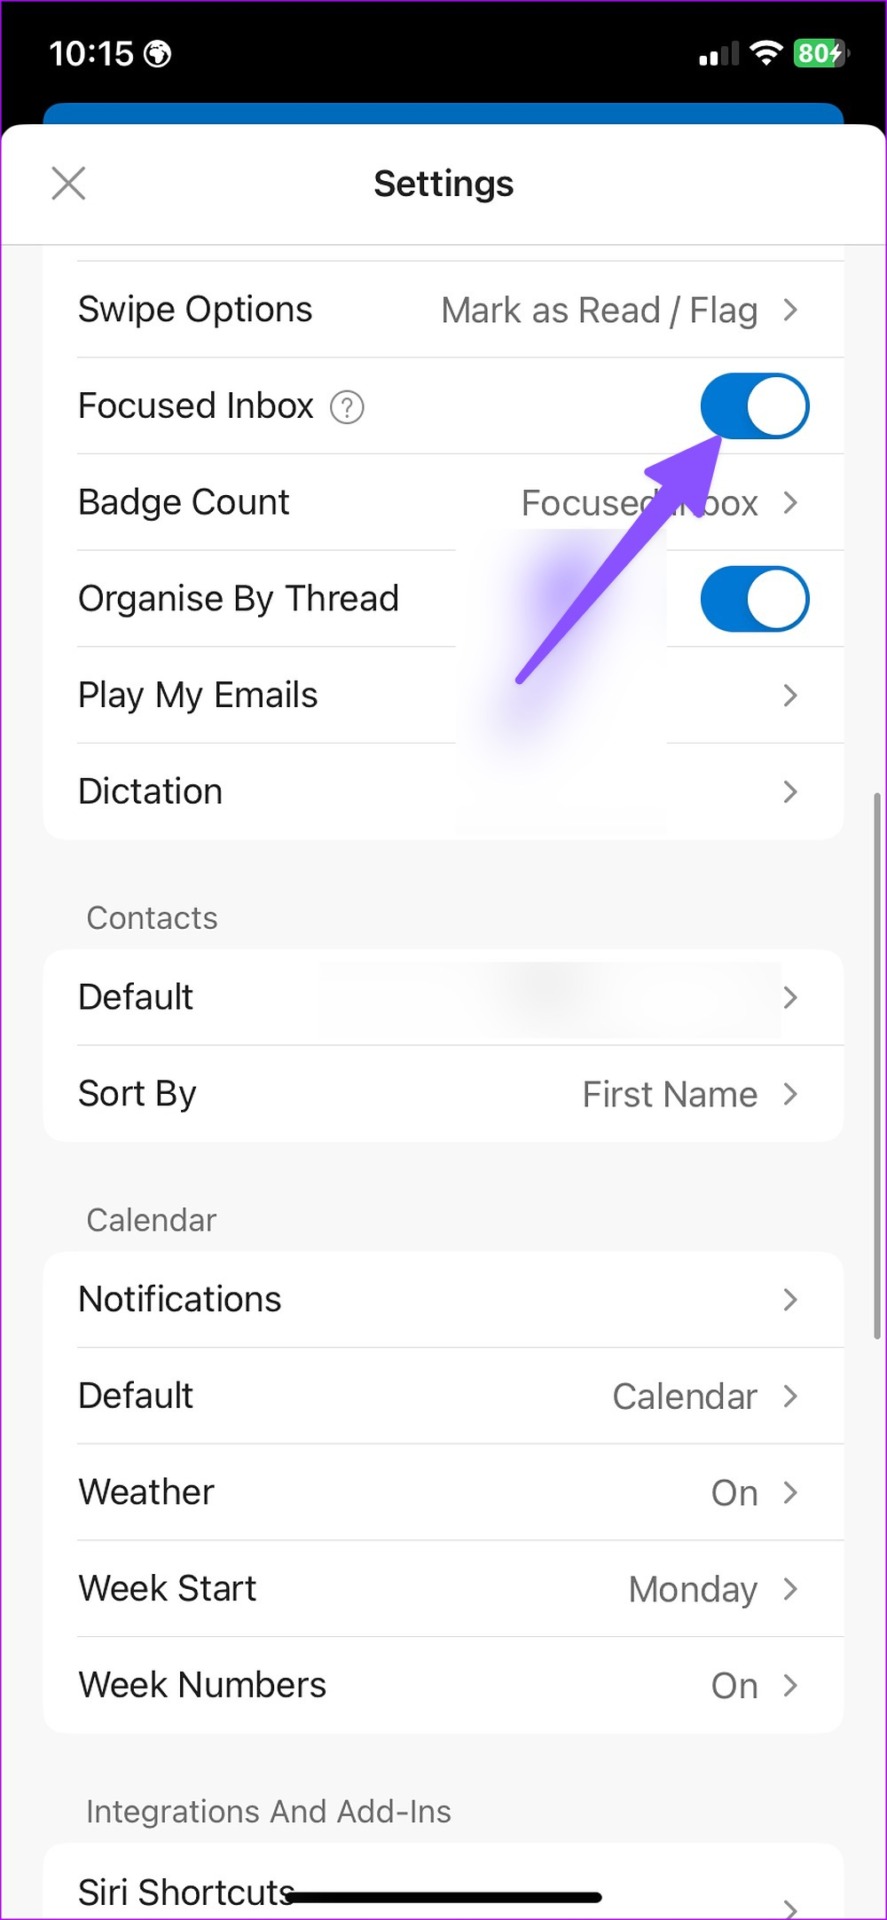
Outlook packs ‘Focused Inbox’ to filter important messages from irrelevant ones. You can enable it from Outlook settings. Step 1: Download and install Outlook from the App Store. Outlook for iPhone Step 2: Launch Outlook and log in with your email accounts. If ‘Focused Inbox’ isn’t showing up for you, enable it from Settings. Step 3: Open the hamburger menu to select Settings. Step 4: Enable the ‘Focused Inbox’ toggle. Go back to the main inbox, and you will see the ‘Focused’ and ‘Other’ inbox.
Create New Folder in Outlook
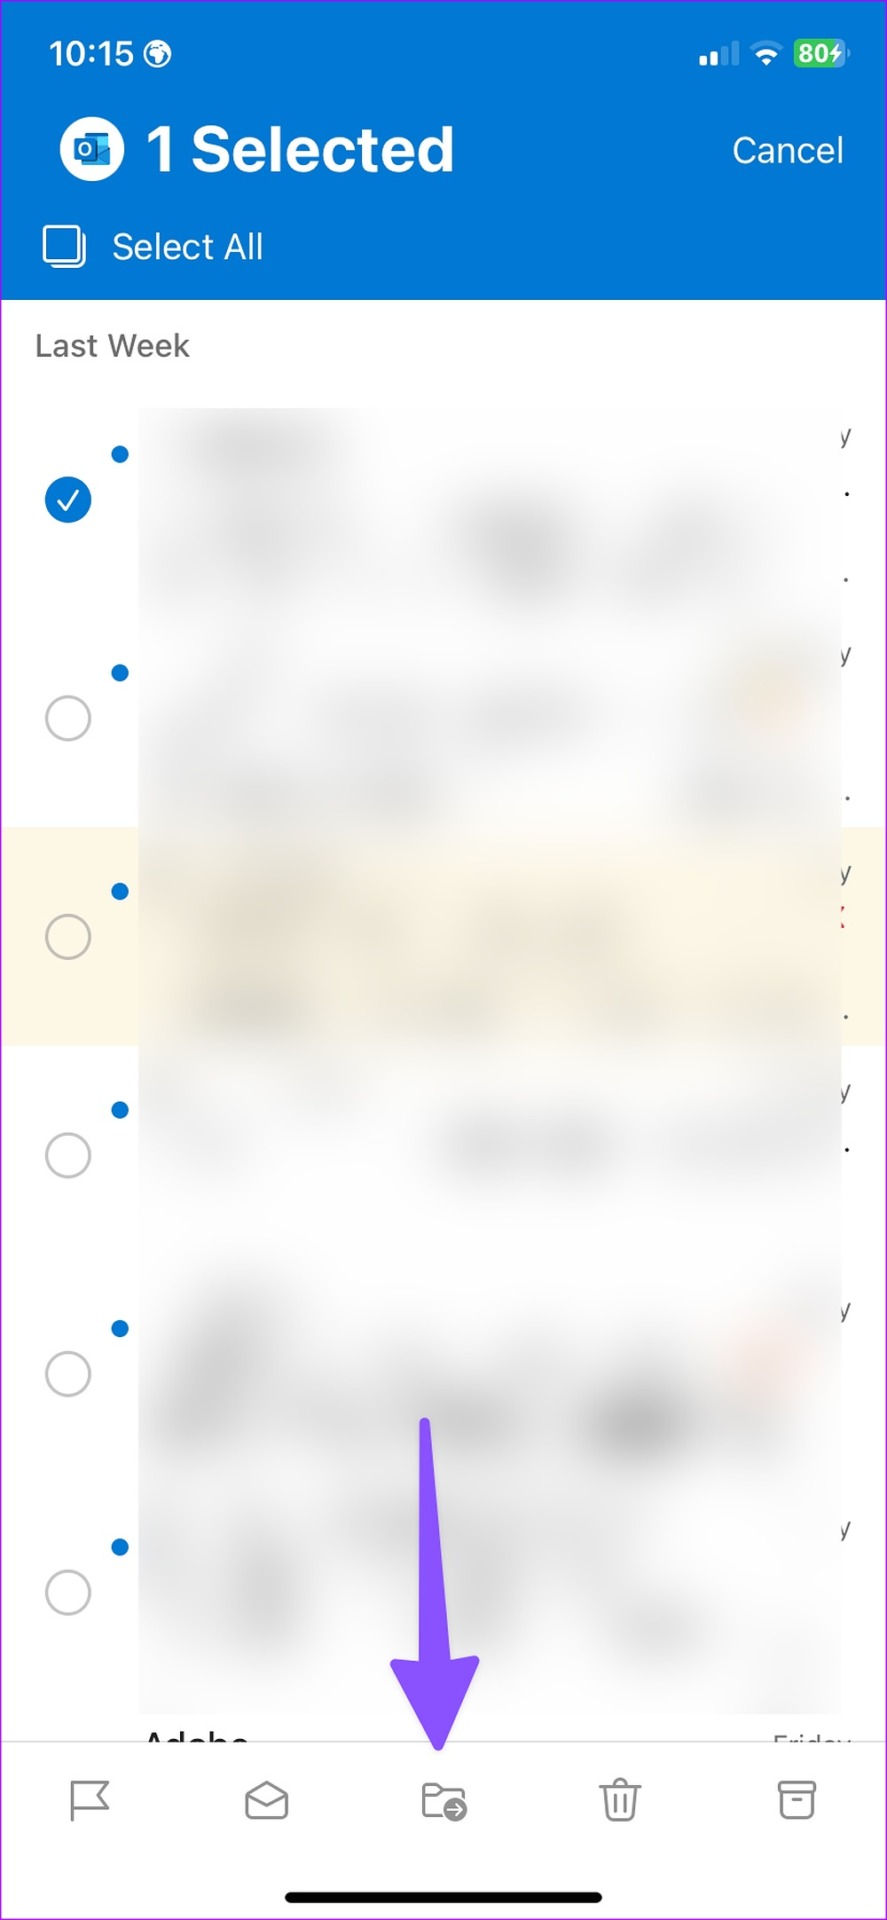
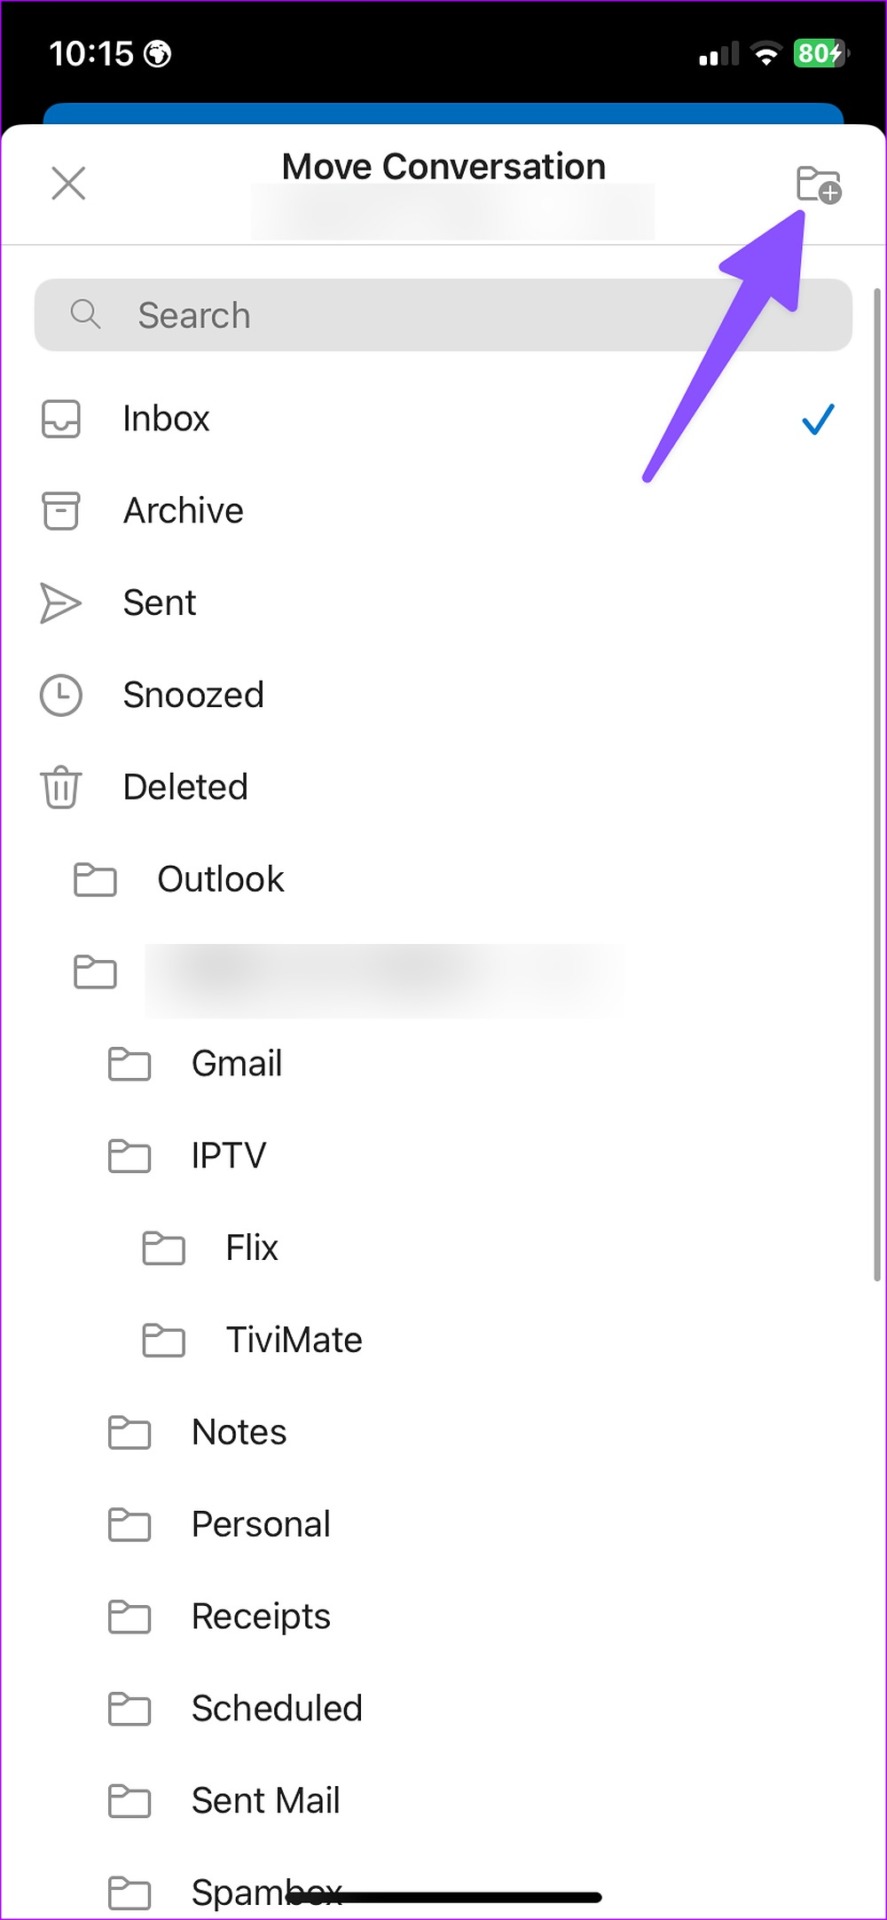
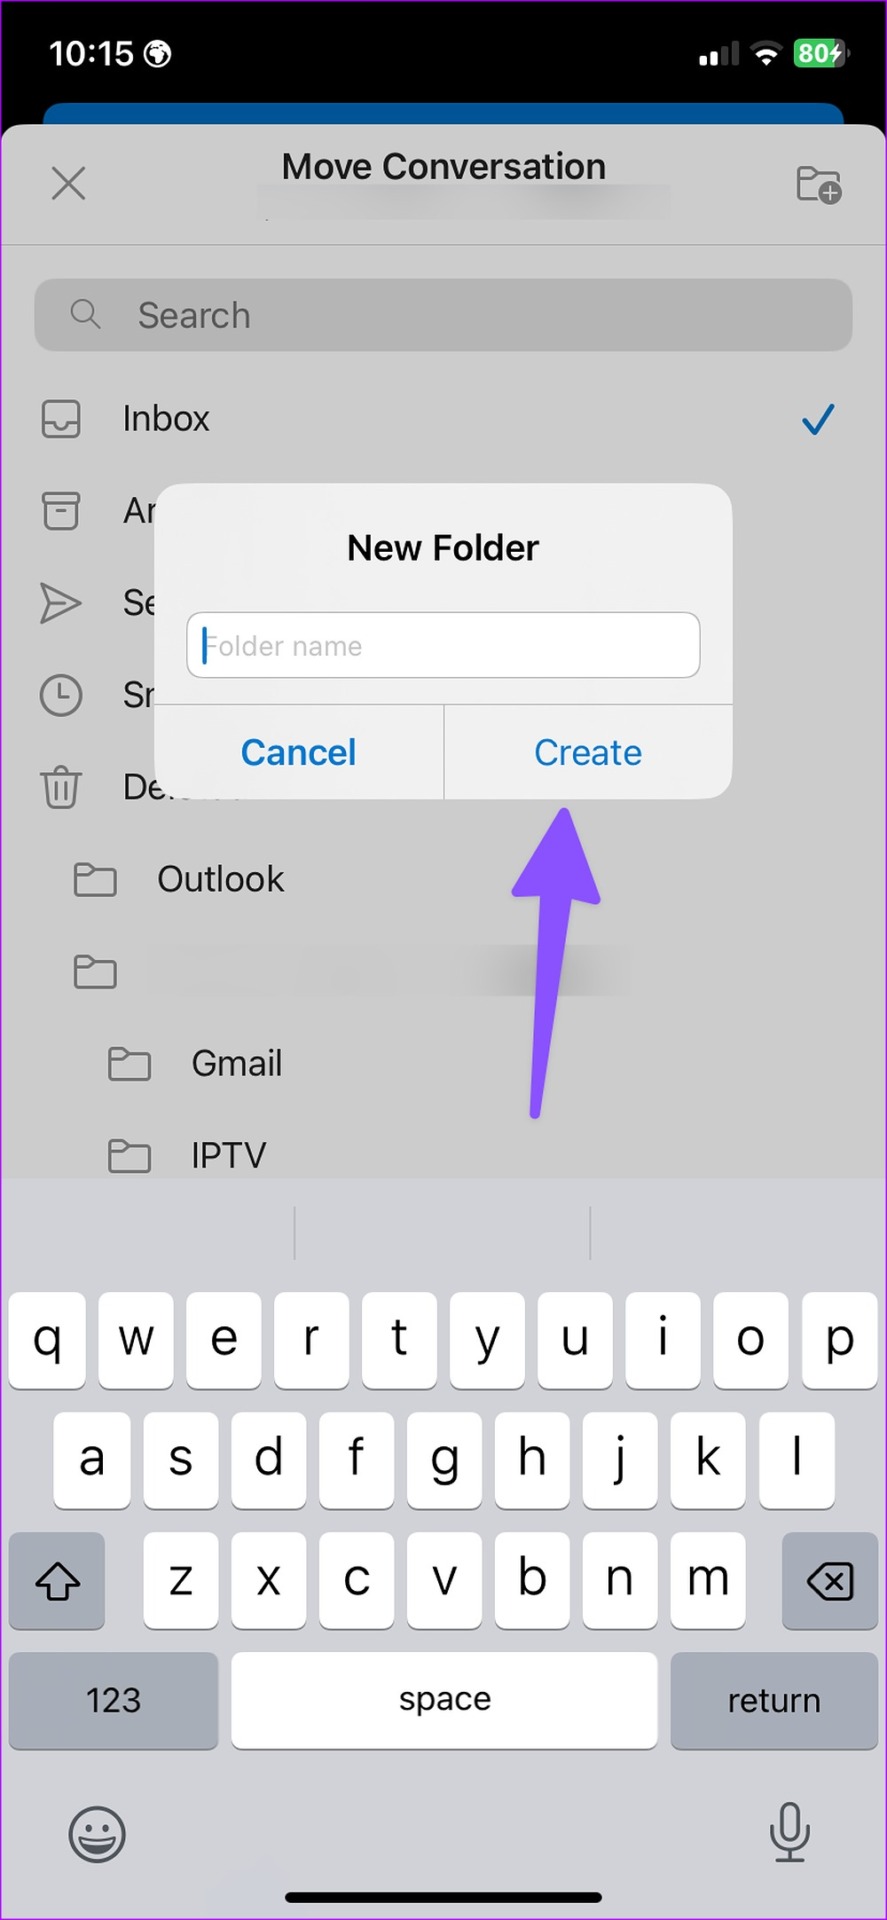
Similar to Gmail and Mail, Outlook lets you create folders too. Follow the steps below to create several folders and move emails in it. Step 1: Launch Outlook app on your iPhone and long-press on an email. Step 2: Select the ‘Move to folder’ icon at the bottom. Step 3: Tap the ‘Add folder’ icon in the top-right corner. Step 4: Enter the folder name and hit ‘Create.’ Step 5: Select the newly created folder and move an email to it. You can select multiple emails on Outlook and repeat the steps to organize them by folders. You can also flag relevant emails and filter them from the top menu.
Manage Your Emails Like a Pro
If you use Gmail or Outlook on your iPhone, we highly recommend setting up rules (using the web version) to automate the email organization. How do you organize emails on your iPhone? Share your preference in the comments below.
